How to Install a Dual Battery System for Off-Road Vehicles
You need a dual battery system to power accessories like fridges and lights without draining your starter battery. Use a lithium or AGM auxiliary battery with a 14 NotificationCenter–200A smart isolator or DC-DC charger. Wire it with 2/0 AWG copper cables, secured every 12 inches, and ground directly to the chassis. Mount the battery in a ventilated, secure tray using corrosion-resistant hardware. A low-voltage disconnect at 11.8V prevents over-discharge. Systems like this support up to 200 hours of off-grid use. Proper setup guarantees reliable starts and efficient charging-especially when conditions demand more.
Notable Insights
- Choose compatible batteries like AGM or lithium for the auxiliary system, ensuring capacity meets off-road accessory demands.
- Mount the second battery securely in a ventilated, dry location using corrosion-resistant hardware and proper clearance.
- Connect batteries with 2/0 gauge copper cables and UL-listed wiring, keeping runs under six feet to reduce voltage drop.
- Install a voltage-sensitive relay or smart isolator to charge both batteries efficiently while preventing starter battery drain.
- Test system voltage, isolate faults, and integrate a low-voltage disconnect to protect batteries during prolonged use.
Understand Dual Battery Systems (And Why Off-Roaders Need One)
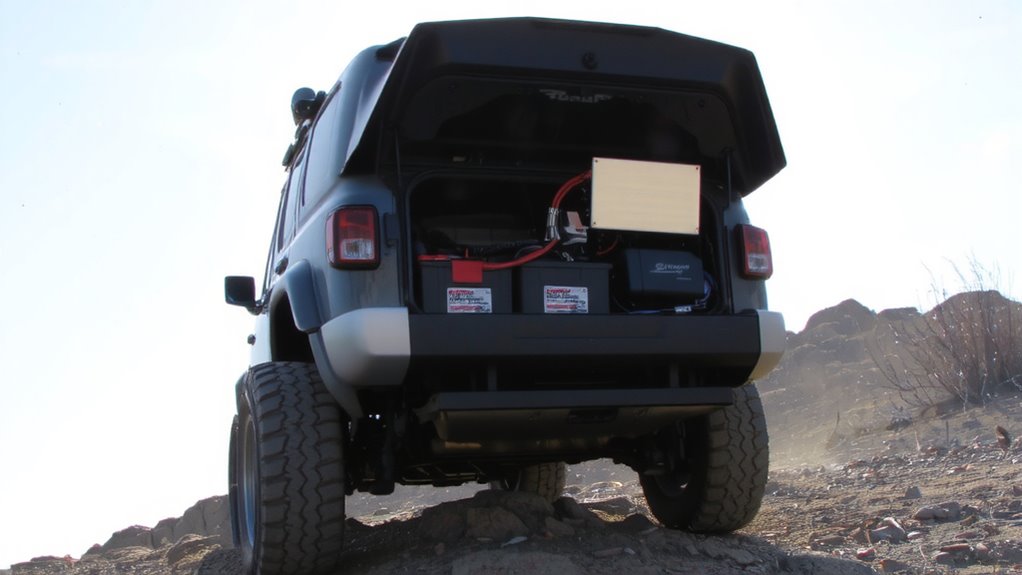
While your vehicle’s factory electrical system powers essential components like the engine and lights, it’s not designed to handle prolonged accessory use off the grid. A dual battery system lets you run fridges, lights, and radios without draining your starter battery. You’ll use two battery types: a lead-acid or lithium auxiliary battery alongside your stock lead-acid starter unit. This setup requires reliable charging methods like alternator-based charging, solar input, or DC-DC chargers. Dual battery isolators guarantee the starter battery stays charged, preventing strandings. Lithium batteries offer higher energy density and longer cycle life-ideal for extended trips. AGM batteries are less expensive but heavier and less efficient. Proper charging methods maintain battery health and prevent over-discharge. Off-roaders need this redundancy for safety and convenience when campsites lack power. A well-designed system operates silently and automatically, keeping your adventure moving without electrical hiccups.
Select Your Battery, Isolator, and Wiring Components
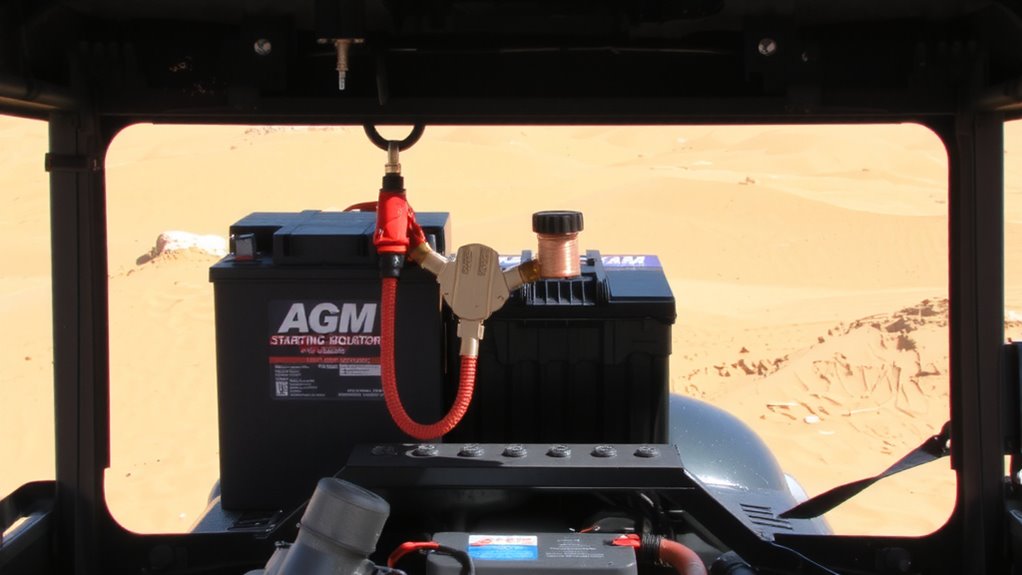
You’ll need to choose the right battery, isolator, and wiring components based on your power needs and vehicle setup. Select from common battery types like AGM, gel, or lithium, each offering distinct advantages in lifespan, discharge depth, and vibration resistance. AGM batteries are cost-effective and maintenance-free, handling deep cycling better than standard lead-acid. Lithium batteries are lighter and offer higher usable capacity but cost more. Consider your charging methods-engine alternator, solar, or DC-DC chargers-when pairing an isolator. Use a voltage-sensitive relay (VSR) or smart isolator to prevent draining your starter battery. Isolators typically handle 140–200 amps, sufficient for most dual setups. Wiring must match expected loads: 4 AWG to 2/0 AWG cable, depending on distance and current. Use copper, UL-listed cables with proper insulation (80–105°C) for safety and efficiency.
Mount and Wire the Second Battery
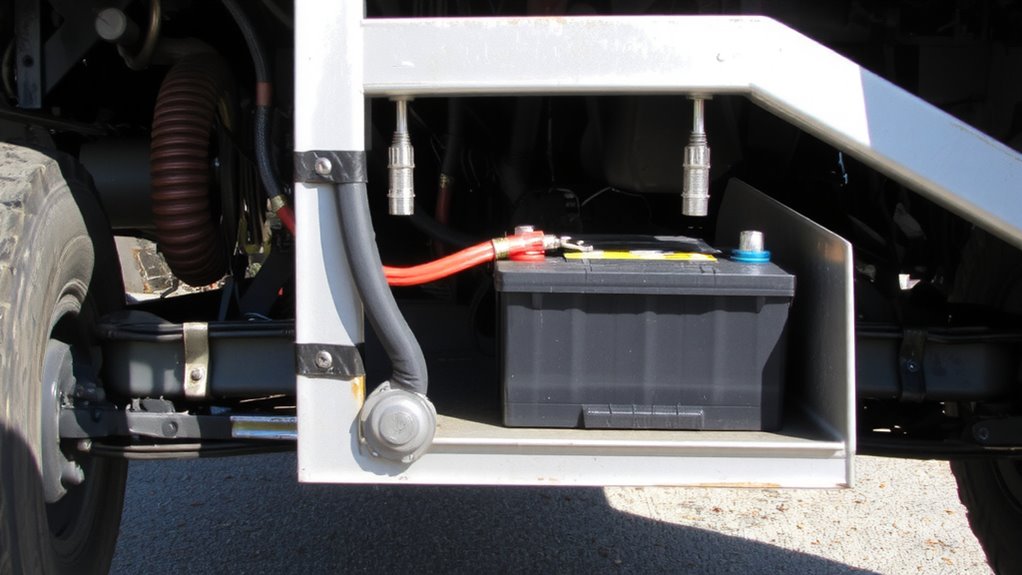
Once you’ve chosen the right battery type, isolator, and wiring, the next step is securing and connecting the second battery in your system. Use heavy-duty battery trays designed for off-road vibration resistance; these trays must firmly hold the battery to prevent movement during rough terrain travel. Mount the second battery in a dry, ventilated area, preferably using zinc-coated or stainless steel hardware for corrosion resistance. Guarantee at least 1/2 inch clearance around each side for airflow and expansion. When wiring, route 2/0 gauge copper cables from the second battery’s positive terminal to the isolator input, using nylon-jacketed ring terminals tightened to 80–100 in-lbs. Apply terminal protection sleeves or dielectric grease to prevent corrosion and accidental shorting. Secure cables every 12 inches with UV-resistant nylon ties. Keep wire runs as short as possible to minimize voltage drop.
Add a Battery Isolator or Smart Charger
If you want your dual battery system to charge efficiently without risking damage to either battery, installing a battery isolator or smart charger is essential. These devices prevent overcharging and protect against draining your starter battery, especially with differing battery chemistry types like AGM, lithium, or flooded lead-acid. A smart charger adjusts charging profiles automatically, boosting charging efficiency by up to 30% compared to basic isolators.
| Device Type | Best For |
|---|---|
| Battery Isolator | Simple setups, lower cost |
| Smart Charger | Mixed battery chemistry, ideal charging efficiency |
Smart chargers monitor voltage, temperature, and charge stage in real time. They deliver precise amperage, usually 10–20A, based on battery needs. Isolators use diodes or relays to separate circuits, typically allowing 100–140A flow. Choose based on your battery chemistry and power demands.
Test the System and Fix Wiring Errors
How do you know your dual battery system is safe and functioning as designed? Test all connections with the engine off and then running. Use a multimeter to check for voltage drop across terminals-anything over 0.2 volts indicates poor wiring or loose connections. Inspect the ground connection thoroughly; it must link directly to the chassis or engine block with a 2/0 gauge cable for maximum conductivity. A weak ground causes erratic performance and measurement errors. Verify each fuse, wire path, and terminal for tightness and corrosion. Confirm the isolator engages when the engine runs-the starter battery should read ~13.8–14.4 volts while the auxiliary shows a steady climb. Recheck crimps and routing for abrasion or pinch points. Fix any voltage drop issues immediately to maintain system integrity and prevent long-term damage. Safety and reliability depend on precise electrical continuity. For accurate diagnostics, use a reliable best car multimeter to ensure consistent and trustworthy readings.
Maximize Performance for Off-Road Use
A well-designed dual battery system delivers reliable power in off-road conditions when optimized for durability and efficiency. You need both battery efficiency and power redundancy to keep critical systems running. Use AGM or lithium batteries with a minimum 100Ah capacity per bank for sustained output. Wire batteries in parallel with a dual-bank charger maintaining 14.4V absorption for best charge. Install a battery isolator rated at 150A to prevent cross-discharge and enable automatic charging from the alternator. This setup guarantees power redundancy-if one battery fails, the other powers essentials. Maximize battery efficiency with a low-voltage disconnect at 11.8V to prevent deep discharge damage. Use 2/0 AWG copper cabling with proper fusing to reduce resistance and voltage drop. Keep cable runs under 6 feet to maintain performance. Your system should support up to 200 hours of continuous accessory use, depending on load.
On a final note
You’ve built a reliable dual battery system. Use 6-gauge copper wire for high-current connections to minimize voltage drop. Set the isolator to engage at 13.2 volts, ensuring proper charge separation. AGM batteries are ideal-80–100 Ah capacity handles fridges and winches. Test with a multimeter: the second battery should reach 14.4 volts when charging, then settle at 12.8 when resting. This system delivers stable, long-term power off-grid.