How to Install Speakers in Vehicles With Factory Subwoofers
Replace your factory speakers with 4-ohm models rated at 50–100 watts RMS to match your system’s output and avoid overloading the factory subwoofer. Use speakers with at least 88 dB sensitivity for efficient sound production. Confirm wiring polarity with a multimeter and maintain correct phase by connecting positive to positive. Set high-pass crossovers above 80 Hz when using full-range speakers. Test with a balanced audio signal to guarantee clean bass response. Proper setup guarantees seamless integration and maximum performance-you’ll uncover further refinement steps next.
Notable Insights
- Choose replacement speakers that match factory amplifier output and handle 50–100 watts RMS to prevent distortion or damage.
- Ensure new speakers have 4-ohm impedance to maintain compatibility with the factory system and avoid amplifier strain.
- Locate and identify factory subwoofer wiring using a multimeter, confirming polarity and signal flow before installation.
- Safely disconnect power and remove interior panels to access speaker locations without damaging vehicle components.
- Test the audio system with a wide-frequency track after installation to check for distortion, interference, and proper subwoofer integration.
Choose Speakers That Won’t Harm Your Factory Sub
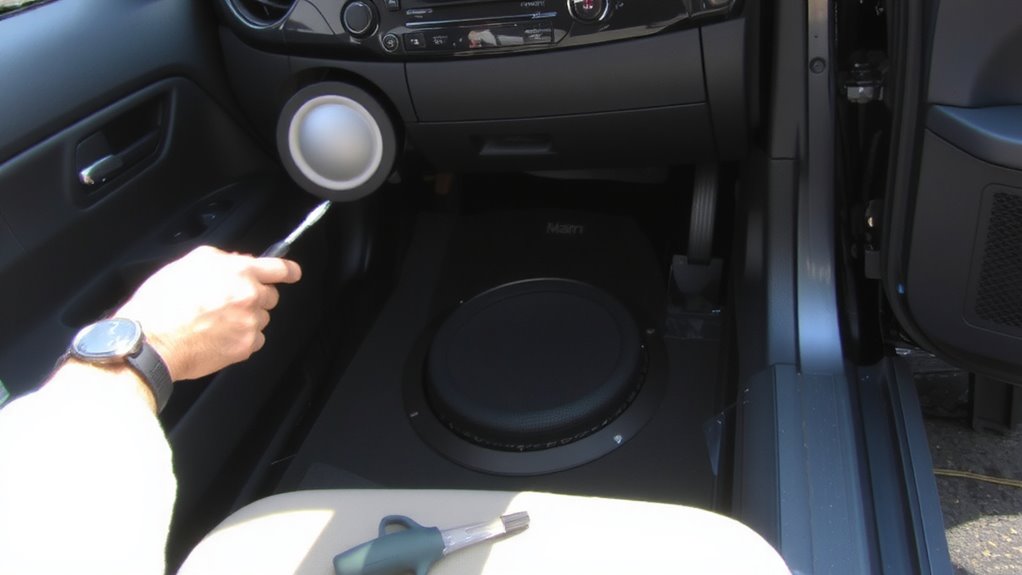
While upgrading your vehicle’s audio system, keep in mind that mismatched speakers can overload or distort the output from your factory subwoofer. Choose replacement speakers with compatible power handling to prevent damage. Most factory subs handle 100–150 watts RMS; exceed this, and you risk overheating or failure. Match your new speakers’ power handling to your amplifier’s output-typically 50–100 watts RMS per channel. Also, check frequency response. Factory subwoofers usually reproduce 40–120 Hz. Full-range speakers with a frequency response of 50 Hz–20 kHz won’t conflict if high-pass crossovers are set above 80 Hz. This lets the sub handle bass below that threshold. Mismatched frequency response causes overlap, muddying sound quality. Use component speakers with adjustable crossovers for precision. Proper pairing guarantees clean output and system longevity. You’re not just replacing parts-you’re balancing the entire audio ecosystem. For top-performing replacements, consider one of the best car door speakers that match both power and frequency requirements.
Find Your Factory Subwoofer Wiring First
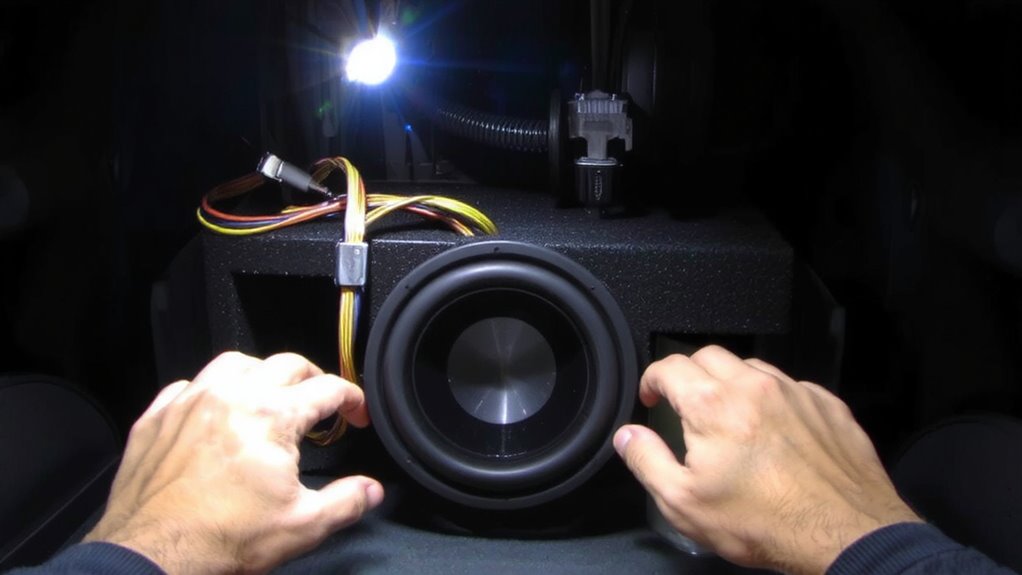
Start by locating the wiring that powers your factory subwoofer, as this step is critical to guaranteeing compatibility with any audio upgrades. This wiring connects directly to the head unit or amplifier powering the sub. Use a multimeter to identify the positive and negative leads, guaranteeing correct wiring polarity-reversed polarity reduces bass response and can damage components. Factory subwoofers typically operate at 4 ohms, so impedance matching is essential when integrating new equipment. Mismatched impedance strains amplifiers, leading to overheating or distorted output. Trace the wires from the sub enclosure to the source, noting gauge thickness-usually 16 to 18 AWG in factory systems. Avoid cutting wires prematurely; instead, label them for reference. Verify signal flow with a test tone before proceeding. Accurate identification guarantees seamless integration, preserving sound quality and system integrity during your upgrade.
Remove Old Speakers Safely
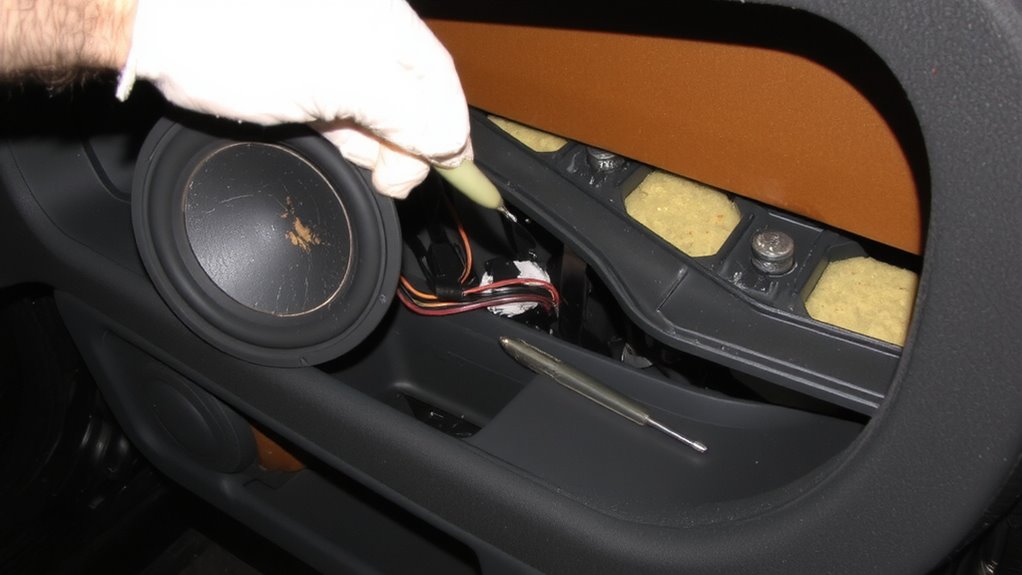
Before you disconnect anything, make sure the vehicle’s power is off to prevent short circuits or damage to the audio system. Speaker removal requires precision and care. Start by removing interior panels using trim tools to avoid cracking plastic. Identify each speaker’s location-front doors, rear deck, or pillars-and inspect mounting screws. Use the correct screwdriver size to prevent stripping. During disassembly, apply wire labeling to keep polarity and channel assignments clear. Match each wire to its terminal: positive (+) and negative (−). Miswiring can distort sound or damage the head unit.
| Location | Speaker Size |
|---|---|
| Front Doors | 6.5 inches |
| Rear Deck | 5.25 inches |
| Dash Speakers | 3.5 inches |
| OEM Grilles | Snap-in fit |
Label every wire pair before cutting connectors. This guarantees correct reconnection later.
Hook Up New Speakers Without Overloading the Sub
You’ve removed the old speakers and labeled all wiring, so now it’s time to connect the new ones without stressing the factory subwoofer. Power matching is essential-your new speakers must handle the head unit’s output, typically 15–30 watts RMS per channel. Exceeding this risks distortion and strain on the factory sub. Check each speaker’s sensitivity rating; 88 dB or higher guarantees efficient sound without extra power demands. Impedance balancing matters too. Most factory systems run 4-ohm loads. Installing 2-ohm speakers drops impedance, increasing current flow and overheating the amplifier. Stick to 4-ohm replacements to maintain electrical balance. Use a multimeter to verify impedance before final installation. Match polarity: positive wire to positive terminal. This preserves phase alignment across the system. Proper connections prevent signal cancellation, especially with the sub operating on the same amplifier. Stay within original specs-this keeps all components, especially the sub, operating safely and efficiently.
Test Your System With the Factory Sub Active
Once the new speakers are securely wired and polarity is confirmed, it’s time to power up the system with the factory subwoofer still active. Play a test track with a wide frequency range to assess overall output. Listen carefully for signal interference, which may appear as buzzing or faint crosstalk, especially at higher volumes. This often stems from shared amplifier channels or poor grounding. Check for bass distortion, indicated by muddy or rattling low-end response. Factory subs typically roll off below 50 Hz, so excessive distortion here suggests amplifier strain or overpowering. Use a multimeter to confirm voltage delivery matches speaker impedance-usually 4 ohms. Adjust gain settings gradually while referencing an SPL meter. Proper calibration guarantees balanced output between new speakers and the factory sub. Document volume levels and clarity at various frequencies to fine-tune output before final installation.
On a final note
You’ve upgraded your speakers without damaging the factory sub. Factory subs typically handle 50–150 watts RMS; stay within this range. Match new speakers to your head unit’s output, usually 15–25 watts RMS per channel. Use impedance-rated speakers (4 ohms) to prevent amp strain. Test playback at low volume first. Confirm phase alignment: (+) to (+), (−) to (−). Proper wiring preserves signal integrity. Your system now delivers balanced, distortion-free sound.