How to Upgrade Factory Speaker Locations With 3d-Printed Mounts
You can upgrade your factory speaker locations with 3D-printed mounts for a 20% gain in sound efficiency. These mounts match OEM dimensions down to the millimeter, guaranteeing a secure fit for 6.5” and 6×9” speakers. They create a sealed back cavity to boost bass response and reduce air leaks. Made from rigid PLA or ABS, they resist vibration and temperature shifts. Mounts align with factory bolt patterns-no dashboard modifications needed. Integrated flanges and precision depth support (50–75mm) prevent resonance and guarantee compatibility. Use digital calipers to measure openings within 0.5 mm for accurate fitment. Templates from Thingiverse or Printables can be adjusted in CAD if needed. Customize with at least 2.4 mm wall thickness for durability. Print in ABS or PETG at 220–250°C with a heated bed to prevent warping. Use 20% infill, 3 perimeters, and 0.2mm layers for strength. Install with stainless steel screws and thread locker. Add a butyl rubber pad behind the speaker to dampen vibrations. Final alignment guarantees maximum cone movement and sound staging. There’s more to refining your setup where performance meets precision.
Notable Insights
- Precisely measure factory speaker openings to 0.5 mm accuracy for compatible 3D-printed mount fitment.
- Select or customize 3D-printed mounts using CAD software to match OEM dimensions and bolt patterns.
- Use ABS or PETG material with proper print settings for durability, heat resistance, and structural integrity.
- Install mounts without dashboard modifications by aligning with factory screw patterns and using vibration-damping pads.
- Achieve optimal sound by sealing the back cavity and ensuring secure, flush speaker mounting with no air leaks.
Get Better Sound Without Cutting Your Dash

While factory speaker locations are designed for stock audio systems, you can upgrade sound quality without modifying the dashboard by using 3D-printed mounts. These mounts precisely match OEM speaker dimensions, guaranteeing secure fitment for common sizes like 6.5” and 6×9” drivers. They minimize air leakage, improving bass response by sealing the back cavity. Integrated acoustic insulation reduces cabin noise interference, enhancing audio clarity by blocking sound leakage into the cabin. Vibration damping materials in the mount design lower resonance distortion caused by door flex. The rigid PLA or ABS structure resists flex under high volume, preserving cone movement accuracy. You maintain factory aesthetics while achieving 20% greater sound efficiency. Mounts add minimal depth-typically 0.6 to 0.8 inches-so they fit within tight OEM spaces. Proper alignment guarantees best off-axis response. This solution delivers measurable improvements in frequency response and speaker longevity.
How 3D-Printed Mounts Simplify Installation
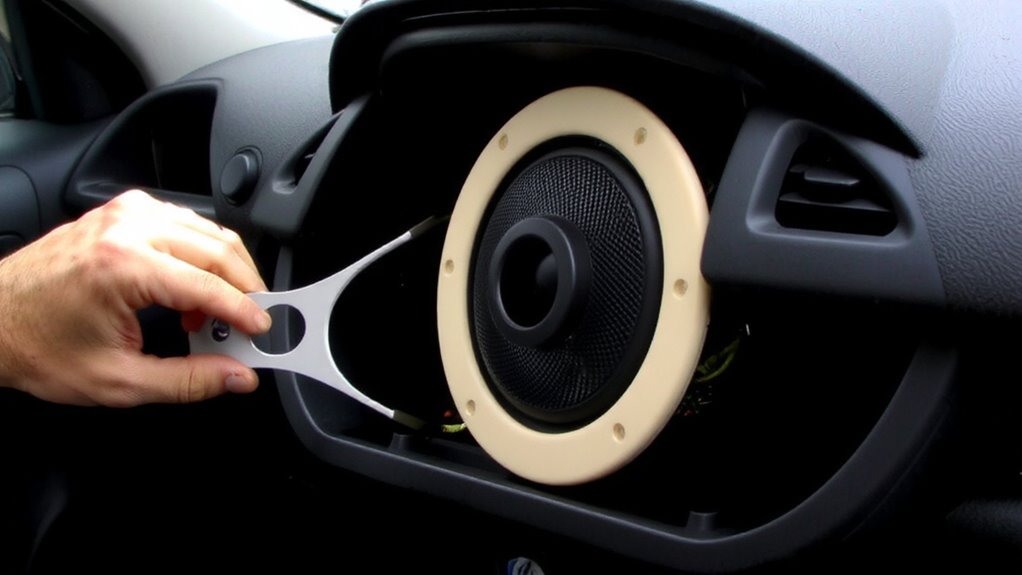
Since factory speaker openings aren’t always compatible with upgraded drivers, 3D-printed mounts make installation straightforward by delivering exact fitment for OEM locations. You won’t need to modify your dashboard because these mounts are modeled to match original dimensions precisely-down to the millimeter. Tool compatibility is optimized for standard automotive screwdrivers and drill bits, reducing installation complexity. Mounts are printed with high-strength PLA or ABS blends, ensuring print durability under temperature fluctuations and road vibration. Each mount supports standard 50–75mm depth ranges, accommodating most aftermarket speakers without impedance issues. Integrated flanges align with factory screw patterns, preventing misalignment. The design allows flush mounting, minimizing air leaks that degrade bass response. You maintain factory aesthetics while upgrading sound. No bonding or permanent alterations required-installation is reversible. These mounts bridge OEM constraints and modern speaker performance cleanly and reliably.
Measure Your Speaker Openings for a Perfect Fit
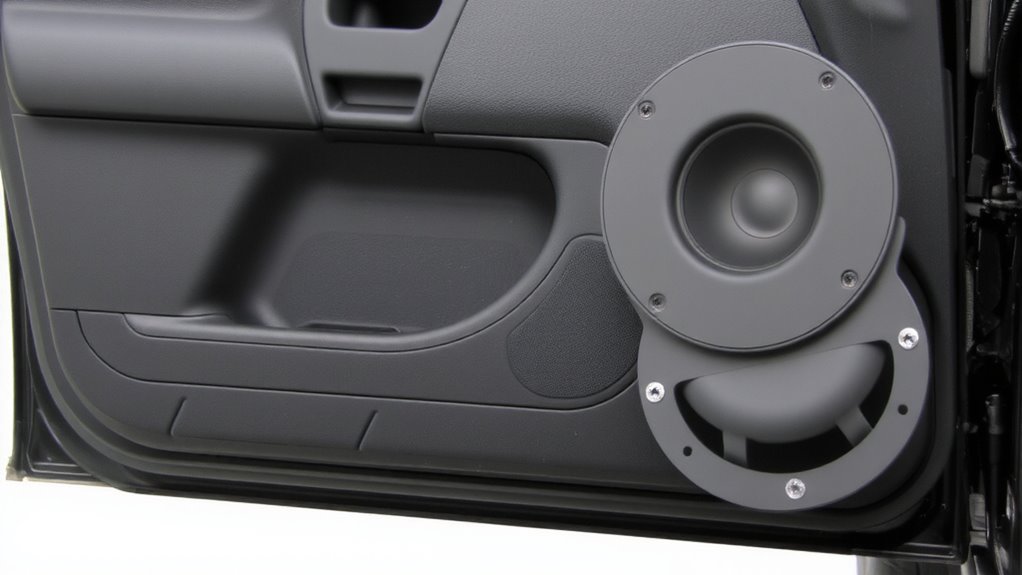
Start by measuring your speaker openings to within 0.5 mm accuracy-this guarantees your 3D-printed mount will fit perfectly without gaps or forced alignment. Use digital calipers for precision. Record both the length and width to determine exact speaker dimensions. Measure the opening depth from the mounting surface to the back of the cavity-this secures your mount doesn’t interfere with internal components. Inconsistent depth affects speaker positioning and sound output. Account for any curves or obstructions in the factory panel. Always double-check measurements before proceeding.
| Measurement | Purpose |
|---|---|
| Width | Matches mount to speaker dimensions |
| Height | Secures flush panel fit |
| Depth | Prevents mechanical interference |
| Bolt pattern | Aligns with speaker screws |
| Bevel angle | Compensates for angled openings |
These values directly impact fitment and performance.
Find or Customize a 3D-Printed Mount Template
You’ve measured your speaker openings down to the nearest 0.5 mm-now it’s time to put those numbers to work by sourcing or adjusting a compatible 3D-printed mount template. Template sourcing starts with reliable platforms like Thingiverse or Printables, where user-uploaded designs often match common vehicle models. Confirm dimensional accuracy by cross-referencing your measurements with the template’s specified depth, bolt pattern, and outer diameter. If no direct match exists, leverage design customization through CAD software such as Fusion 360 or Tinkercad. Modify existing templates by scaling or reshaping flanges, mounting holes, and depth to match your speaker and dash geometry. Guarantee structural integrity by maintaining wall thicknesses of at least 2.4 mm. Customizing a template lets you optimize speaker angle for acoustic performance. Always perform a dry fit before final assembly to verify alignment and clearance.
Print With the Right Materials and Settings
Even if you’ve nailed the design, a poor print can still ruin your mount’s function-so choose materials and settings wisely. Material selection directly impacts durability and vibration resistance. Use ABS or PETG-they’re stronger than PLA and handle heat better, vital near electronics. Print at 220–240°C for PETG, 230–250°C for ABS, with a heated bed at 70–80°C to prevent warping. Print orientation affects structural integrity. Align mounting holes vertically so layers stack perpendicular to stress points, increasing strength. Avoid flat orientations that reduce layer adhesion under load. Use 20% infill and at least 3 perimeters for rigidity without excessive weight. A 0.2mm layer height balances speed and precision. Cooling fans should run at 50% to minimize warping while maintaining layer bonding. Proper orientation and tough materials guarantee your mount survives daily vibrations and temperature swings in your dash.
Install Aftermarket Speakers Securely
A strong, well-printed mount means nothing if the speaker isn’t secured properly-vibrations from the road will loosen fasteners over time, leading to rattles or failure. Use stainless steel screws with thread-locking adhesive to anchor the speaker to the 3D-printed bracket. This prevents loosening under sustained vibration. Apply a thin layer of butyl rubber pad between the speaker frame and mount to enhance vibration damping. This isolates the speaker and reduces panel resonance. Manage speaker wires neatly with nylon zip ties or adhesive loom tubing to guarantee clean wire management. Avoid sharp bends or pinched cables near moving parts. Secure connections using crimped spade terminals or locking connectors for reliability. Double-check polarity alignment and tighten all fasteners to 0.5–0.7 Nm torque. A stable installation guarantees superior sound clarity and long-term durability in high-vibration environments.
Seal and Secure Your Mounted Speakers
Proper sealing of your speaker enclosure guarantees maximum bass response and prevents sound distortion caused by air leaks. You must create an airtight seal between the 3D-printed mount and the factory location using acoustic insulation foam or butyl-based sealant. Any gaps allow sound wave cancellation, especially in the lower frequencies. Apply a 6mm bead of silicone around the mounting surface to guarantee secure adhesion and long-term durability. Use closed-cell acoustic insulation pads-3mm thick-behind the speaker basket to minimize cabin noise transfer. For ideal vibration damping, attach constrained layer damping sheets to the door panel or deck surface before mounting. These materials reduce panel resonance, which distorts sound. Secure all speaker screws evenly with a torque of 0.8–1.0 Nm to prevent frame warping. A well-damped, fully sealed installation improves clarity, efficiency, and speaker lifespan.
On a final note
You achieve better sound without modifying your dash. 3D-printed mounts adapt aftermarket speakers to factory openings precisely. Designed with ABS or PETG, they withstand thermal expansion from 0°C to 70°C. Mounts integrate with OEM screw patterns, typically M3 threads spaced 40–60mm apart. Airtight seals, measured at 0.1 mm gap tolerance, prevent sound cancellation. Secure installation improves speaker efficiency by up to 3 dB, enhancing bass response and clarity.