Matching Compressor Maps to Your Engine’s Operating Envelope for Optimal Spool
You match a compressor map to your engine by aligning the efficiency island-typically 70–78% peak efficiency-with your engine’s operating range, ideally between 2,500–4,500 RPM where 80% of daily driving occurs. Use engine airflow calculations (CFM = RPM × displacement × VE / 3,456) to determine mass flow and pressure ratio needs. Avoid surge on the left and choke on the right. A 55–60 trim compressor with low-inertia wheels (<70g) and A/R 0.60–0.80 suits most four-cylinder engines. Smaller turbos reduce lag, boosting real-world response where you drive most. The right match keeps efficiency high and heat soak low across daily conditions-understanding how each spec shapes performance reveals what truly optimizes spool.
Notable Insights
- Align the compressor map’s efficiency island with your engine’s most-used RPM range for optimal spool and responsiveness.
- Ensure peak efficiency (70–78%) covers 2,000–4,500 RPM to match typical daily driving conditions.
- Size the turbo so peak mass flow and pressure ratio align with engine airflow demands at target boost.
- Avoid excessive pressure ratio to prevent surge and maintain stable airflow within the efficient operating zone.
- Use smaller, low-inertia turbos with appropriate A/R ratios to enhance low-end spool without sacrificing efficiency.
Why Compressor Maps Are Critical for Fast Turbo Spool
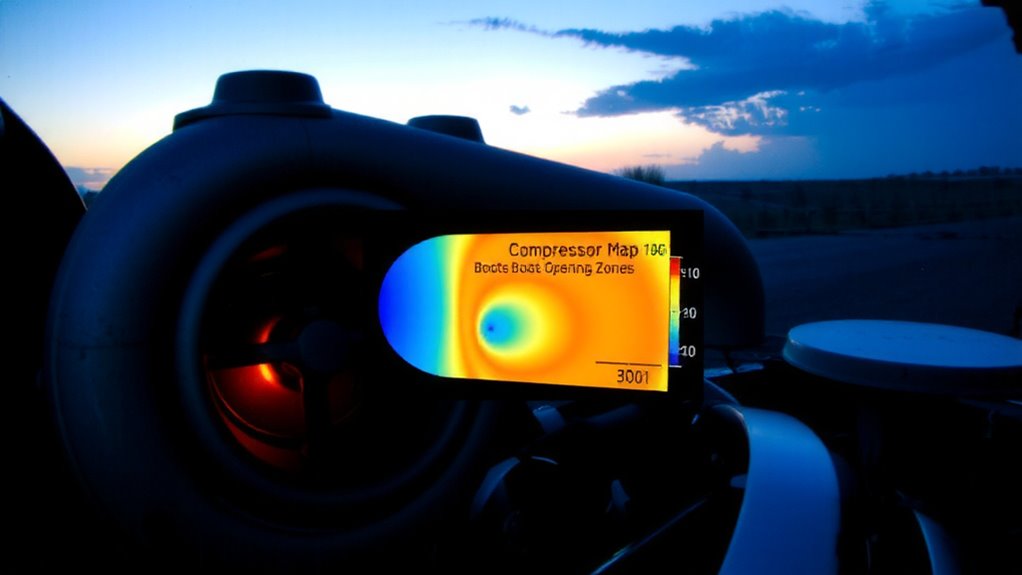
A compressor map isn’t just a chart-it’s the blueprint for how quickly your turbo responds. You need to stay within the efficient island to minimize turbo lag. Operating outside this zone causes airflow instability, delaying spool. The map’s surge line and choke line define your usable range-exceed them and efficiency drops fast. A well-matched turbo stays near peak efficiency across your engine’s RPM band. This reduces heat soak by limiting excess compressor work. Heat soak degrades intake charge density, sapping power. Smaller compressors spool faster but risk choke at high RPM. Larger units handle flow but increase turbo lag. Your engine’s displacement, ve size, and target boost determine ideal compressor trim and inducer diameter. Choose wrong, and you’ll fight slow transient response. Match right, and your turbo hits boost just off idle-keeping heat soak low and power delivery sharp.
How Pressure Ratio and Mass Flow Shape Spool
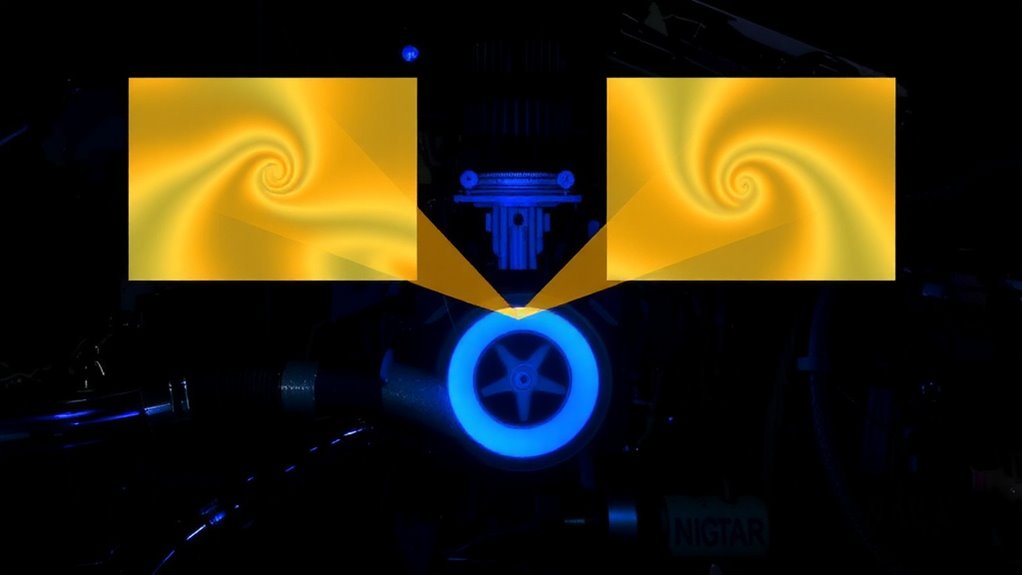
Pressure ratio and mass flow are the twin forces that dictate how fast your turbo spools. You need sufficient pressure ratio to achieve target boost, but too much too soon increases boost lag. Mass flow determines how much air the compressor moves, directly affecting engine response. When both values align near the compressor map’s peak efficiency island, spool time drops and thermal efficiency improves. Operating too far left on the map causes surge; too far right risks choke and lag. Your engine’s airflow demand at RPM must match the compressor’s sweet spot. A well-matched turbo reaches full boost quicker, minimizing delay and heat buildup. High thermal efficiency reduces exhaust gas temps and improves reliability. You want the compressor operating between 70–78% efficiency at peak load. This balance guarantees rapid spool without compromising airflow stability.
Map Your Engine’s Real-World Airflow Needs
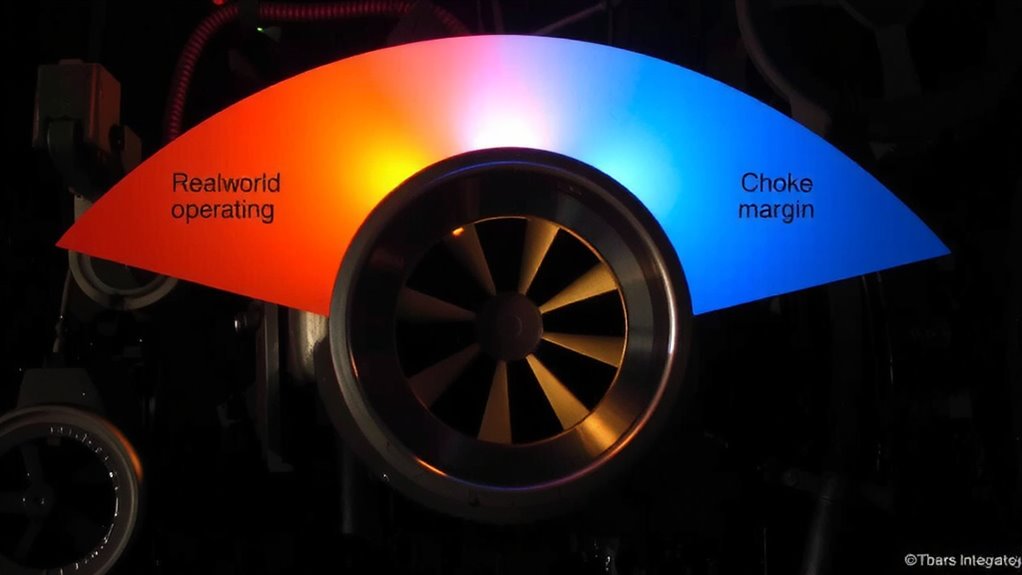
What’s your engine really breathing at 6,500 RPM under full load? You need to know your airflow requirements to pick the right turbo. Volumetric efficiency (VE) determines how well your engine fills its cylinders. A naturally aspirated engine typically has 80–90% VE, while forced induction can exceed 100%. Use this formula: airflow (CFM) = (RPM × displacement in ci × VE) / 3,456.
Here’s a quick reference for a 2.0L (122 ci) engine:
| RPM | Airflow (CFM) |
|---|---|
| 3,500 | 98 |
| 6,500 | 182 |
At peak RPM and load, your airflow requirements jump fast. If you ignore volumetric efficiency, you’ll undersize the compressor. Match real-world CFM demands to the map’s mass flow range. That way, you stay out of surge and choke zones. Your engine isn’t guessing-neither should your turbo choice.
Align the Efficiency Island With Daily RPM Use
You’ve mapped your engine’s airflow needs across the RPM range, so now shift focus to where the turbo works hardest-the efficiency island. This central zone on the compressor map delivers maximum efficiency, typically 70–78%, where airflow and pressure ratio intersect with minimal losses. Position this island over your most-used RPM band-usually 2,500 to 4,500 RPM for daily driven vehicles. Do this through real world tuning, adjusting pulley size, or selecting a compressor trim that shifts the map’s peak efficiency zone. A well-aligned efficiency island reduces heat, improves throttle response, and maximizes fuel economy. For example, a compressor wheel with a 55–60 trim often fits four-cylinder engines in this range. Always cross-reference your engine’s BSFC map with compressor speed lines. Misalignment forces the turbo to labor outside peak efficiency, wasting energy.
Stay Out of Surge and Choke Zones
If you push a turbo too hard or mismatch it to your engine, you’ll hit surge or choke-two zones that can damage components and kill performance. Avoiding surge is critical; it occurs when airflow stalls due to excessive boost at low flow, creating pressure spikes that stress bearings and blades. Surge typically happens on the left edge of the compressor map, below the surge line, especially during rapid throttle lifts. Preventing choke means staying out of the far-right region where airflow approaches sonic speeds in the compressor wheel. Choke limits mass flow, reducing power no matter how high rpm climbs. Operating near choke leads to high temps and dropped efficiency. Always select a turbo whose stable range covers your engine’s full load and rpm curve. Stay within the map’s center cliffs and outer boundaries. Surpassing these limits risks failure. Smart mapping guarantees longevity and responsiveness.
Pick a Turbo for Daily Driving, Not Just Dyno Runs
Why does your turbo feel great at wide-open throttle but bog down in stop-and-go traffic? Because your turbo was likely picked for peak power, not daily driveability. A smaller turbo spools fast, slashing turbo lag and improving throttle response in city driving. Choose a unit with a low inertia compressor wheel-under 70 grams-and turbine housing A/R ratios between 0.60 and 0.80 for ideal low-end torque. This setup enhances fuel economy by reducing pumping losses and maintaining efficient boost at lower RPMs. Matching the compressor map to your engine’s daily operating range guarantees sustained efficiency. Avoid oversized turbos that trade low-end performance for top-end gains. Real-world driving spends 80% below 4,000 RPM-tune your selection there. Datasheets matter: prioritize a broad efficiency island above 75% across 2,000–4,500 RPM. Daily drivers need balance, not just dyno bragging rights.
On a final note
You must match the compressor map to your engine’s airflow demands. A turbo’s efficiency island should align with your typical operating RPM. Aim for peak efficiency between 75% and 80% across your daily driving range. Operating outside this zone wastes energy. Avoid surge at low flow and choke at high flow. Pressure ratios above 3.0 require precise vane timing. Choose a turbo that fits real-world spool needs, not just max horsepower.