Refurbishing Vintage Carburetors With Modern Adjustable Jet Blocks
You can upgrade your vintage carburetor with a modern adjustable jet block for precise fuel control. Match the block to your carb’s thread pitch-typically M8 or 1/4″-28-and 1.25″–1.5″ outer diameter. Use CNC-machined brass or stainless steel blocks for durability. Install with a factory-spec gasket and torque screws to 65 in-lbs. Adjust fuel delivery for altitude and temperature changes, fine-tuning without jet swaps. Proper setup avoids misalignment, thread damage, and lean conditions-common issues that compromise performance. There’s more to optimizing your system than just installation.
Notable Insights
- Match modern adjustable jet blocks to vintage carburetor thread pitch and bore diameter for proper fitment.
- Use CNC-machined brass or stainless steel jet blocks to ensure durability and fuel compatibility.
- Replace old gaskets with correct-spec reproduction kits to maintain vacuum seals during refurbishment.
- Adjust jetting 3–5% per 1,000 feet altitude and 4–6% for heat to optimize fuel-air ratios.
- Hand-start jets and torque to 8 lb-ft max to prevent thread damage in aluminum carburetor bodies.
Choose the Right Adjustable Jet Block for Your Carb
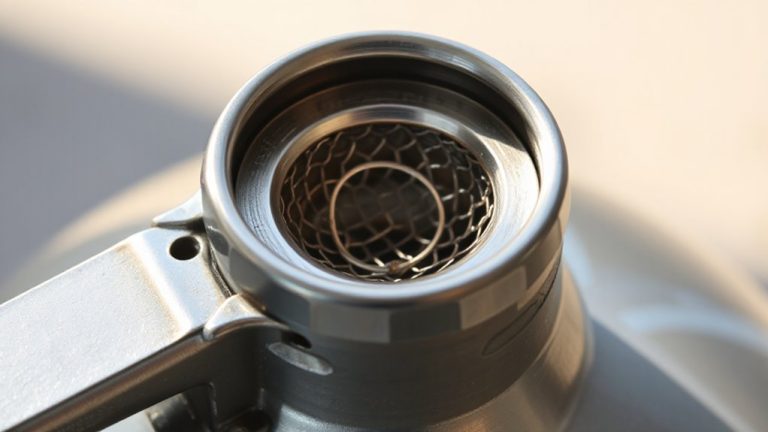
Why does your carburetor’s jet block matter? It controls fuel delivery precision and long-term reliability. You need proper jet compatibility to match your engine’s airflow and fuel demands. Mismatched jets disrupt air-fuel ratios, causing poor idle or hesitation. Choose an adjustable jet block designed for your carb model-Weber IDF, Solex 4A1, or Carter AFB require specific thread pitches and bore diameters. Most modern blocks use 1.25″–1.5″ O.D. with M8 or 1/4″-28 threads. Check specifications before buying. Block durability is critical-look for CNC-machined brass or stainless steel construction. These resist corrosion and wear far better than pot-metal originals. A durable block maintains thread integrity even after repeated adjustments. High-quality seals prevent leaks at pressure ranges up to 7 psi. Think of it like suspension bushings: soft materials degrade; rigid ones last. Choose right, and you’ll save time and avoid fuel tuning headaches later.
Install an Adjustable Jet Block (Step-by-Step)
One precise adjustment can make the difference in achieving ideal fuel delivery when installing an adjustable jet block. Begin by removing the old jet block and inspecting the carburetor body for warping or corrosion. Use a factory-spec carburetor gasket selection to guarantee a vacuum-tight seal-modern silicone-coated paper or copper gaskets work best. Install the new adjustable jet block with thread-locking compound on the mounting screws to prevent loosening from vibration. Torque screws to 65 in-lbs in a crisscross pattern. Verify throttle linkage alignment so the linkage moves freely without binding or excess play-misalignment causes erratic idle and hesitation. Confirm stop screw contact at closed throttle with a.003″ clearance. Double-check all connections for leaks using carb cleaner while the engine idles. Proper alignment and sealing guarantee accurate fuel metering and long-term reliability.
Tune Fuel for Altitude, Temperature, and Power
How does your engine respond when the air thins at 8,000 feet or sizzles at 100°F? Changes in altitude and temperature directly affect air density, altering your carburetor’s fuel-to-air ratio. At higher elevations, you need less fuel; in hotter conditions, oxygen levels drop, demanding fuel enrichment. Your adjustable jet block lets you fine-tune main jet settings without disassembly-critical for maintaining peak performance. Use air correction techniques: increase air bleed size to lean the mixture when oxygen is scarce. Conversely, reduce air bleed to enrich when air cools and densifies. For every 1,000 feet gain in altitude, adjust jetting by 3–5%. In extreme heat, a 4–6% fuel enrichment prevents lean misfires. Precision adjustments guarantee consistent combustion, maximum power, and engine protection across environments.
Solving Poor Tuning in Classic Carburetors
What happens when your classic carburetor just won’t run right-sputtering at idle, hesitating on acceleration, or overheating under load? Poor tuning often stems from clogged passages or degraded seals. Begin with thorough carburetor cleaning using an ultrasonic bath to dissolve varnish and debris from metering circuits. Inspect all emulsion tubes and idle channels; even minor blockages disrupt fuel flow. Worn or hardened gaskets leak air, throwing off mixture balance. Perform a complete vintage gasket replacement using reproduction kits with correct thickness and material specs-typically cork or rubber-composite. Use torque sequences specified by the manufacturer when reassembling. Check float level precisely; a variance of just 0.030″ alters fuel pressure. Verify throttle shafts for play exceeding 0.002″; wear here introduces unmetered air. These steps restore baseline function before fine-tuning.
Get Perfect Fuel Mix Without Swapping Jets
Why struggle with jet swaps when adjusting air bleeds and mixture screws can dial in the perfect fuel curve? Modern adjustable jet blocks let you fine-tune fuel delivery without removing jets. You control idle, midrange, and high-speed circuits precisely. Small changes to air bleed screws alter atomization, enriching or leaning the mixture on demand. This adjusts the fuel curve smoothly, enhancing throttle response and fuel economy. Mixture screws let you set idle mixture within fractions of a turn. Need more low-end torque? Open the idle air bleed slightly. Tuning by ear works, but using an exhaust gas analyzer gives exact AFR readings-target 14.7:1 at cruise for peak fuel economy. At wide-open throttle, aim for 12.8:1 for power. Adjustable blocks typically offer ±30% fuel adjustment. You can adapt to altitude or fuel type instantly. No disassembly. No guesswork. Just ideal combustion.
Avoid These Adjustable Jet Mistakes
Where do most tuners go wrong with adjustable jets? You often overlook jet misalignment during installation. Even a slight angular deviation-just 2 to 3 degrees-can disrupt fuel flow symmetry, causing lean spots or erratic idling. Always hand-start the jet first; forcing it risks thread stripping in softer billet aluminum blocks. The threads are typically 1/8″-27 NPT-tight but fragile. Use a 1/4″ drive torque wrench with a maximum of 8 lb-ft. Over-tightening exceeds yield strength, leading to permanent damage. Jet misalignment also stresses the O-ring seal, increasing leak potential by up to 40%. Clean debris before seating, as particulates magnify misalignment effects. Adjustable jets rely on precision seating for accurate fuel metering-any compromise undermines tuning. Replace damaged jets immediately; mismatched threads skew calibration. Remember: smooth adjustments depend on proper setup. A well-installed jet lasts thousands of miles. Skip the shortcuts-your vintage carb deserves better.
On a final note
You now have precise control over your vintage carburetor’s fuel delivery. Adjustable jet blocks replace fixed jets with threaded, fine-tuned needles and springs, typically allowing adjustments from 0.028 to 0.065 inches in diameter. They maintain consistent air-fuel ratios across altitudes and temperatures. Properly installed, they reduce hesitation and improve throttle response. Avoid over-tightening brass components; use thread sealant rated for fuel. This system delivers peak performance without constant jet swaps.