DIY Guide: Replacing a Clutch Master Cylinder on a Performance Sedan
You’ll need to disconnect the battery and remove the hydraulic line from the clutch master cylinder using a 10mm wrench. Drain old fluid safely, then unbolt the unit from the firewall. Install a bench-bled replacement with a matching bore size-typically 0.75 to 1 inch-and align the pushrod. Bleed the system using the pump-and-hold method until 150–200ml of clean, bubble-free DOT 3 or 4 fluid flows. A soft pedal or leakage signals incorrect torque, seal failure, or air ingress; guarantee fittings are tightened to 7–9 Nm. Master cylinder performance relies on a smooth 14–19mm bore to maintain 80–120 psi-improper setup compromises clutch engagement. The signs of failure reveal deeper system issues worth understanding.
Notable Insights
- Disconnect the battery and drain old fluid to prevent spills and electrical issues during replacement.
- Remove hydraulic lines and mounting bolts, inspecting for leaks or contamination before installing the new unit.
- Use a bench-bled master cylinder to minimize air entry and ensure consistent pedal feel post-installation.
- Torque mounting bolts to 8–10 ft-lbs and align pushrod with clutch pedal to prevent binding or uneven wear.
- Bleed the system using the pump-and-hold method until fluid flows clear and free of air bubbles.
Remove the Old Clutch Master Cylinder
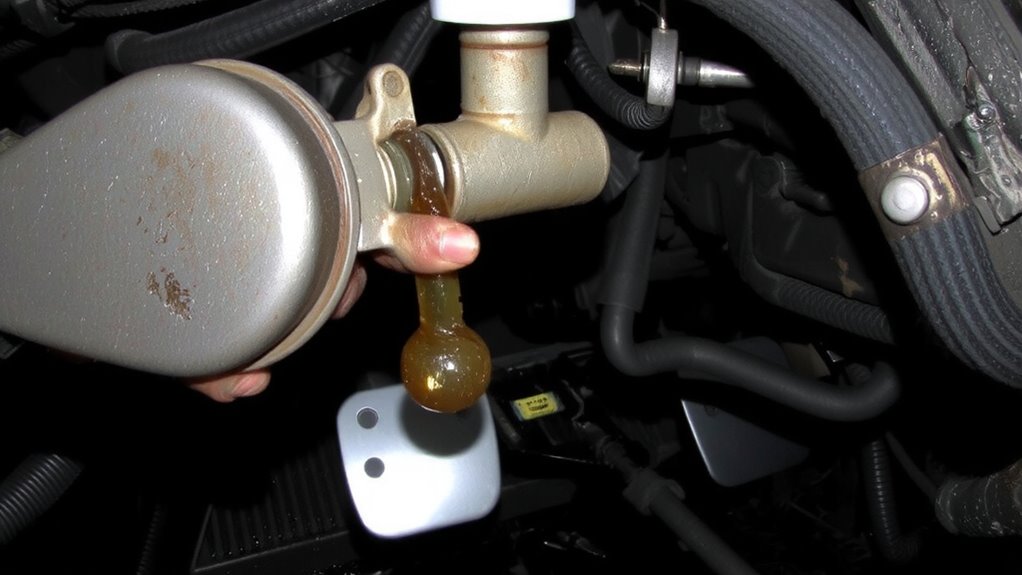
Before you begin removing the old clutch master cylinder, make certain the vehicle is securely parked on a level surface with the engine off and the parking brake engaged. Disconnect the negative battery terminal to prevent electrical hazards. Locate the master cylinder near the firewall, attached to the clutch pedal assembly. Drain residual clutch fluid using a hand pump to minimize spillage and prevent clutch fluid leakage. Carefully detach the hydraulic line with a 10mm wrench-cap or plug it immediately to avoid air ingress and hydraulic system contamination. Remove the mounting bolts securing the cylinder to the firewall. Always wear gloves and eye protection; brake fluid damages paint and corrodes components. Inspect the area for moisture or residue indicating prior leaks. Contaminated fluid appears dark or cloudy and must not be reused. Proper handling preserves system integrity and guarantees reliable clutch operation during reassembly.
Replace It With a Bench-Bled Unit
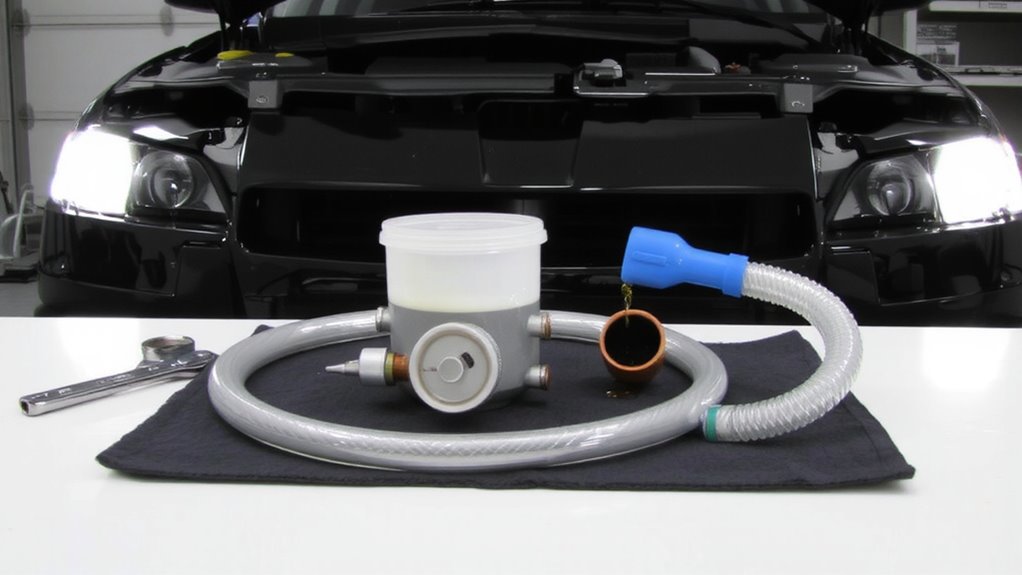
You’ll want to install a bench-bled clutch master cylinder to minimize air in the hydraulic system and streamline bleeding later. Bench testing the unit before installation guarantees internal components are properly seated and initial air is purged. Fill the reservoir with the correct fluid specified by the manufacturer-typically DOT 3 or DOT 4-checking fluid compatibility to prevent seal degradation or system failure. Verify the bore size matches the original unit, usually 0.75 to 1 inch, to maintain proper hydraulic pressure. Mount the cylinder securely using a torque wrench to achieve 8–10 ft-lbs at the mounting bolts. Align the pushrod with the clutch pedal arm to prevent binding. A pre-bled master reduces system contamination and improves response time. Confirm all connections are tight and free of leaks before proceeding. This step greatly reduces time during final system pressurization.
Bleed the Clutch System for a Firm Pedal
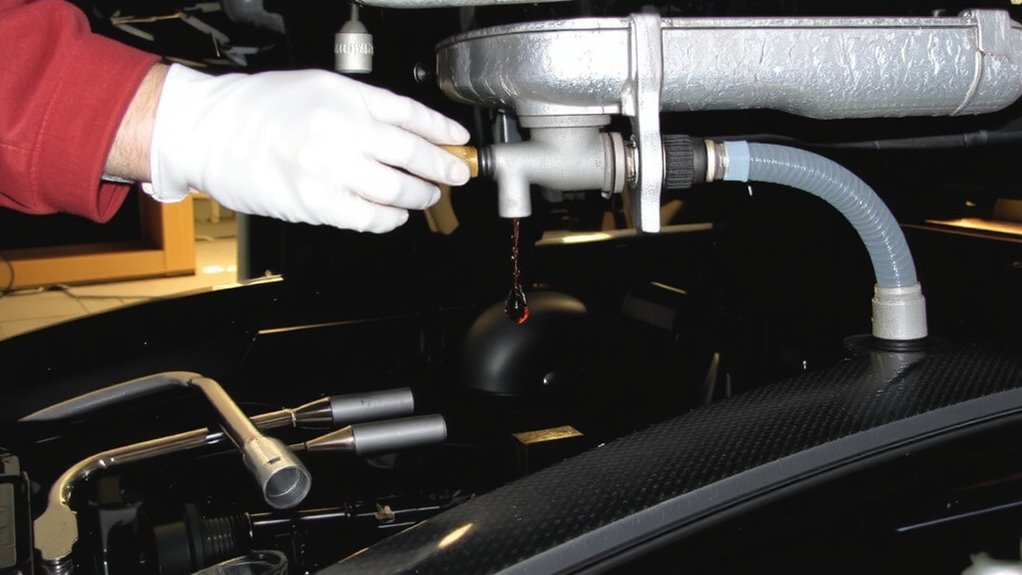
Why does your clutch pedal feel spongy after installation? Pedal sponginess usually points to air entrapment in the hydraulic system. Air bubbles compress under pressure, reducing transfer of force from the master cylinder to the slave-leading to a soft or sinking pedal. Proper bleeding removes this trapped air, restoring firmness and precise engagement.
Use the pump-and-hold method with a clear hose and catch container. Bleed until fluid flows without bubbles. Refer to your service manual for torque specs-typically 7–9 Nm on the bleeder valve.
| Step | Action | Detail |
|---|---|---|
| 1 | Depress pedal | Slowly, five times |
| 2 | Open bleeder | During final press |
| 3 | Close valve | Before pedal release |
Flushing volume is typically 150–200ml DOT 4 fluid. Complete cycles until pedal feel is solid. Eliminating air entrapment guarantees peak modulation and clutch response.
Fix Common Installation Mistakes
Even small oversights during clutch master cylinder installation can lead to poor pedal response or system failure. Improper alignment of the pushrod and master cylinder piston causes inconsistent engagement. Make certain the pushrod has 1–2 mm free play before contact; otherwise, the system may not disengage fully. Always verify the mounting flange is flush and secure-use a torque wrench to tighten bolts to 8–10 Nm in a crisscross pattern. Misaligned fittings or loose connections lead to fluid leakage, which compromises hydraulic pressure. Inspect all lines for kinks and use OEM-approved brake fluid (DOT 4). Bleed the system only after confirming zero leaks. Replace damaged seals or banjo washers immediately-they’re common leakage sources. Double-check reservoir cap seals and fluid level. A well-installed master cylinder ensures precise actuation, reducing clutch slippage and extending drivetrain life.
Know the Warning Signs of Failure
A failing clutch master cylinder often reveals itself through noticeable changes in pedal behavior and system performance. You’ll feel a soft or spongy pedal, indicating air in the hydraulic system or internal fluid leakage. Pedal vibration under pressure suggests worn seals or contamination in the fluid line. If the pedal stays to the floor, master cylinder bore corrosion is likely compromising seal integrity. Clutch slippage occurs when the engine RPM rises without corresponding acceleration, meaning the clutch fails to engage fully-commonly due to insufficient hydraulic pressure from a failing master cylinder. Check for visible fluid leaks near the firewall or under the dash. Typical bore sizes range 14–19mm; even minor scoring disrupts pressure, which must maintain 80–120 psi for proper disengagement. Early detection prevents damage to the release bearing and dual-mass flywheel.
On a final note
You’ve replaced the clutch master cylinder and bled the system properly. A firm pedal confirms correct hydraulic function. Make sure the fluid reservoir contains DOT 4 fluid, as higher boiling points prevent vapor lock under performance driving. Double-check all lines for leaks-especially at the slave cylinder. The master cylinder pushrod must have minimal freeplay: 1–2 mm is ideal. This ensures precise clutch engagement. Done right, the repair restores factory-level responsiveness and drivability.