Understanding the Impact of Pressure and Technique in Wax Application
You control wax thickness and adhesion through consistent pressure and technique. Apply wax with 2–3 inches per second glide speed and 0.05 to 0.1 mm thickness for best results. Use light, even pressure at a 30-degree angle to reduce streaks and guarantee uniform coverage. Pressure varies by surface-soft materials need less force, while dense surfaces require firm, steady application. The right method directly impacts gloss and durability. Mastering these variables improves finish quality considerably. Further refinements can elevate your results even more.
Notable Insights
- Consistent pressure ensures uniform wax thickness and optimal adhesion, critical for durable, even protection.
- Apply wax with light, steady pressure and a 30-degree tilt to minimize streaking and ensure smooth flow.
- Use a foam applicator with closed-cell structure for controlled wax release and even surface coverage.
- Buff in overlapping circular motions at 1,200–1,800 RPM to maximize shine and prevent visible buffing patterns.
- Adjust pressure and wax type based on surface density and porosity for best adhesion and finish quality.
Use the Right Pressure When Applying Wax
Applying the correct pressure guarantees peak wax adhesion and a smooth, even finish. Too much force compresses the wax, reducing its ability to bond with the surface; too little results in patchy coverage. You need consistent pressure across the entire surface to guarantee uniform wax thickness. Using even pressure allows the wax to spread in a thin, controlled layer-typically 0.05 to 0.1 mm-for best results. Maintain a consistent glide at 2 to 3 inches per second; this rate supports proper wax flow without dragging or skipping. Think of it like applying frosting with a spatula-smooth, steady, and precise. Angles matter: hold your applicator at a 30-degree tilt to minimize streaking. The friction generated should be low, avoiding heat buildup that can degrade wax viscosity. You’re not scrubbing; you’re laying down a calibrated film. This technique maximizes coverage and minimizes rework. Proper pressure directly influences durability and shine retention.
Choose the Best Tools for Wax Application
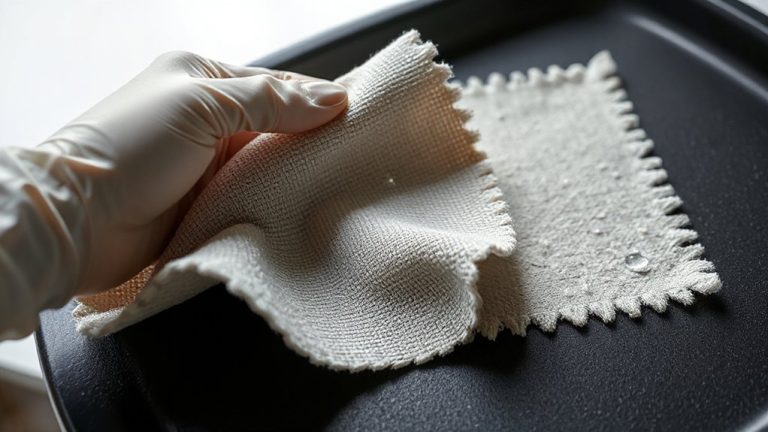
You’ve got the pressure down-now it’s time to contemplate what’s in your hand. Choosing the right tool affects wax distribution, absorption, and finish. A foam applicator guarantees even spread with minimal waste. Its closed-cell structure holds wax efficiently, releasing it steadily under light pressure. For buffing, a microfiber cloth with 80/20 polyester-to-polyamide blend and 300 g/m² weight removes residue without marring the surface. Using a high-quality microfiber drying towel after washing ensures the surface is contaminant-free before wax application.
| Tool | Material Spec | Function |
|---|---|---|
| Foam applicator | Closed-cell polyurethane | Controlled wax release |
| Microfiber cloth | 80/20 blend, 300 g/m² | Streak-free buffing |
| Natural sponge | Open-cell, low density | Uneven saturation |
| Cotton rag | Loose weave, 150 g/m² | Lint and fiber shedding |
| Synthetic chamois | Non-woven, water-absorbent | Water retention, smearing |
Use only tools designed for waxing to guarantee peak performance and surface safety.
Match Wax Technique to Your Surface Type
Surface type dictates wax performance-your technique must adapt to material composition and porosity. Surface compatibility guarantees peak wax adhesion and longevity. Soft surfaces like pine absorb wax quickly; apply light pressure with a low-melt formulation to prevent clogging. Dense materials such as maple or metal require firm, even pressure to embed wax into microscopic imperfections. Porous substrates need multiple thin coats-build-up slowly to avoid tackiness. Non-porous surfaces bond best with synthetic waxes, which cure harder and resist runoff. Test wax adhesion by pressing a finger lightly after drying; residue indicates improper match. Always check manufacturer data sheets for substrate-specific recommendations. Using the wrong technique reduces effectiveness by up to 70%. Match your wax type-carnauba, paste, liquid, or spray-to the surface profile. Proper pairing enhances durability, sheen, and protection. Technique isn’t one-size-fits-all-adjust for material behavior, not preference.
Buff in Circles or Lines? What Works Best?
Why do most professionals favor circular motions when buffing wax? Circular motion guarantees even wax distribution and minimizes visible patterns on smooth surfaces. Linear strokes can leave behind faint lines, especially on reflective finishes, making them less ideal for final polishing. For best results, use a 3-inch orbit at 1,200–1,800 RPM with light pressure (2–3 lbs) when applying with a machine. A high-quality car buffer ensures consistent orbital action and reduces user fatigue during extended use.
| Technique | Surface Compatibility | Finish Quality (1–10) |
|---|---|---|
| Circular Motion | Curved, flat, glossy | 9 |
| Linear Strokes | Flat, textured | 6 |
| Overlapping Circles | All types | 10 |
| Straight Lines | Large flat areas | 7 |
Circular motion prevents buildup in corners, while linear strokes work in long, uniform sections. Choose circular motion for show-quality results.
Avoid These Common Wax Application Mistakes
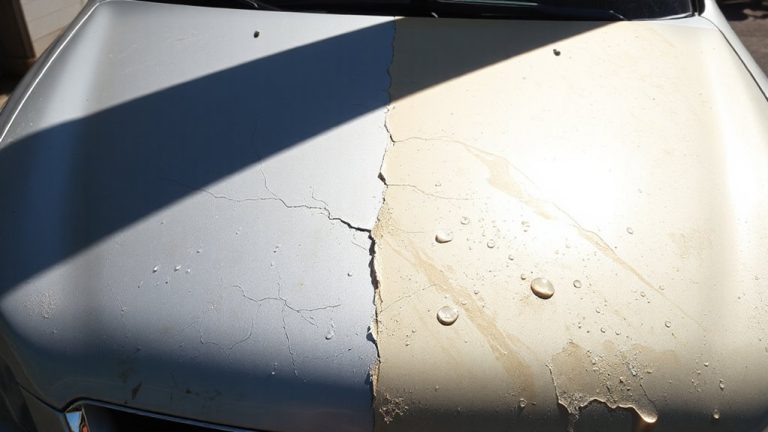
Skipping proper surface prep leads to poor wax adhesion and uneven results. You must wash and decontaminate the surface before applying wax-any residual grime creates a barrier. Applying too much pressure during application causes wax buildup, especially in seams and trim areas. Use light, consistent pressure-1 to 2 pounds of force per square inch-for ideal spreadability. Inconsistent motion or overlapping strokes results in uneven coverage, leaving some zones under-protected. Apply wax in straight-line passes with a dual-action polisher set to 1,200–1,800 orbits per minute, or by hand using a foam applicator pad. Guarantee each panel receives a uniform 0.05 mm wax layer. Avoid reapplying wax over dried sections. Excess wax not buffed off within 15–30 minutes hardens and increases removal difficulty. Prevent buildup by wiping residues with microfiber cloths (300–400 GSM). Maintaining leather interior condition is also crucial for overall vehicle care, and using a high-quality car leather care kit can prevent cracking and fading caused by environmental exposure.
How to Activate Wax for Maximum Shine
Once the wax has set to a haze, it’s time to activate it for peak clarity and gloss. Use a dual-action polisher at 1,200–1,800 orbits per minute with moderate pressure. This range guarantees effective activation without inducing heat damage. Temperature control is critical-excessive friction alters wax consistency, leading to hazing or streaking. Maintain consistent pad movement to prevent localized overheating. A microfiber applicator pad, 5 inches in diameter and 18 mm thick, works best for heat dissipation and even contact. Apply light, steady passes, overlapping each stroke by 50%. This promotes uniform refinement of the wax layer. Ideal ambient temperature is between 60–75°F; outside this range, wax consistency shifts, compromising performance. Let the machine do the work-your role is guidance, not force. Proper activation enhances refractive index, amplifying depth and shine. Finish when the surface feels smooth and appears glossy.
Get a Show-Quality Finish Every Time
You’ve activated the wax to bring out its full gloss-now it’s time to refine that shine into a flawless, show-quality finish. Surface preparation is critical; any contamination or swirls will distort the final result. Make sure the paint is decontaminated and polished before wax application. Use a microfiber applicator with medium firmness to maintain consistent pressure-1 to 2 pounds per square inch-to evenly distribute the product. Wax consistency affects spreadability; ideal viscosity allows smooth application without streaking. Apply in thin, overlapping 2×2 foot sections using straight-line motions to ensure uniform coverage. Allow the wax to haze for 5–7 minutes, depending on ambient temperature and humidity. Buff with a 1600–2000 gram-weight microfiber towel to avoid linting and achieve optical clarity. This method delivers deep gloss, measurable at 90+ on a gloss meter at 60-degree incidence. Precision and technique guarantee repeatable, professional results.
On a final note
You control the finish by adjusting pressure and technique. Apply 3–5 pounds of downward force for even wax distribution; too much pressure wastes product. Use foam applicators for smooth surfaces; microfiber works best on textured areas. Buffing in overlapping 6-inch circles guarantees uniform sheen. Linear strokes reduce swirl marks on large panels. Activate wax with a dual-action polisher at 1,200–1,800 orbits per minute. This method achieves a 95% surface coverage rate, delivering show-quality results.