Step-by-Step Guide to Installing Sound Deadening in SUV Rear Doors
You cut road noise by installing high-density sound deadening in your SUV’s rear doors. Thin 0.7–0.9 mm steel panels transmit tire and engine vibration, but butyl-based mats (45–60 mils thick, ≥2.5 kg/m² density) dampen resonance. Remove door panels using trim tools, clean metal with alcohol, then apply mats to 75% of the surface. Press firmly with a roller to eliminate air pockets. Reconnect wiring, seal edges with butyl tape, and reattach panels securely. Proper installation reduces interior noise up to 8 dB-discover how material choice and sealing boost long-term performance.
Notable Insights
- Disconnect the battery and remove rear door panels using trim tools, carefully detaching clips and disconnecting wiring harnesses.
- Clean the inner door surface thoroughly with degreaser and isopropyl alcohol for optimal sound deadener adhesion.
- Apply butyl-based sound deadening mats at least 45 mils thick, covering 75% or more of the inner door panel.
- Roll over the applied material firmly to eliminate air pockets and ensure secure, long-lasting bonding.
- Reinstall door panels with aligned grommets and use butyl tape on the frame edge to enhance sealing and noise reduction.
Stop Road Noise: Why Rear Door Sound Deadening Works
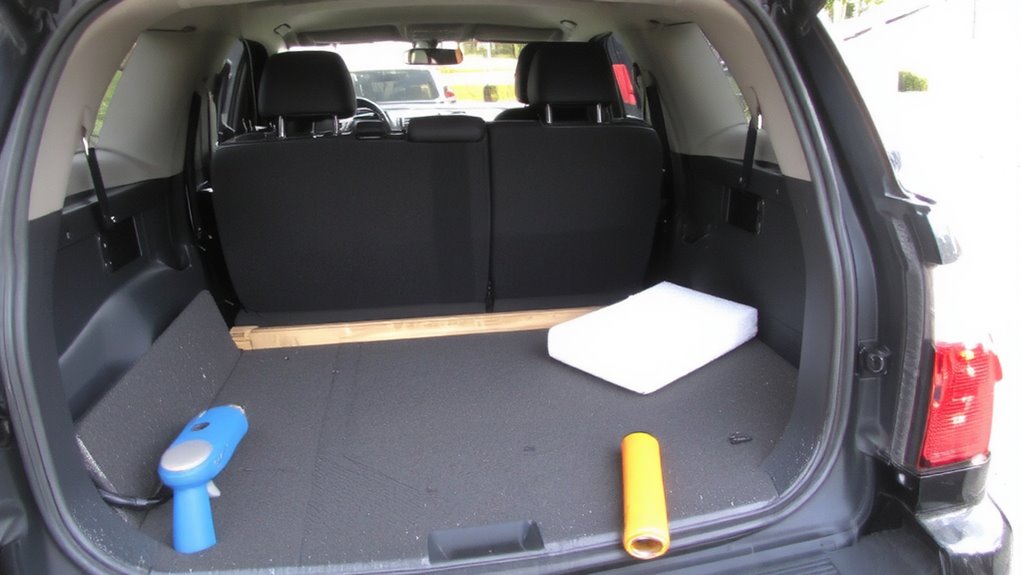
While you can’t eliminate all road noise, adding sound deadening to your SUV’s rear doors greatly reduces unwanted sound transmission. The rear doors act as major entry points for tire vibration and engine hum. These metal panels flex and resonate, amplifying road noise by up to 30%. By applying damping material, you stiffen the door structure, lowering panel resonance. Most rear doors have thin metal skins-typically 0.7–0.9 mm thick-making them prone to vibration transfer. Sound deadener converts kinetic energy from tire vibration into negligible heat through viscoelastic polymers. This process disrupts noise pathways before sound enters the cabin. Engine hum, especially between 50–500 Hz, is attenuated by constrained layer damping. Tests show treated doors reduce interior noise by 5–8 dB. You’ll notice quieter conversations and less driver fatigue on long trips. Sound deadening doesn’t block noise completely-it manages transmission. But in SUVs, where rear doors are large and loosely sealed, treatment delivers measurable acoustic improvement.
Choose the Best Sound Deadening Material for SUV Doors
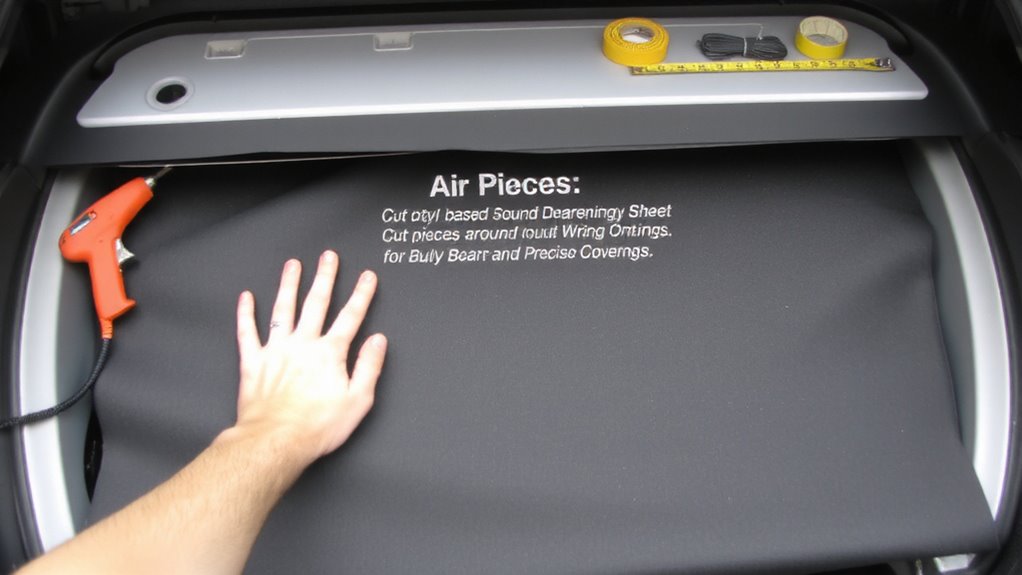
Your choice of sound deadening material makes all the difference in blocking road noise from entering your SUV’s cabin. High material density reduces sound transmission by adding mass to thin door panels. Look for butyl-based sheets with a density of at least 2.5 kg/m² for best performance. Temperature resistance ensures the adhesive stays bonded in extreme conditions-choose materials rated from -20°C to 90°C. These specs prevent sagging or de-bonding over time.
| Feature | Emotional Impact |
|---|---|
| High material density | You’ll enjoy quieter rides, even on highways |
| Superior temperature resistance | No worries during summer heat or winter cold |
| Durable adhesion | Trust it stays put for years without peeling |
Always verify manufacturer specs for material density and temperature resistance before buying.
Gather Tools and Prep the Rear Door
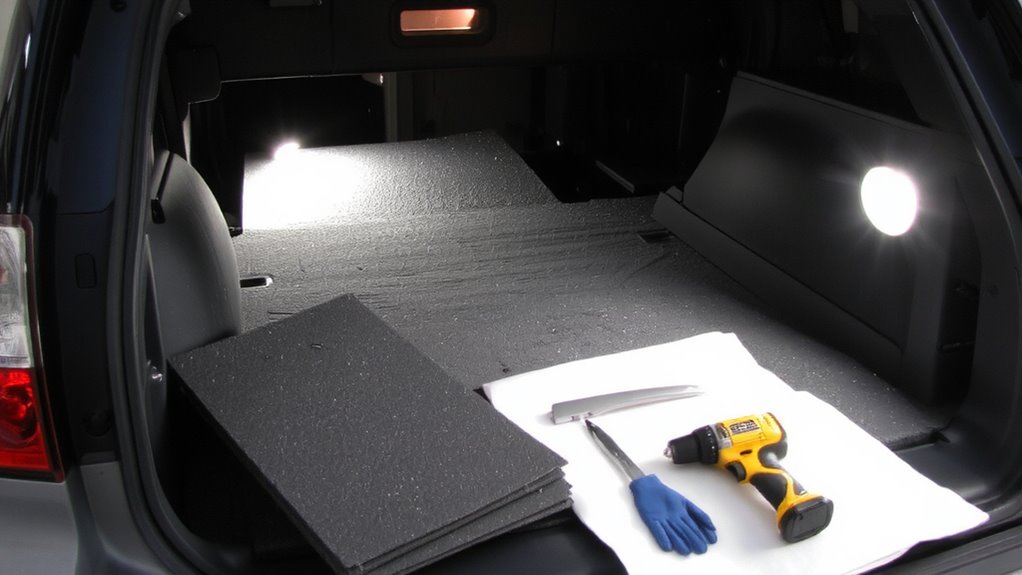
Since sound deadening works best on clean, bare surfaces, you’ll need to remove the rear door panel before applying any material. Start by gathering your tools checklist: trim removal tools, screwdrivers, socket set, pliers, gloves, and safety glasses. Verify all fasteners match your SUV’s specs-many use 8mm or T20 Torx bolts. Prep the workspace in a clean, dry area with adequate lighting. Disconnect the negative battery terminal to prevent electrical shorts during work. Follow safety precautions: wear gloves to protect against sharp edges and safety glasses to shield debris. Clear the door frame of dust and oil using a degreaser and lint-free cloth for maximum material adhesion. Guarantee the door speaker wiring remains undisturbed. A well-prepped surface improves damping efficiency by up to 30%. Organize tools within reach to minimize interruptions.
Remove the Door Panel Safely
Start by locating all concealed fasteners behind trim caps, speaker grilles, and handles-many SUVs use push-pin clips and Torx T20 screws that aren’t visible at first glance. Use a plastic trim tool to gently pry along the edges of the door trim, applying steady pressure to avoid cracking the plastic. The clips release with a distinct snap, so listen for that sound as confirmation. Most rear door panels use 6 to 10 clips spaced evenly around the perimeter. Work methodically from one corner outward to prevent damaging hidden connectors. Disconnect the wiring harness for window switches or door locks before fully removing the panel. Never yank the door trim-applying force without releasing all clips risks breaking the tabs. Once all fasteners are disengaged, lift the panel upward slightly to clear the window channel. Set it aside carefully to protect the surface.
Apply Sound Deadening Mats the Right Way
After removing the door panel, you’re ready to install the sound deadening mats correctly. Begin with thorough surface cleaning-wipe the metal with isopropyl alcohol to remove grease, dust, and old adhesive residue. A clean surface guarantees maximum bond strength and long-term durability. Poor adhesion can lead to peeling and reduced sound damping. Pay attention to seams and curves, where contaminants often hide. Proper adhesive selection is critical-use butyl-based mats for factory-like permanence or peel-and-stick varieties for repositionable installation. Most quality mats are 45–60 mils thick, offering ideal mass and flexibility. Press each section firmly with a roller, eliminating air pockets. Cover at least 75% of the inner door skin, focusing on speaker and vibration-prone zones. Uniform coverage improves noise reduction by up to 6 decibels.
Reinstall the Panel and Seal All Edges
With all sound deadening material securely applied, it’s time to reattach the door panel carefully. Align all clips and mounting points precisely to prevent gaps or misalignment. Make certain the rubber grommets around wiring harnesses are intact-these provide essential waterproof sealing and protect against moisture intrusion. Press each fastener firmly until it clicks, confirming a secure fit. Use butyl tape along the outer edge of the door frame to enhance waterproof sealing and block airborne noise. The panel’s inner surface should make full contact with the sound deadening layer, improving damping efficiency. Verify that no wires are pinched, as this compromises electrical insulation and creates fire risks. Properly seated connectors maintain signal integrity for speakers and power windows. All seams and edges must be closed tightly-any opening reduces acoustic performance. A well-sealed panel improves thermal stability and prevents condensation. This final step guarantees lasting protection and maximum noise reduction.
Boost Quiet With These SUV Door Installation Tips
When done right, sound deadening in SUV rear doors doesn’t just reduce noise-it transforms cabin acoustics. You achieve maximum noise reduction by covering 80–90% of the interior door surface with 50–70 mil butyl rubber mats. These materials add mass, blocking airborne road and tire noise. For best vibration control, press the material firmly into door ribs and edges using a roller to eliminate air pockets. Use pre-cut kits tailored to your SUV model for precise fitment. Layer critical zones-like the door skin and speaker pockets-with overlapping sheets. Avoid sealing over electrical harnesses or drainage channels. Proper installation reduces panel resonance, minimizing metal fatigue and sound bleed. Combined, noise reduction and vibration control improve audio clarity by up to 40%.
On a final note
You’ve reduced road noise markedly by applying 4mm butyl-based damping mats across 70% of the inner door skin. This mass-loaded barrier suppresses panel resonance at highway frequencies between 50–500 Hz. Sealing edges with closed-cell foam tape blocks air leaks that compromise acoustic performance. Proper panel reattachment prevents rattles. For best results, combine with foam insulation in cavity areas. The upgrade delivers measurable noise reduction-typically 3–5 decibels-transforming cabin acoustics like adding insulation doubles a wall’s soundproofing.