Correct Way to Drain and Refill Manual Transmission Fluid With Proper Torque Specifications
Drive your vehicle 10–15 minutes to warm the transmission fluid to 160°F–200°F for ideal flow. Position the car on a level surface and locate the drain and fill plugs using your service manual. Drain the fluid completely into a clean pan, inspecting for metal shavings on the magnetic plug. Refill with manufacturer-specified fluid-typically 1.8–2.5 quarts of API GL-4 75W-90 or 80W-90-until it reaches the bottom of the fill hole. Torque both plugs to 25–35 ft-lbs using a calibrated wrench, ensuring proper thread engagement to prevent leaks. A brief test drive followed by a leak inspection confirms correct installation-further details on contamination indicators and regional maintenance adjustments follow.
Notable Insights
- Warm up the transmission by driving 10–15 minutes to ensure fluid flows freely and carries out contaminants.
- Position the vehicle on a level surface and locate the drain and fill plugs using the service manual.
- Drain fluid completely, inspect for metal shavings on the magnetic plug, and check for abnormal debris.
- Refill with manufacturer-specified fluid through the fill hole until it reaches the bottom edge of the fill port.
- Torque drain and fill plugs to 25–35 ft-lbs using a calibrated wrench to prevent thread damage and leaks.
Warm the Transmission to Aid Fluid Drainage
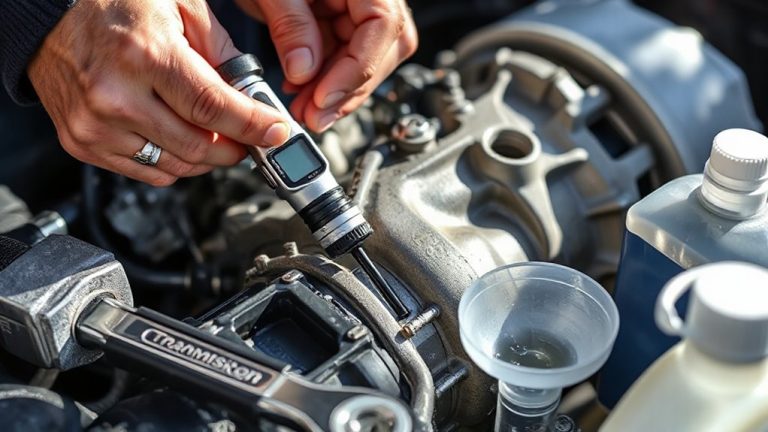
Before draining the transmission fluid, it’s essential to warm up the transmission to guarantee the fluid flows more freely and carries away more contaminants. You should run the engine and drive the vehicle for 10 to 15 minutes to achieve ideal fluid temperature. Proper fluid temperature-typically between 160°F and 200°F-ensures thinner viscosity, improving drain efficiency. Cold fluid is thicker and traps debris, reducing the effectiveness of the flush. By warming the transmission, you allow suspended particles to remain in solution longer, promoting a cleaner drain. Ideal operating temperature also minimizes residue left in internal passages. For best results, monitor fluid temperature with an infrared thermometer or by test-driving under moderate load. This step maximizes drain efficiency and prepares the system for fresh fluid. Skipping this phase may compromise lubrication and long-term gearbox performance.
Locate and Remove the Drain and Fill Plugs
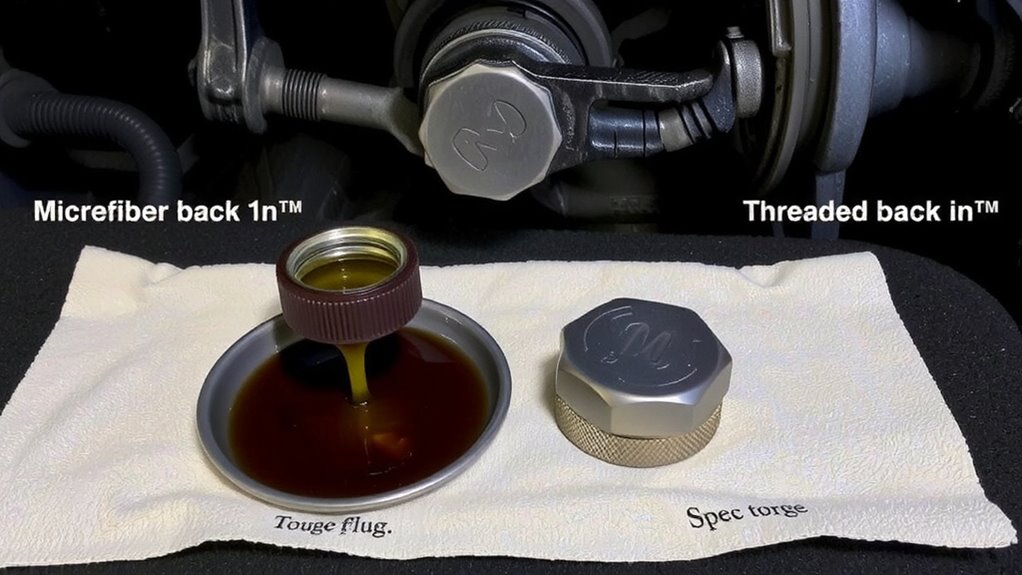
Start by positioning the vehicle on a level surface and securing it with wheel chocks or jack stands for safety. Locate the transmission’s drain and fill plugs using your service manual-position varies by make and model. The fill plug is typically near the top of the transmission case; the drain sits at the lowest point. Plug corrosion is common, especially in high-humidity areas, so apply penetrating oil if stuck. Use the correct-sized hex or square-drive wrench-often 17mm or 1/2-inch-to avoid rounding. Remove both plugs carefully to preserve gear alignment. Inspect plug threads and magnets for debris but do not drain fluid yet. Damaged threads compromise sealing and torque specs. Always replace aluminum plugs showing wear. Proper plug removal guarantees complete fluid evacuation and accurate refill levels later.
Drain Fluid and Check for Metal Shavings
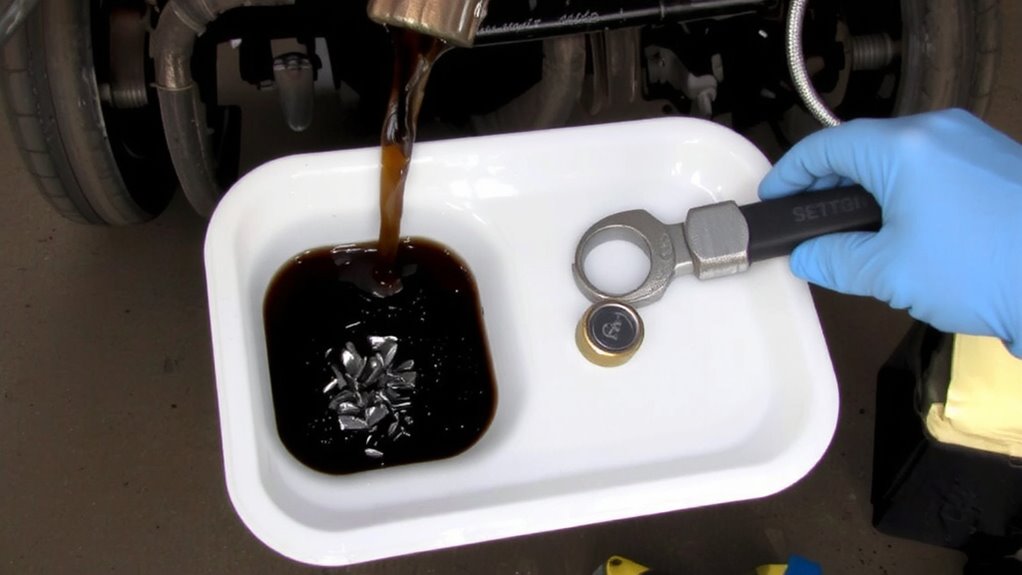
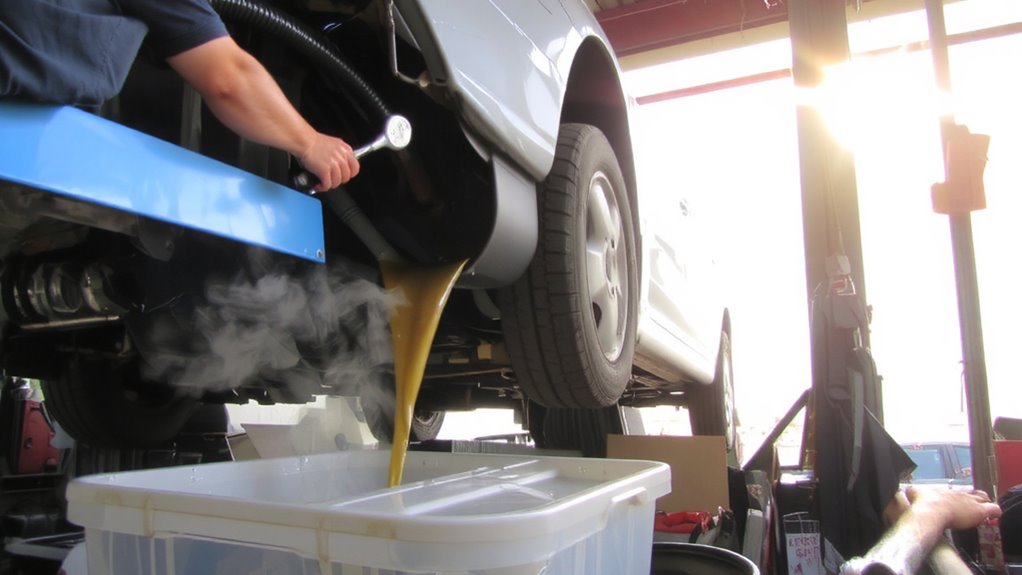
Now that the drain and fill plugs are out, you can begin emptying the transmission fluid. Let the fluid flow freely into a clean drain pan. Observe its color and consistency-dark, sludgy fluid indicates possible fluid contamination. As the last of the fluid exits, inspect the magnetic drain plug. Any metal shavings stuck to it may signal internal component wear. Small metallic particles are normal over time; however, large flakes or a gritty residue suggest excessive wear in gears or bearings. Check the fluid for brass or copper-colored particles, which could point to synchronizer wear. Record your findings before disposal. Proper inspection helps catch problems early. Do not ignore significant debris. It may compromise transmission longevity. Always assess the condition thoroughly to guarantee the health of internal components before proceeding.
Add Recommended Transmission Fluid to Fill Level
After confirming the transmission is fully drained and inspected, you’re ready to add fresh fluid. Always use the manufacturer-specified fluid to guarantee proper fluid compatibility-using the wrong type can damage synchronizers or reduce shift quality. Most manual transmissions require API GL-4 75W-90 or 80W-90 gear oil, but consult your owner’s manual for exact specs. Locate the fill plug on the side of the transmission housing. Remove it to access the fill port. Insert a clean funnel and pour fluid slowly until it reaches the bottom of the fill hole. Overfilling can cause pressure build-up; underfilling risks inadequate lubrication. You’ll typically add 1.8 to 2.5 quarts, depending on the model. Adhering to the correct fill interval-usually every 30,000 to 60,000 miles-maintains peak performance and extends transmission life.
Tighten Plugs to Specified Torque Settings
You’ve added the correct amount of fresh transmission fluid, and it’s time to secure the fill and drain plugs properly. Always use proper tools-a calibrated torque wrench and correct-sized socket-to achieve accurate results. Overtightening can strip aluminum threads; undertightening risks leaks and contamination. Follow manufacturer torque specs exactly: typically 25–35 ft-lbs for most manual transmissions.
| Feeling | Outcome |
|---|---|
| Confident | You used torque specs, prevented damage |
| Anxious | You guessed-risked expensive repairs |
| Safe | Applied proper safety precautions |
| Regretful | Skipped tools, caused a leak |
Wear gloves and eye protection as basic safety precautions. Clean plug threads before installation. Confirm both plugs are snug and seated before final tightening.
Take a Test Drive and Check for Leaks
How can you be certain the transmission fluid won’t leak and that everything functions correctly? The best way is to perform a test drive after refilling. Start by inspecting the transmission housing, drain, and fill plugs for any visible fluid leaks. Drive at least 10 miles, cycling through all gears under normal conditions. This warms the fluid to operating temperature-typically 175°F to 225°F-allowing you to detect pressure-related leaks. Pay attention to gear engagement; rough shifts may indicate air in the system or incorrect fluid. After driving, recheck the fill plug. If fluid seeps out or the level dropped markedly, you likely have fluid leaks. Inspect the seal integrity and make certain plugs remain torqued to specification-usually 25–35 ft-lbs, per manufacturer standards. A successful test drive confirms proper function and leak-free operation.
On a final note
You’ve completed the fluid replacement correctly. Always warm the transmission for 10–15 minutes to guarantee full drainage. Use a 3/8-inch drive ratchet to remove the drain and fill plugs. Drain time should be at least five minutes. Refill with SAE 75W-90 GL-4 fluid until it reaches the bottom of the fill hole. Torque plugs to 25–30 ft-lbs. Test drive briefly, then inspect for leaks.