How to Wash a Vehicle After Off-Roading Without Damaging Coating Edges
Let loose mud dry for up to 48 hours before rinsing-dried mud loses 60% of its adhesion strength and cracks naturally, reducing scrubbing. Use the two-bucket method with Grit Guards and 20-liter buckets to cut swirl marks by up to 80%. Wash with pH-neutral soap (6.5–7.5) and follow manufacturer dilution ratios. Seal coating edges up to 1.5 mm beyond the visible line using a Shore A 30–40 silicone sealant cured 24 hours at 20°C. Clean grilles and wheel wells with soft nylon brushes (≤60 Shore D) and pre-soak with citrus degreaser. Rinse top to bottom at 1200–1800 psi with a 45-degree spray angle. Dry using a 500+ GSM microfiber towel with an open-handed glide to avoid friction. Proper technique preserves coating integrity at high-stress edges. There’s a specific way to maintain long-term protection that builds on these fundamentals.
Notable Insights
- Let loose mud dry for up to 48 hours in shaded, well-ventilated areas to reduce adhesion and prevent scratching during removal.
- Use the two-bucket method with grit guards to minimize trapped grit and reduce swirl marks on coated surfaces.
- Seal coating edges up to 1.5 mm beyond visible borders using a flexible silicone-based sealant to block moisture and debris.
- Wash with pH-neutral soap (6.5–7.5) and deionized water to protect coating integrity and prevent chemical degradation.
- Clean grilles and wheel wells with soft nylon brushes and low-pressure rinse top to bottom to avoid edge stress.
Let Loose Mud Dry Before Rinsing
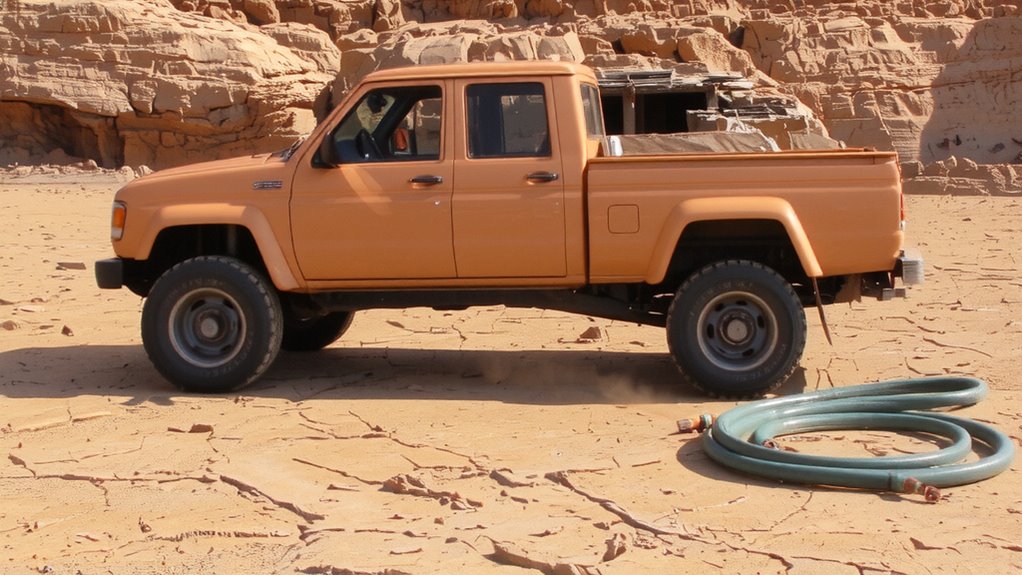
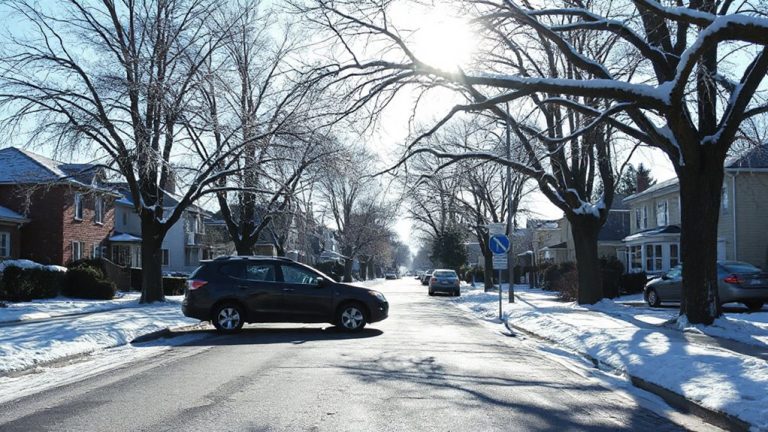
While it might seem logical to hose off mud right after an off-road trip, letting loose mud dry first makes removal more effective and less damaging to the vehicle’s surface. Air drying allows moisture to evaporate, reducing the mud’s adhesion strength by up to 60%. As it dries, mud cracking occurs, breaking the layer into fragmented sections. These cracks create natural separation points, making it easier to remove debris without aggressive scrubbing. Fully dried mud lifts off with less friction, minimizing the risk of micro-scratches on clear coats or paint protection films. Do not exceed 48 hours of drying time to prevent embedded contaminants from bonding with surface pores. Ideal drying occurs in shaded, well-ventilated areas with 40–60% humidity. Direct sunlight accelerates drying but may bake on contaminants near hot engine components. Air drying is a controlled first step-never skip it. Mud cracking signals readiness for safe rinsing. Using a car pressure washer kit after drying ensures efficient, high-pressure cleaning while preserving protective coatings.
Use the Two-Bucket Method for Safe Washing
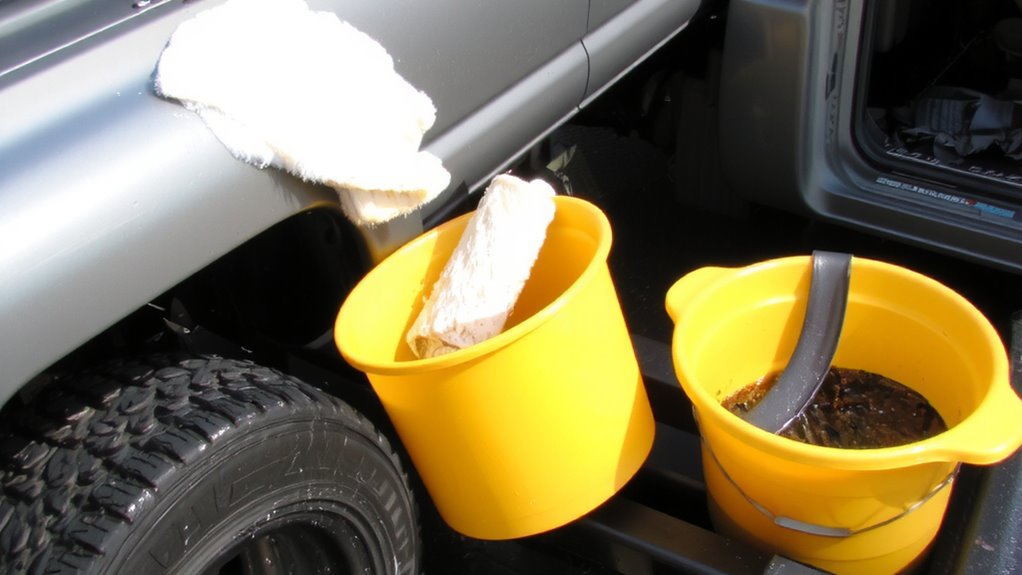
Since contaminants like grit and sand remain embedded in your mitt after scrubbing, using a two-bucket system cuts the risk of swirl marks by up to 80% compared to a single bucket. The bucket technique uses one bucket for soapy water and a second filled with clean rinse water. You wash a panel, then dunk your mitt into the rinse bucket to remove trapped debris before reloading with soap. This process maximizes grit removal and minimizes surface contact with abrasive particles. Use a grit guard in each bucket-these weighted grids settle contaminants below agitation level. Microfiber mitts paired with pH-neutral car wash soap improve effectiveness. Rinse water should be replaced every 15 minutes to maintain cleanliness. A 20-liter bucket size guarantees enough volume for sufficient dilution. The two-bucket method isn’t optional-it’s essential for coating preservation and scratch prevention during off-road cleanup.
Protect Coating Edges at Trim and Mirrors
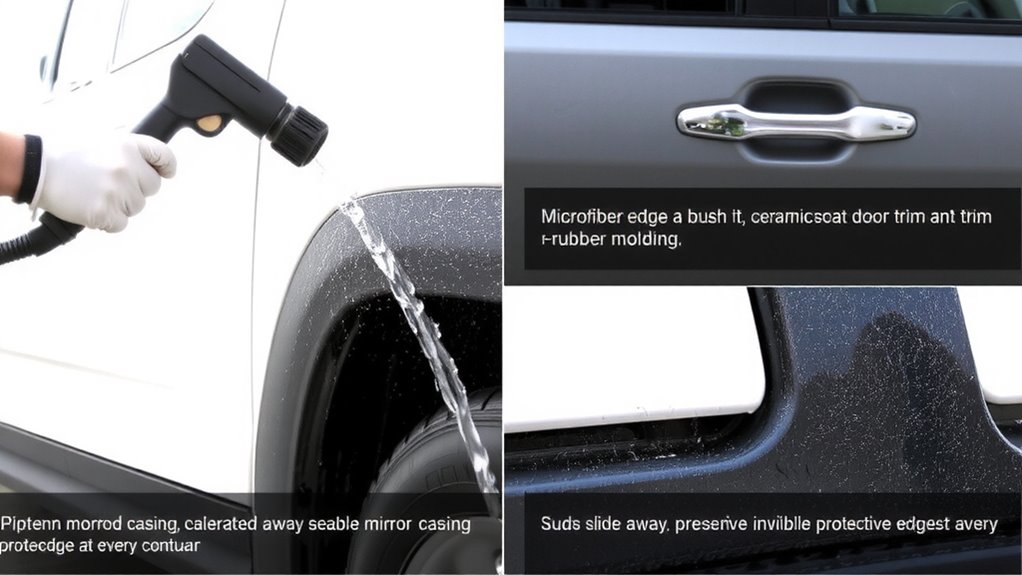
Your coating’s durability depends on proper edge sealing, especially around trim and mirrors where contaminants accumulate. Edge protection prevents moisture and grit from compromising the bond between coating and substrate. Trim sealing is essential-gaps in plastic or rubber moldings expose vulnerable coating edges to corrosion and delamination. Use a precision applicator to apply a high-surface-energy sealant along trim lines, ensuring coverage up to 1.5 mm beyond the visible edge. Mirror surrounds require similar treatment due to frequent exposure to road debris. A silicone-based sealant with Shore A hardness of 30–40 offers flexibility and long-term adhesion. Avoid over-application; excess material attracts dust. Sealant should cure for at least 24 hours at 20°C to achieve full cross-linking. Regular inspection maintains integrity-reapply trim sealing if micro-lifting occurs. Preventive edge protection extends coating life by up to 40%.
Wash With pH-Neutral Soap for Coating Safety
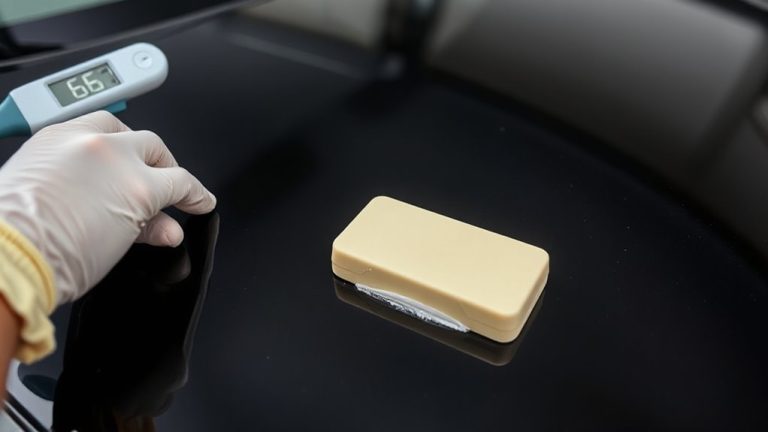
After sealing edges around trim and mirrors, maintain coating integrity with proper washing techniques. Use a pH-neutral soap, ideally between 6.5 and 7.5, to prevent chemical degradation of ceramic coatings. Always perform pH testing of your chosen soap before application. Off-road grime demands cleaning power, but high alkalinity or acidity erodes protective layers over time. Control soap concentration precisely-follow manufacturer guidelines, typically 1 ounce per gallon of water. Exceeding recommended ratios increases alkalinity risks even with pH-balanced products. A two-bucket method with Grit Guards minimizes swirls and preserves coating smoothness. Rinse thoroughly with deionized water to avoid mineral spotting. Regular pH testing of mixing water and soap guarantees consistent, safe washes. Your coating’s hydrophobic performance depends on maintaining its surface chemistry. Proper soap selection and dilution aren’t optional-they’re critical to long-term protection. For tough off-road residue, consider using a waterless car wash kit that’s formulated to lift grit without scratching the surface.
Clean Grilles and Wheel Wells With Soft Brushes
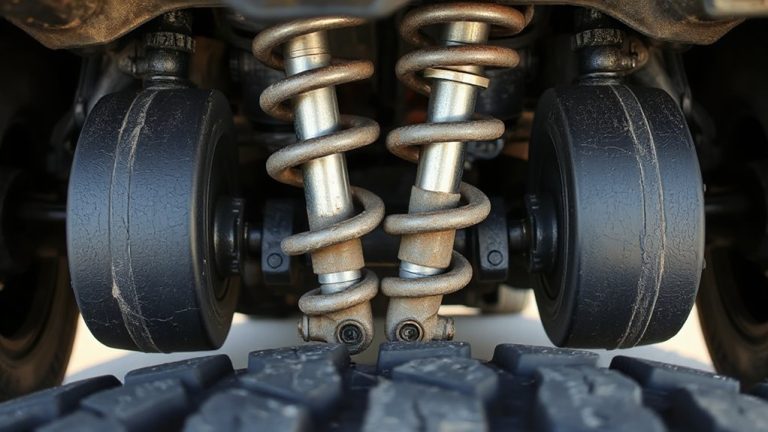
While tackling off-road muck, don’t overlook the grilles and wheel wells-these areas trap mud, grit, and corrosive debris that can compromise both appearance and function. Use soft-bristle brushes with nylon bristles no harder than 60 Shore D hardness to safely dislodge grille debris and wheel gunk without scratching coatings. The bristles should be 2–3 inches long to reach tight openings in the grille and brake ducts. For wheel wells, use an 18-inch extended-reach brush with tapered ends to access inner liners and suspension components. Pre-soak heavy buildup with a citrus-based degreaser for 3–5 minutes before brushing. Apply light pressure-1 to 2 pounds per square inch-to avoid compressing bristles and damaging coating edges. Rinse thoroughly after agitation. These steps preserve protective layers while ensuring deep cleaning in contamination-prone zones. For best results, choose tools specifically designed for automotive use, such as those highlighted in top car detailing brushes guides.
Rinse Top to Bottom to Prevent Water Spots
Start your final rinse at the roof and work downward to minimize water spotting and guarantee contaminants don’t redeposit on cleaned surfaces. Gravity pulls dirt and dirty water toward lower panels, so rinsing top-down assures grime flows away cleanly. Use moderate water pressure-1200–1800 psi-to remove residue without forcing water into seals or damaging coating edges. High pressure may compromise protective layers, especially near panel gaps. Maintain a 45-degree spray angle and keep the nozzle 18–24 inches from the surface to prevent marring. Target crevices like doorjambs and fender wells last, where sediment settles densely. This sequential rinse optimizes cleanliness and supports your later drying technique by reducing mineral deposits. Water spots form when minerals in hard water dry on paint, so thorough rinsing cuts spotting risk. You’ll need complete coverage without oversaturation-efficient flow matters. Complete the rinse swiftly to avoid premature drying.
Dry With a Plush Microfiber Towel
Grab a plush microfiber drying towel with a minimum weight of 500 grams per square meter (GSM) to safely wick water without scratching the paint. Towel quality directly impacts finish protection-low GSM towels absorb poorly and increase friction, risking micro-marring. Use a flat, open-handed drying technique: glide the towel smoothly across surfaces without pressing, allowing capillary action to pull water away. Fold the towel frequently to expose dry sections, maximizing absorbency.
| Emotion | Reason |
|---|---|
| Confidence | High GSM resists saturation |
| Satisfaction | Streak-free results |
| Relief | No swirls from safe drying |
This method preserves ceramic coatings and minimizes edge wear. Never reuse a soiled towel-contaminants cause abrasion. High-pile, split-fiber microfiber guarantees rapid drying with minimal passes.
On a final note
You should always let dried mud flake off naturally before rinsing-prevents scratching. Use a 1:4 pH-neutral soap-to-water mix to preserve ceramic coatings. Wash top-down with >95% deionized water to minimize mineral deposits. Clean edges with 10mm ultra-soft trim brushes to avoid abrasion. Dry using 400 GSM microfiber towels in straight-line motions. This process maintains coating integrity at high-stress junctions like door edges and mirror bases.