Incorporating Radiant Heating Elements Beneath Tile or Stone Garage Surfaces
You install radiant heating beneath tile or stone garage floors to maintain a warm 75°F–85°F surface, even in freezing weather. Electric systems use 12–15 watts per sq ft and suit small garages under 1,000 sq ft. Hydronic systems circulate hot water through PEX tubing for larger spaces. Both go over insulation with R-value 5–10 to block downward heat loss. Proper prep includes a moisture barrier, level surface, and flatness within ±1/8 inch over 10 feet. Secure mats or tubing before testing continuity or pressure. Smart thermostats enable scheduling and remote control. System lifespan exceeds 20 years for electric and 30 for hydronic. Maximum performance requires correct circuit load and insulation. The right setup eliminates cold floors and thermal stratification. What follows covers step-by-step installation and expert tips to guarantee efficiency and longevity.
Notable Insights
- Radiant heating systems transfer warmth upward through tile or stone, maintaining comfortable surface temperatures in cold garage environments.
- Electric systems are ideal for garages under 1,000 sq ft, using heating mats that respond quickly when installed beneath low R-value flooring.
- Proper floor preparation is essential, including crack repair, leveling to ±1/8 inch over 10 feet, and moisture barrier installation.
- Insulate beneath heating elements with R-5 to R-10 rigid foam board to direct heat upward and improve system efficiency.
- Use smart thermostats and perform electrical or pressure testing during installation to ensure safety, control, and long-term performance.
Why Radiant Heat Beats Cold Garage Floors
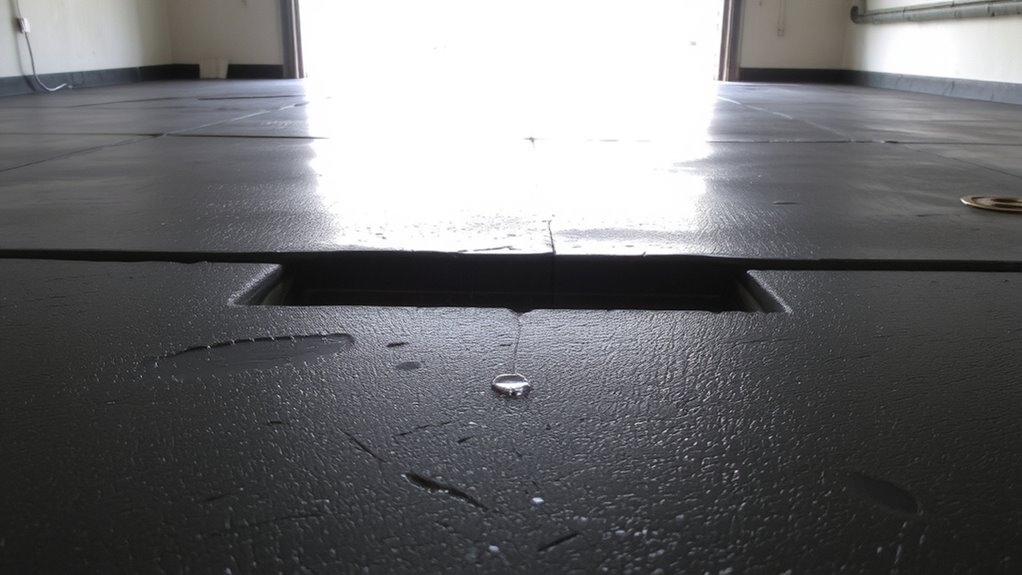
While traditional garage floors draw heat from your body on contact, radiant heating systems work in reverse by actively transferring warmth upward through the tile. This method delivers measurable comfort improvement by maintaining surface temperatures between 75°F and 85°F, even in subfreezing environments. Radiant heat eliminates thermal stratification, ensuring consistent warmth where you stand. Installed beneath tiles with a thermal resistance (R-value) of less than 1.0, these systems respond quickly to thermostat adjustments. Most electric systems use heating cables or mats operating at 120V or 240V, producing 12 to 15 watts per square foot. They achieve energy efficiency by heating only the floor mass, not the entire air volume. This targeted approach reduces heat loss and lowers operating costs compared to forced-air systems.
Electric Vs Hydronic: Which Is Right for Your Garage?
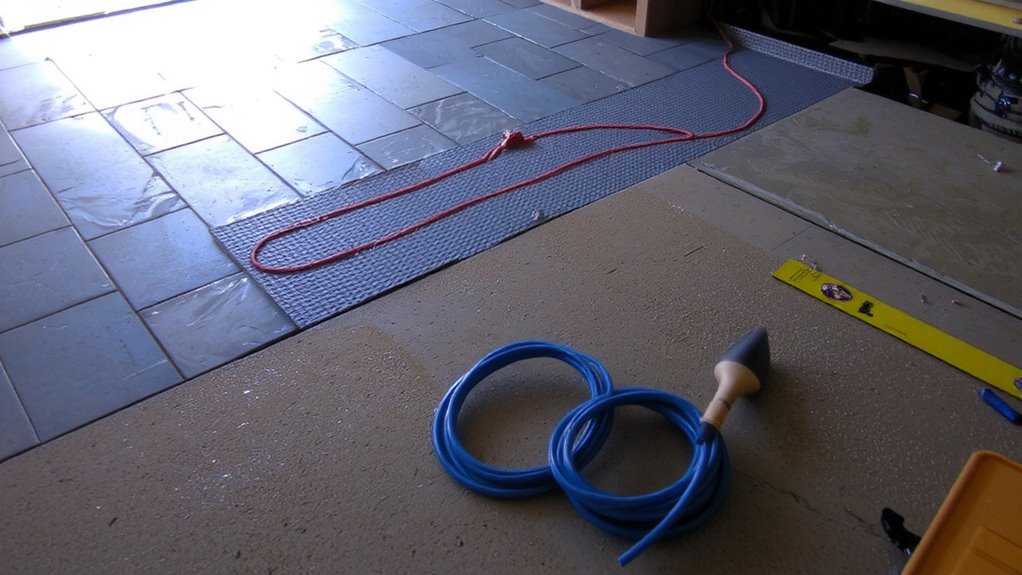
How do you decide between electric and hydronic radiant heating for your garage? Your choice affects both energy efficiency and system longevity. Electric systems use heating cables or mats, ideal for small garages under 1,000 sq ft. They’re simpler to install but cost more to run. Hydronic systems circulate heated water through PEX tubing, better suited for larger spaces and offering superior energy efficiency over time.
| Feature | Electric System | Hydronic System |
|---|---|---|
| Upfront Cost | Lower | Higher |
| Operating Cost | Higher | Lower |
| Installation Complexity | Simple | Complex |
| Energy Efficiency | Moderate | High |
| System Longevity | 20+ years | 30+ years |
Hydronic systems last longer and cut long-term costs. Electric works where gas is unavailable.
Prep Your Garage Floor for Radiant Heat
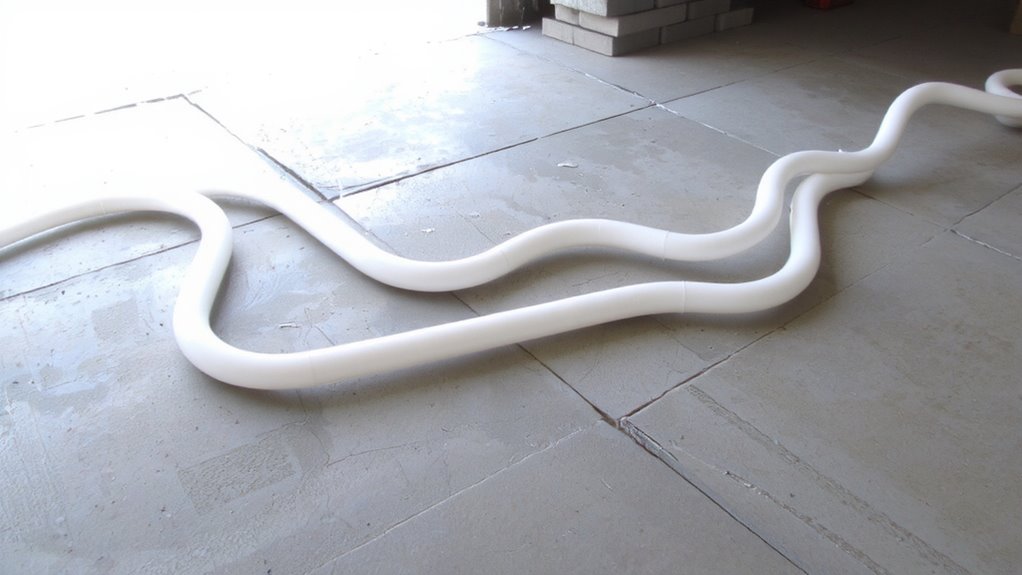
A solid foundation starts with proper prep-your garage floor must be clean, level, and dry before installing radiant heating. Remove all debris, oil stains, and dust using a degreaser and mechanical grinder if needed. Repair cracks with polymer-modified cementitious patching compound to guarantee structural integrity. Achieve a flatness tolerance of ±1/8 inch over any 10-foot span using self-leveling underlayment. Install a 6-mil polyethylene moisture barrier over the slab to prevent vapor transmission-overlap seams by 6 inches and seal with tape. Then, add rigid foam board for floor insulation, typically 1 to 2 inches thick with an R-value of 5 to 10, to direct heat upward efficiently. Insulation boards must be tightly butted and taped at joints. This prep minimizes thermal loss and protects heating elements.
Install Heating Mats or Tubing in 5 Steps
You’ve prepped your garage floor with a clean, level surface, installed a moisture barrier, and added insulation to maximize thermal efficiency-now it’s time to lay down the heating system. Start by dry-fitting mats or arranging PEX tubing per your layout plan. Secure electric mats with adhesive or staple PEX tubing to the substrate, maintaining a 6–12 inch spacing. Connect to the power source or manifold, then perform a continuity test for electrical systems or a pressure test for hydronic setups.
| Step | Task | Key Focus |
|---|---|---|
| 1 | Layout Mats/Tubing | Avoid overlaps, guarantee even coverage |
| 2 | Secure Elements | Use approved fasteners; maintain spacing |
| 3 | Test System | Check for faults or leaks before covering |
Maintain installation safety by following NEC and manufacturer guidelines. Proper spacing and secure fastening boost heating efficiency.
Common Radiant Heating Mistakes (And How to Skip Them)
While planning guarantees success, skipping key precautions can undermine even the best radiant heating installation. Wattage miscalculation is a frequent error-too low, and your floor stays cold; too high, and you risk overheating tiles or increased energy costs. Most garage systems require 12–15 watts per square foot for effective heat output. Always match heater output to your space’s square footage and expected usage. Insulation gaps beneath the slab drastically reduce efficiency. Without a minimum R-5 rigid foam board underlayment, heat escapes downward instead of rising into the floor surface. Seal all perimeter edges and joints with foil tape to maintain thermal continuity. Use a heat loss calculator to factor in garage size, ceiling height, and local climate. Finally, verify circuit load capacity to avoid tripping breakers during operation.
Control Heat Remotely With Smart Thermostats
How often are you caught off guard by a frigid garage when you need it most? You can avoid discomfort with smart thermostats that let you control radiant heat remotely. These devices support smart scheduling, allowing you to set precise activation times based on your routine. With energy monitoring, you track power use in real time, optimizing efficiency and reducing waste. Most models connect via Wi-Fi and work with apps on iOS and Android.
| Feature | Benefit |
|---|---|
| Remote Access | Adjust temperature from anywhere |
| Smart Scheduling | Automate heating cycles |
| Energy Monitoring | Cut costs with usage data |
| Compatibility | Works with most radiant systems |
Thermostats like the Nest or Honeywell support 24V systems and integrate with electric or hydronic radiant setups. Precision control guarantees consistent slab temperatures, typically maintaining 75–85°F.
On a final note
You now have warm, durable garage flooring. Radiant heat systems raise surface temperatures 10–15°F above ambient air, preventing ice buildup and improving comfort. Electric mats operate at 120V or 240V, delivering 12–15 watts per square foot. Hydronic systems use 1/2-inch PEX tubing spaced 6–9 inches apart, circulating 85–100°F water. Both integrate with smart thermostats, maintaining ±0.5°F accuracy. Proper insulation and thermal breaks guarantee efficiency. Install correctly, and the system lasts decades with minimal maintenance.