DIY Guide to Upgrading Your Car’s Exhaust Manifold Gasket Kit: Tips for Replacing Worn Parts, Ensuring Optimal Performance and Longevity
You’ll hear a ticking noise at startup that worsens with heat if your exhaust manifold gasket is failing. Replace it with a multi-layer steel or graphite composite gasket rated for 1.2–2.0 mm thickness to match OEM specs. Use a Fel-Pro or Victor Reinz kit with heat-resistant bolts and confirm exact port alignment. Remove old gasket material cleanly, torque bolts to 15–25 ft-lbs in sequence, and verify the seal under 5–7 psi pressure. Proper installation prevents leaks and extends exhaust system life. There’s more to get right for lasting results.
Notable Insights
- Identify gasket failure early by listening for ticking noises and checking for exhaust fumes in the cabin.
- Choose high-quality MLS or graphite gaskets from trusted brands like Fel-Pro for heat and pressure resistance.
- Verify gasket fitment matches your engine’s make, model, and year to ensure proper sealing and bolt alignment.
- Clean manifold and cylinder head surfaces thoroughly and inspect for warping or cracks before installation.
- Torque bolts gradually in a crisscross pattern to specification to prevent leaks and maintain long-term integrity.
Spot the Signs of a Blown Exhaust Manifold Gasket
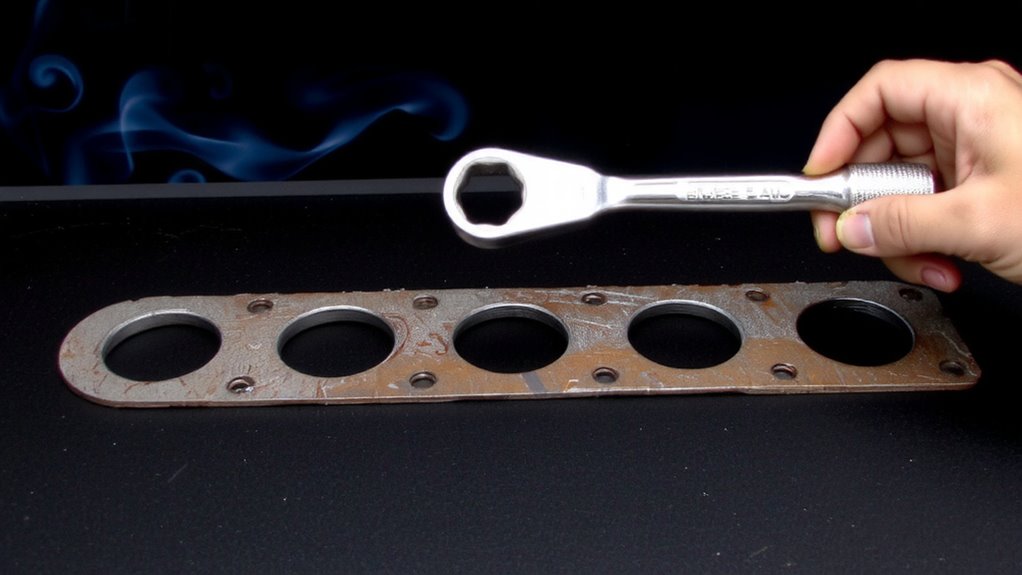
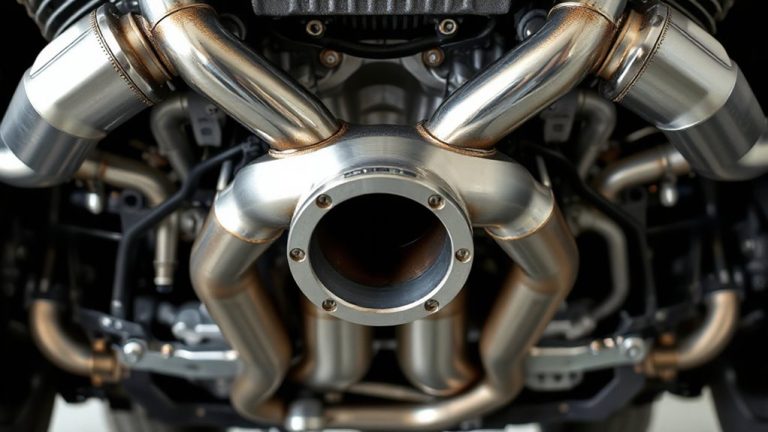
What if the engine noise suddenly sounds louder than usual, or you catch a whiff of exhaust fumes inside the cabin? You’re likely dealing with exhaust leaks caused by a blown exhaust manifold gasket. Increased engine noise results from high-pressure gases escaping through cracks or gaps, especially near the manifold-to-head interface. These leaks often produce a ticking or hissing sound at startup, worsening as the engine heats up. You may also notice reduced fuel efficiency, a check engine light, or rough idling due to oxygen sensor interference. Exhaust leaks expose cabin occupants to carbon monoxide and degrade performance. Temperature differentials-exceeding 1,000°F during operation-can warp cast iron manifolds, exacerbating seal failure. A compromised gasket typically shows visible soot, carbon tracking, or burnt marks on the manifold flange. Early detection prevents further damage to the catalytic converter or sensors. Choosing the right exhaust manifold gasket can significantly improve seal durability and engine performance.
Choose the Right Replacement Gasket Kit for Your Car
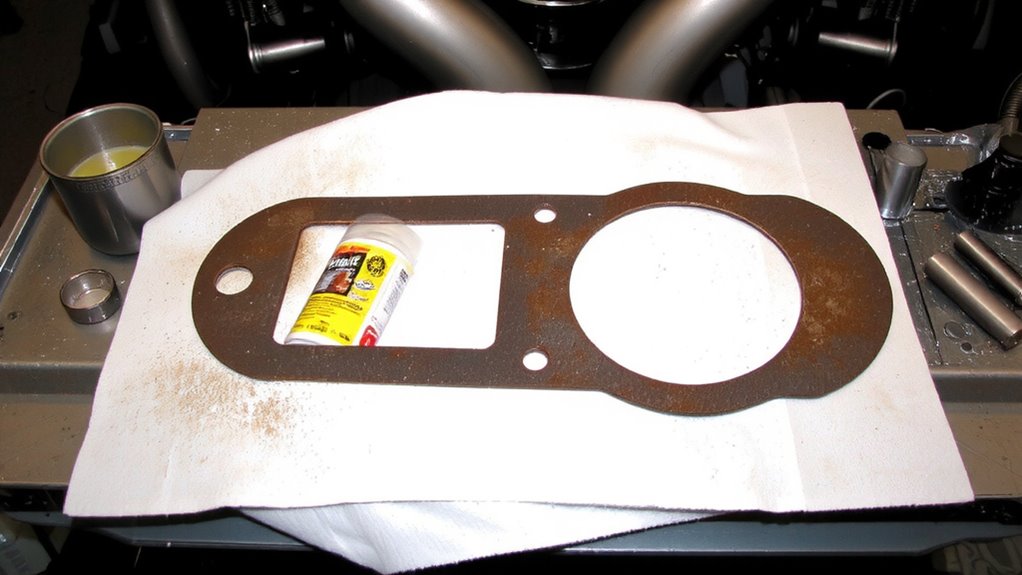
A quality gasket kit makes all the difference when sealing high-temperature exhaust joints. You need the right gasket material to handle extreme heat and pressure. Multi-layer steel (MLS) gaskets offer durability, while graphite or composite materials resist thermal cycling. Cheap materials warp or crack, leading to leaks. Always perform a compatibility check before buying. Match the kit to your engine’s make, model, and year. Verify bolt hole patterns, port shapes, and gasket thickness-usually 1.2 to 2.0 mm. Aftermarket kits from brands like Fel-Pro or Victor Reinz provide OEM-level specs. Some include upgraded hardware, like heat-resistant bolts. Don’t assume one size fits all-even similar engines vary. A precise fit guarantees even clamping force and prevents blowouts. Your exhaust system runs at 600–1,200°F; only the correct gasket material survives that. A proper compatibility check avoids costly mistakes and repeated work. For water pump applications, consider using a best gasket sealant for water pumps to ensure a leak-free seal.
Gather Tools and Prepare for the Job
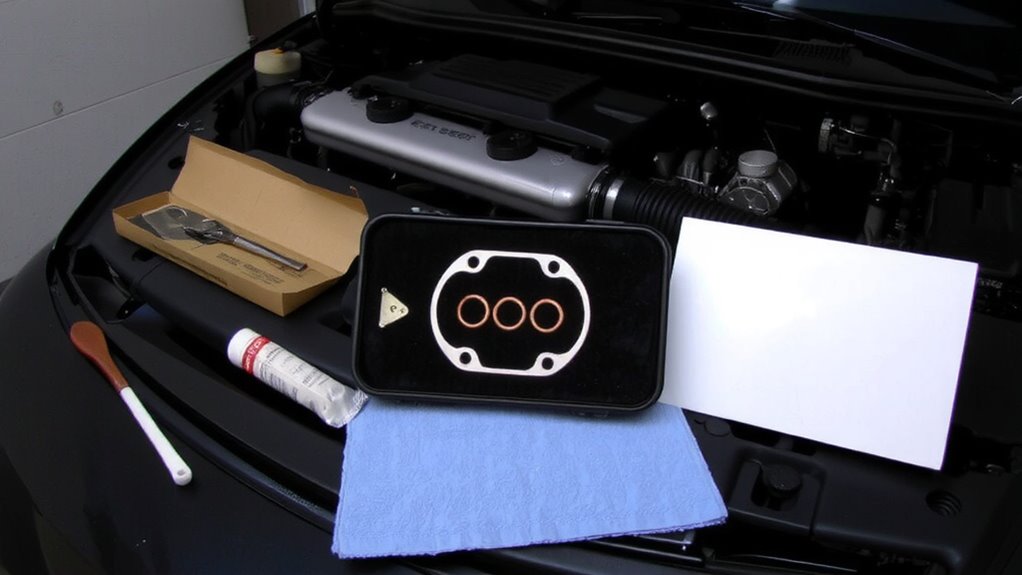
Now that you’ve selected the correct gasket kit for your engine, it’s time to gather the tools and set up your workspace properly. You’ll need a socket wrench with metric sockets, typically ranging from 10mm to 14mm, to remove manifold bolts efficiently. Always use a torque wrench for accurate reassembly-most exhaust manifold bolts require 15–22 ft-lbs, depending on your vehicle. Wear safety goggles to protect your eyes from debris and hot metal fragments. Work in a well-ventilated area with the engine completely cool. Elevate your car using jack stands to access the exhaust manifold safely. Organize tools and replacement parts within easy reach. A magnetic tray keeps small hardware secure. Clean rags and brake cleaner help remove grime. Proper prep guarantees precision and prevents mistakes during installation. A reliable car tool kit will ensure you have all the essential tools on hand for this repair.
Remove the Old Gasket and Install the New One
Start by loosening the exhaust manifold bolts with your socket wrench, working in a crisscross pattern to evenly release pressure and prevent warping the manifold. Once removed, carefully take off the old gasket. Inspect both the manifold and cylinder head surfaces during surface inspection-look for cracks, warping, or carbon buildup that could compromise the seal. Clean the mating surfaces with a gasket scraper and brake cleaner to guarantee a smooth, debris-free fit. Position the new gasket precisely-any misalignment can lead to leaks or damage. Reinstall the manifold using new bolts if specified by the manufacturer. Tighten them gradually in the correct torque sequence, typically starting from the center and moving outward. Refer to your vehicle’s service manual for exact torque specifications-usually between 15 to 25 ft-lbs, depending on engine type. Proper torque sequence prevents distortion and guarantees even clamping force.
Avoid Costly Mistakes and Test the Seal
Why risk a comeback after a job well done? Skipping final checks can undo your careful work. Always perform leak detection before declaring the job complete. Use a handheld smoke or ultrasonic leak detector-these tools pinpoint escaping exhaust gases invisible to the eye. Even small leaks compromise performance and emissions. For thorough validation, conduct pressure testing the manifold system at 5–7 psi using a dedicated test kit. Monitor pressure drop over 60 seconds; a loss exceeding 1 psi indicates a faulty seal. Inspect all fastener torque values-manufacturer specs typically range from 18–25 ft-lbs, depending on bolt grade. Guarantee gasket alignment matches port openings exactly. A proper seal prevents overheating, maintains backpressure, and extends component life. Don’t assume it’s right-verify it. Pressure testing isn’t optional; it’s essential for reliability.
On a final note
You’ve replaced the exhaust manifold gasket correctly when torque specs match OEM standards-typically 15–22 ft-lbs in a crisscross pattern. A proper seal prevents exhaust leaks and backpressure loss. Use a digital leak checker or soapy water test to confirm integrity. Upgraded multi-layer steel (MLS) gaskets withstand temperatures up to 1,400°F. This repair restores engine efficiency and emissions performance. Document your work for future maintenance reference.