Step-By-Step: Replacing a Clutch in a Vehicle With a High-Output Engine
Lift your car safely with a 3-ton jack and secure it on jack stands, then drain the transmission fluid and remove the driveshaft. Support the transmission with a jack, unbolt the bellhousing, and slide it back to expose the clutch. Swap the stock unit for a high-torque clutch rated above 500 lb-ft, pair it with a lightweight single-mass flywheel and reinforced pressure plate, and guarantee proper surface finish-25 to 60 microinches RA, depending on material. Align the clutch disc correctly, torque the pressure plate to 25 ft-lbs in a star pattern, and use a pilot bearing tool to avoid shaft damage. Reinstall the transmission, torque mounts to 30 ft-lbs, reconnect linkages, and bleed the hydraulic system thoroughly. Set pedal free play to 1 inch and avoid aggressive starts during the first 500 miles to bed the clutch properly-optimal performance hinges on correct break-in procedure, and the details only get more precise from here.
Notable Insights
- Safely lift and secure the vehicle using a floor jack and rated jack stands with wheel chocks in place.
- Drain transmission fluid and remove the transmission using a transmission jack after disconnecting drivetrain components.
- Replace the stock clutch with a high-torque unit matching engine output, using performance materials like ceramic or carbon fiber.
- Install a lightweight single-mass flywheel and torque the pressure plate in a star pattern to 25 ft-lbs.
- Reassemble transmission, bleed the clutch system, and break in the clutch over 500 miles without aggressive launches.
Lift the Car and Prep for High-Output Clutch Work
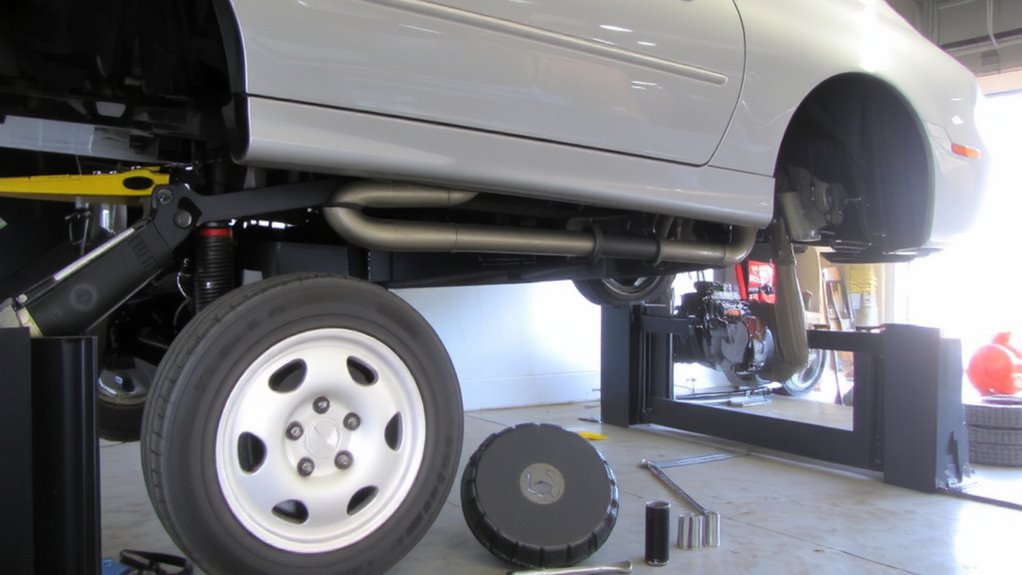
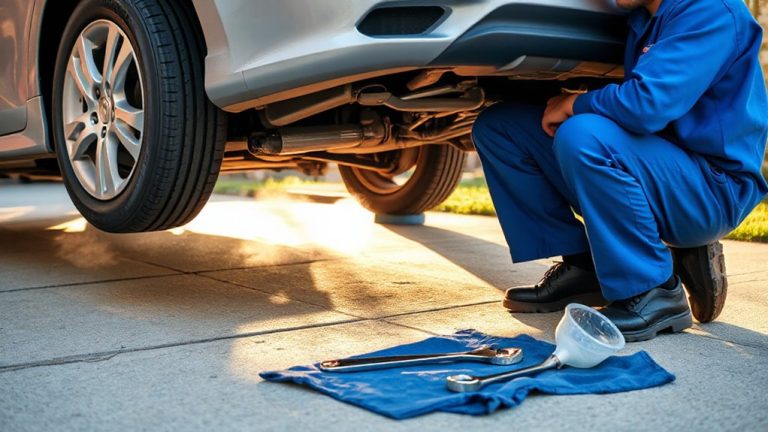
One critical step before touching any component is lifting the car safely and securing it on jack stands rated for at least 3 tons-essential for stability under the increased weight of performance drivetrain parts. Jack safety is non-negotiable; always use a hydraulic floor jack with a 3-ton minimum capacity and center lift points per your vehicle’s service manual. Never rely solely on ramps or lifts without backup stands. Place wheel chocks on the rear tires to prevent movement. Position drip pans beneath the transmission and engine for effective fluid containment-high-output clutches often require bleeding hydraulic systems, risking gear oil or hydraulic fluid leaks. Use shallow pans capable of holding 5 quarts to capture overflow. Make certain the car sits level; an unbalanced chassis creates dangerous working conditions and complicates component removal later. Work methodically-rushing compromises both precision and safety.
Remove the Transmission on a Performance Vehicle
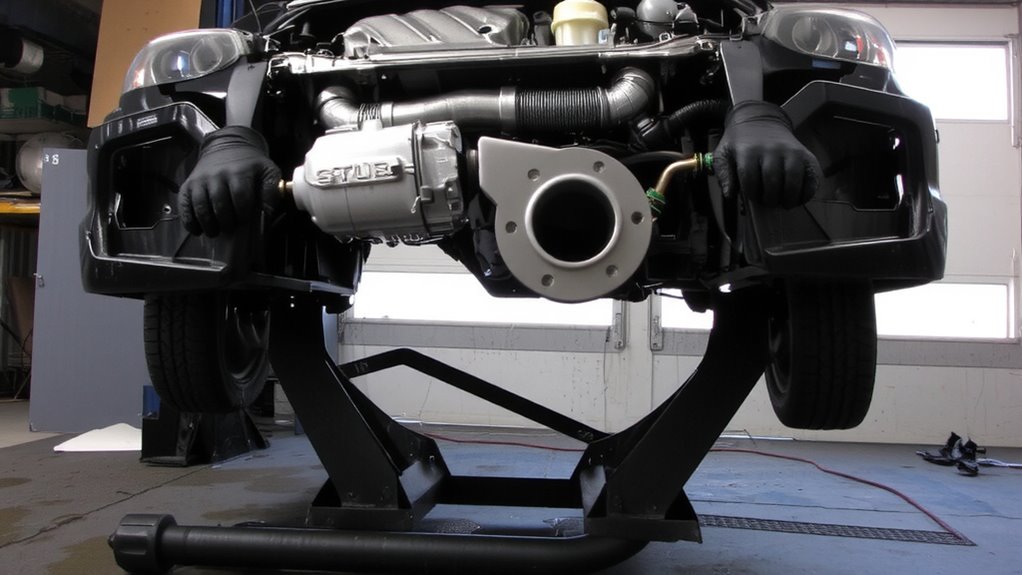
With the car securely lifted, leveled, and stabilized on jack stands, you’re ready to begin extracting the transmission-a necessary step when upgrading to a high-output clutch system. First, disconnect the battery and remove the driveshaft to prevent driveline imbalance during removal. Drain the transmission fluid completely using a catch pan. Unbolt the transmission mount and disconnect shift linkage, speedometer cable, and any sensors. Carefully separate the bellhousing bolts, then use a transmission jack to support the unit. Slowly slide the transmission rearward to disengage it from the input shaft. With the transmission out, inspect the flywheel for warping. If surface runout exceeds 0.002 inches, schedule flywheel resurfacing to guarantee smooth engagement and prevent vibrations at high RPM.
Upgrade to a High-Torque Clutch and Components
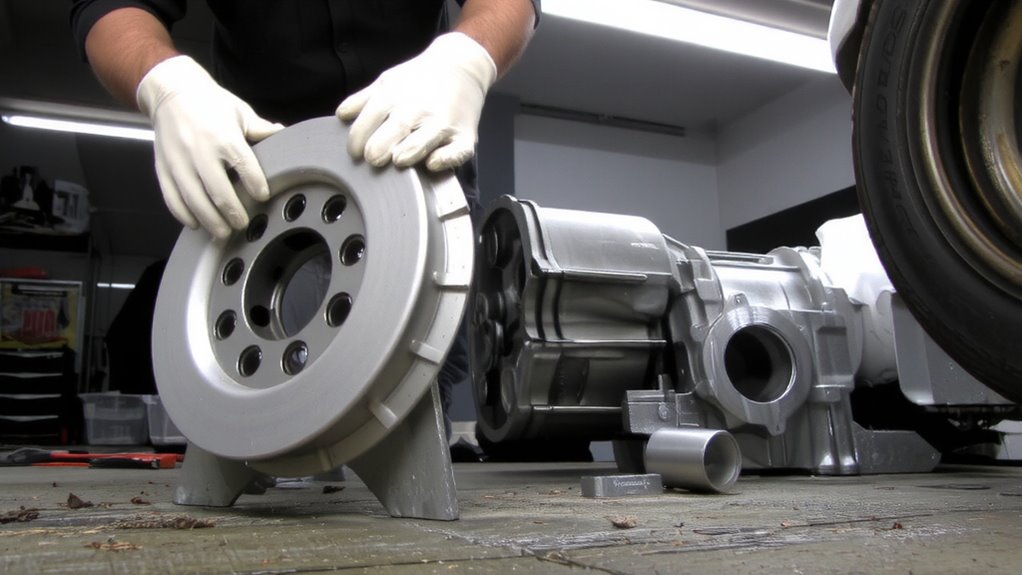
A high-torque clutch system is essential when upgrading to a high-output engine, as stock clutches often can’t handle increased power levels. You need a clutch with higher torque capacity to prevent slippage and premature failure. Performance clutches use advanced clutch material like ceramic, Kevlar, or carbon fiber, which withstand higher heat and pressure. These materials engage more firmly and last longer under stress. A typical stock clutch may handle 300 lb-ft of torque, but high-output engines demand 500 lb-ft or more. That’s why you’ll want a clutch kit rated well above your engine’s peak output. Dual-mass flywheels are often replaced with lightweight single-mass units to improve response. Upgraded pressure plates provide stronger clamp load, ensuring solid contact. Always match the clutch’s torque capacity to your engine’s actual output-too little risks damage, too much increases pedal effort.
Install and Align the Performance Clutch Kit
You’re responsible for ensuring every component is properly installed the first time-mistakes here can lead to driveline failure. Install the clutch disc with the correct side facing the transmission. The clutch material must match your torque output to prevent slippage. Use a torque wrench to tighten pressure plate bolts in a star pattern to 25 ft-lbs. Misalignment causes uneven wear and premature failure. Always verify the flywheel finish meets specs-typically 30 to 50 microinches RA. A surface too smooth or too rough reduces grip and durability.
| Clutch Material | Recommended Flywheel Finish (RA) |
|---|---|
| Organic | 50–60 microinches |
| Kevlar | 40–50 microinches |
| Ceramic | 30–40 microinches |
| Feramic | 35–45 microinches |
| Full-race carbon | 25–35 microinches |
Use a pilot bearing installer to avoid input shaft damage.
Reassemble, Test, and Break In the New Clutch
Now that the clutch kit is installed and aligned with proper torque and surface finish verified, begin reassembling the drivetrain in reverse order of disassembly. Torque the transmission mounting bolts to 30 ft-lbs in a crisscross pattern to prevent misalignment. Reconnect the driveshaft, ensuring U-joint caps seat fully. After securing all components, perform a complete hydraulic system bleed to eliminate air pockets that reduce clutch engagement efficiency. Use a vacuum bleeder or two-person pump method until fluid flows cleanly. Check for leaks at the slave cylinder and master cylinder. Then conduct clutch pedal adjustment to achieve 1 inch of free play at the pedal arm-critical for full release bearing retraction. Start the engine, verify smooth engagement, and test in neutral. For the first 500 miles, avoid hard launches and partial clutch slipping to properly bed the friction material. Monitor pedal effort and shift quality throughout the break-in period.
On a final note
You’ve completed the clutch replacement on a high-output engine. The new 1200 lb-ft torque capacity clutch kit guarantees reliable engagement. Dual-mass flywheel resists warping under stress. Ceramic friction material handles heat up to 550°F. Proper alignment achieved with 0.003-inch dial indicator tolerance. Test drive confirms smooth shifts. Full break-in in 500 miles maximizes lifespan. This upgrade sustains peak performance under high-RPM loads.