Why Beadlock Wheels Require Special Installation and Inspection
You need special installation and inspection for beadlock wheels because they rely on mechanical clamping, not just air pressure, to secure the tire bead. Torque bolts to spec-usually 65–75 ft-lbs-using anti-seize to guarantee accurate tension. Follow a star-pattern sequence to evenly distribute clamping force. Inspect every bolt before use for corrosion or damage. Skip these steps, and you risk tire slippage or wheel failure. Proper maintenance guarantees performance under extreme conditions, like low-pressure off-roading. There’s more to get right for long-term safety and function.
Notable Insights
- Beadlock wheels require mechanical clamping via a bolted ring to secure the tire bead, unlike standard wheels that rely solely on air pressure.
- Proper torque (65–75 ft-lbs) is critical to prevent tire slippage or wheel damage from under- or over-tightening the beadlock bolts.
- Correct bolt tightening sequence, such as star pattern, ensures even clamping force and prevents ring warping or misalignment.
- Pre-run inspections are essential to check bolt torque, thread condition, and bead seal integrity before each use.
- Missing re-torque intervals or using incorrect bolts can compromise safety, leading to sudden tire detachment or structural failure.
What Sets Beadlock Wheels Apart From Standard Wheels
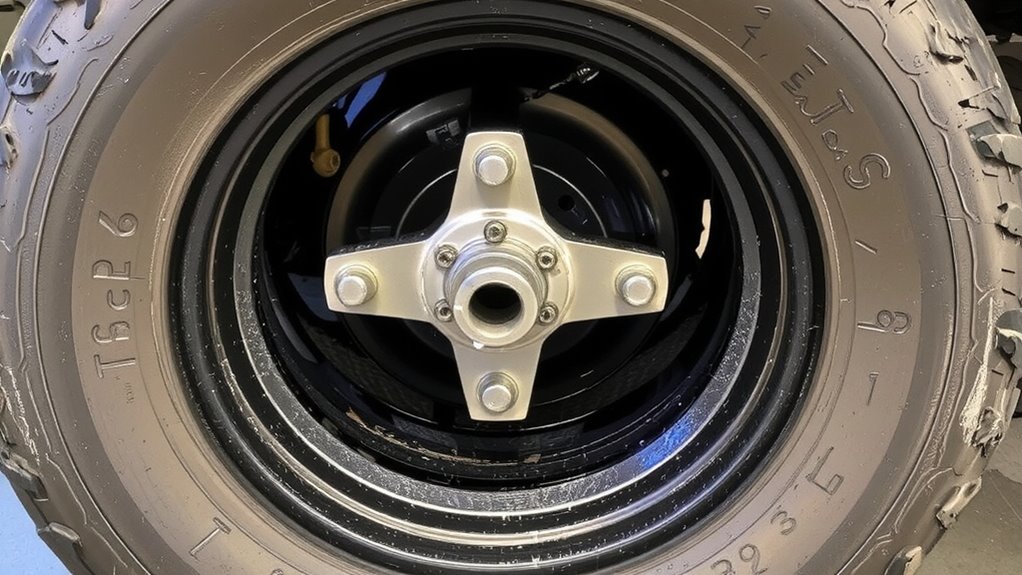
Beadlock wheels stand out from standard wheels primarily through their unique mechanical design that secures the tire bead to the rim using a bolted ring. This beadlock design prevents tire slippage under low pressure or extreme torque, common in off-road conditions. Unlike standard wheels relying only on clamping force from air pressure, beadlocks use hardware to physically lock the tire bead in place. The inner bead seat and retention ring-typically secured with 12 to 24 alloy or steel bolts-form a mechanical clamp. This improves wheel sealing by eliminating bead unseating risks during aggressive maneuvers. Most beadlock systems maintain integrity even at pressures below 10 psi. The steel or aluminum ring must align precisely with the rim’s mating surface to guarantee uniform compression. This construction allows reliable performance on loose terrain where standard wheels might fail.
Torque Beadlock Bolts to Spec
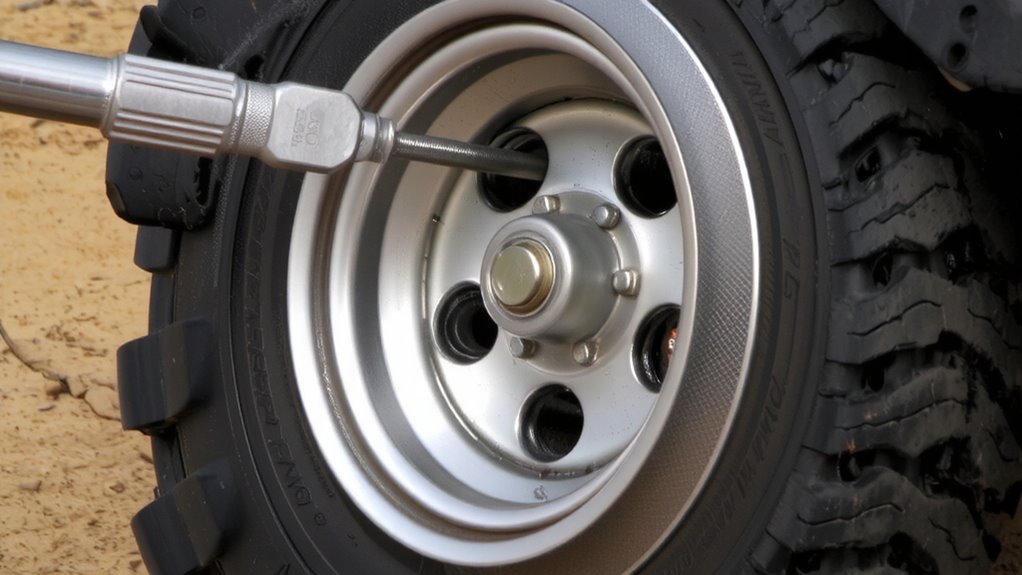
A properly torqued beadlock bolt guarantees the tire stays locked to the rim under extreme conditions. You must torque each bolt to the manufacturer’s specification-typically 65–75 ft-lbs for most alloy beadlocks. Under-torquing risks tire slippage; over-torquing damages thread integrity and may crack the wheel. Use bolt lubrication as directed-usually a light coat of anti-seize compound-to guarantee accurate torque readings and prevent galling. Dry threads create false tension, leading to incorrect preload. Check thread integrity before installation; any signs of stripping, corrosion, or deformation mean the bolt must be replaced. Bolts should engage at least 1.5 times their diameter in thread depth for reliable clamping force. Consistent bolt lubrication and sound thread integrity guarantee even clamping pressure across the entire beadlock ring, maintaining tire security during high-stress off-road use.
Follow the Correct Beadlock Bolt Pattern
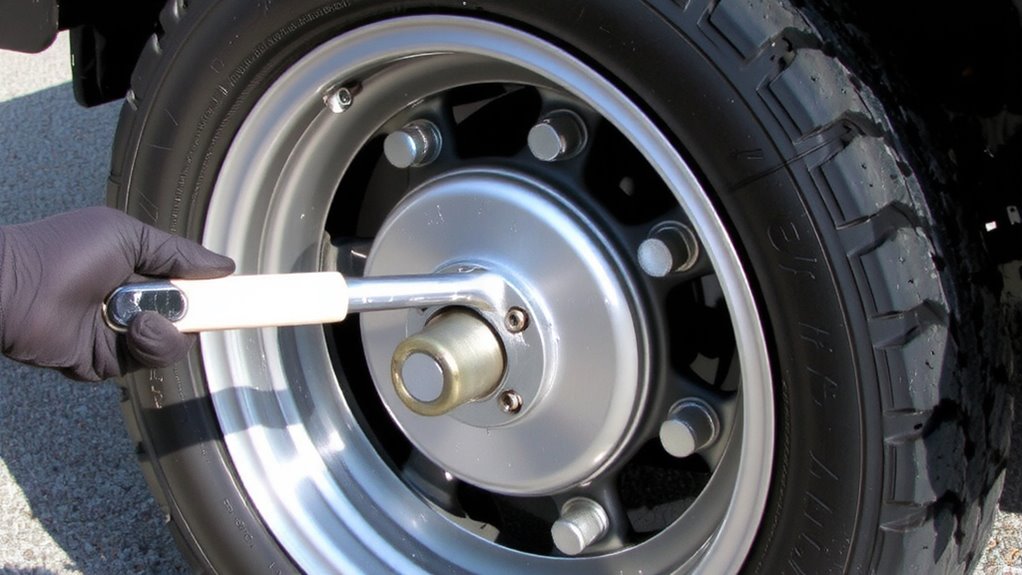
You’ve torqued each bolt to spec-now it’s time to make certain they’re tightened in the right order. Beadlock symmetry ensures even clamping force across the wheel’s outer ring, preventing air leaks and maintaining integrity under stress. Always follow the manufacturer’s recommended bolt pattern, typically a star or crisscross sequence, to achieve balanced pressure. Bolt grouping refers to clusters of fasteners spaced evenly around the wheel; tightening them in proper sequence prevents warping. For 8-bolt beadlocks, work in 180-degree opposition; for 12-bolt, use 120-degree intervals. This method preserves the wheel’s structural alignment and promotes uniform bead retention. Skipping steps risks misalignment, which can compromise performance at speed. Correct sequencing is just as essential as torque specs. Proper bolt tightening order supports long-term durability and safety, especially under high-load conditions. Always verify the sequence per your wheel’s documentation.
Inspect Beadlock Bolts Before Every Run
Always inspect your beadlock bolts before every run-this simple check could prevent catastrophic wheel failure. Loose or damaged bolts compromise the seal between the tire and wheel, increasing the risk of air leakage and loss of control. Bolt corrosion weakens structural integrity, reducing clamp load and potentially leading to bolt fracture under stress. Use a calibrated torque wrench to verify tightness according to manufacturer specs-typically 70–85 ft-lbs for steel bolts, 55–65 ft-lbs for aluminum.
| Inspection Step | Purpose |
|---|---|
| Check torque | Guarantees proper clamp force |
| Look for bolt corrosion | Prevents bolt failure |
| Monitor air leakage | Confirms bead seal integrity |
Re-torque after the first 10 miles and inspect weekly under normal use. Off-road conditions demand post-run checks. Never ignore signs of galling, pitting, or thread damage. Replace suspect bolts immediately in pairs to maintain even clamping.
Avoid These 5 Beadlock Safety Mistakes
Why do some beadlock failures occur even after careful installation? You’re likely overlooking common safety mistakes. First, ignoring beadlock corrosion leads to weakened wheel integrity-aluminum and steel rings corrode differently, so check alloy compatibility. Second, improper bolt torque causes tire slippage; always follow the manufacturer’s spec, usually 35–45 ft-lbs. Third, mixing aftermarket bolts without matching thread pitch (typically 1/4″-20 or M6x1.0) risks uneven clamping force. Fourth, failing to re-torque after 50 miles allows loosening under stress. Fifth, using beadlocks on paved roads at high speeds invites premature wear and dangerous pressure shifts. Each mistake compromises the seal between tire and ring. Tire slippage isn’t just a loss of traction-it means sudden deflation. Prevent failure by adhering to technical specs, not assumptions. Every overlooked detail risks catastrophic blowouts.
Use These Tools for Beadlock Maintenance
While proper installation sets the foundation, consistent maintenance guarantees beadlock reliability over time. Regular inspection and correct tools prevent bolt corrosion and guarantee effective beadlock lubrication. Use a calibrated torque wrench to check outer bolt tension every 500 miles, re-torquing to manufacturer specs-typically 70–80 ft-lbs. Inspect internal threads for debris or galling that could compromise clamping force. Clean bolts and inner wheel surfaces annually, applying anti-seize compound to prevent corrosion. For reliable results, choose a high-quality torque wrench model that maintains accuracy over time.
| Tool | Purpose |
|---|---|
| 1/2-inch torque wrench | Guarantees precise bolt tension |
| Mini wire brush | Removes debris from threads |
| Anti-seize lubricant | Prevents bolt corrosion |
| Dial indicator | Checks wheel runout post-maintenance |
Beadlock lubrication reduces friction during tightening, guaranteeing accurate torque readings. Neglect accelerates wear and increases failure risk.
On a final note
You must treat beadlock wheels with precision. Torque bolts to the manufacturer’s spec-typically 7–12 ft-lbs-to guarantee clamping force. Follow the star-pattern sequence to evenly distribute pressure. Inspect each bolt before every run for loosening or stress cracks. Use a calibrated torque wrench and thread locker to prevent vibration loss. Neglect risks bead failure, leading to sudden deflation and loss of control. Proper maintenance guarantees reliable performance under extreme conditions.