How to Use a Foam Gun for Targeted Decontamination of Dirty Zones
Use a pH-balanced, high-lubricity shampoo at a 1:5 to 1:10 dilution for best performance. Set your pressure washer to 1,200–2,200 PSI and adjust the flow control to produce thick, clinging foam. Apply with steady, overlapping passes from 12–18 inches away, targeting driveways, garage floors, and undercarriages. Let foam dwell 3–10 minutes to break down grime chemically. Rinse thoroughly, then flush the foam gun with clean water immediately. Proper setup and maintenance guarantee consistent output and extend equipment life. There’s more to maximizing efficiency with the right techniques and timing.
Notable Insights
- Use a pH-balanced, high-lubricity shampoo to generate stable foam ideal for targeting heavily soiled areas.
- Set dilution ratio between 1:5 and 1:10, and operate pressure washer at 1,200–2,200 PSI for optimal foam output.
- Apply foam with a pinpoint nozzle on wheel wells and undercarriage to concentrate dwell time on dirty zones.
- Maintain 12–18 inches from surface and allow 3–10 minutes of dwell time to break down contaminants chemically.
- Rinse immediately after dwell; clean foam gun thoroughly post-use to maintain consistent performance.
Choose the Right Shampoo for Your Foam Gun
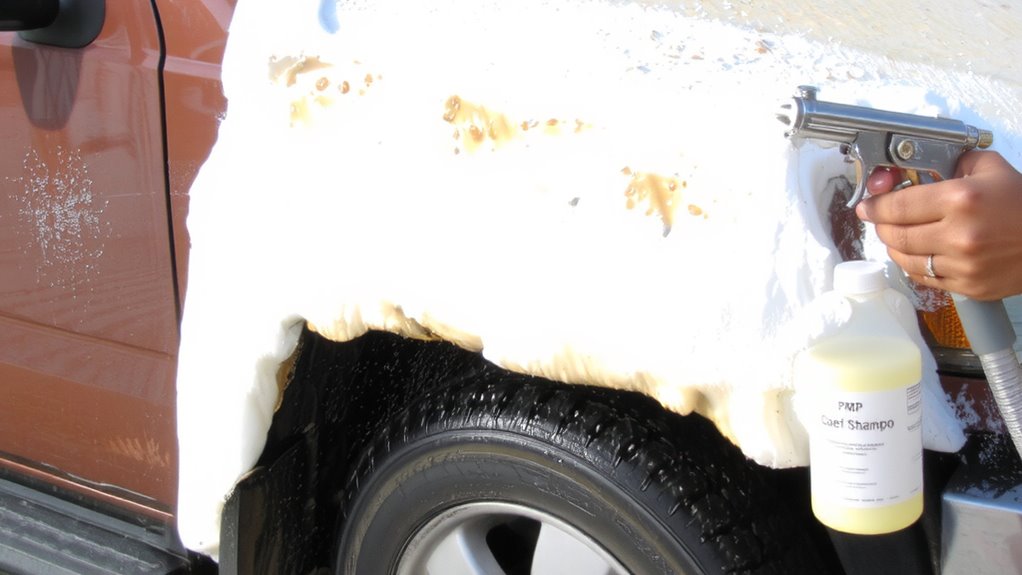
The right shampoo makes all the difference when using a foam gun-think of it as the foundation of an effective decontamination wash. You need a pH-balanced, high-lubricity formula designed specifically for foam guns. These shampoos contain surfactants that enhance foam consistency, allowing it to cling longer to vertical surfaces. Poor-quality detergents collapse quickly, reducing dwell time and decontamination efficiency. Foam thickness directly correlates with active ingredient concentration and foam stability. Your choice also interacts with nozzle types-wide fan nozzles require thicker foam to prevent drift, while pinpoint jets work best with lower viscosity solutions. Always check dilution ratios: most professional shampoos recommend 10:1 to 20:1 water-to-concentrate. Using improper chemicals clogs jets, degrades seals, and produces inconsistent coverage. Selecting the correct shampoo guarantees maximum particle encapsulation, surface penetration, and contaminant lift-all critical for effective decontamination. For optimal results, choose a best car foam cannon compatible with your pressure washer and shampoo type.
Set Up Your Foam Gun for Thick, Even Foam
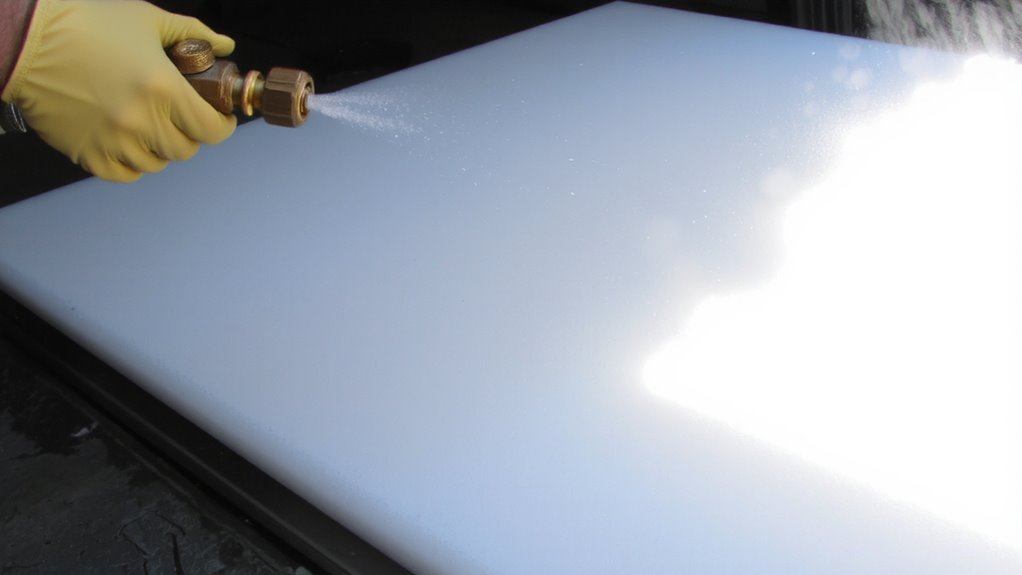
Even if you’ve chosen the right shampoo, you won’t get thick, even foam without proper setup-your foam gun’s performance hinges on correct dilution, pressure, and flow settings. Foam consistency depends on a precise dilution ratio, typically 1:5 to 1:10 (shampoo to water), as recommended by the manufacturer. Use a pressure washer operating between 1,200 and 2,200 PSI for ideal results. Low pressure reduces foam build; excessive pressure thins it. Adjust the flow control knob to regulate liquid intake-too much flow dilutes foam, too little restricts coverage. Nozzle adjustment is critical: rotate the tip to fine-tune spray pattern, from wide fan to pinpoint stream, ensuring dense foam adhesion. A fully open nozzle may waste solution, while an overly tight setting disrupts atomization. Calibrate settings incrementally and test on a small surface. Correct setup delivers long-lasting, clingy foam that effectively breaks down contaminants. For best results, choose a top-rated foam gun that balances build quality and adjustable settings.
Apply Foam to Driveways, Garages & Undercarriages
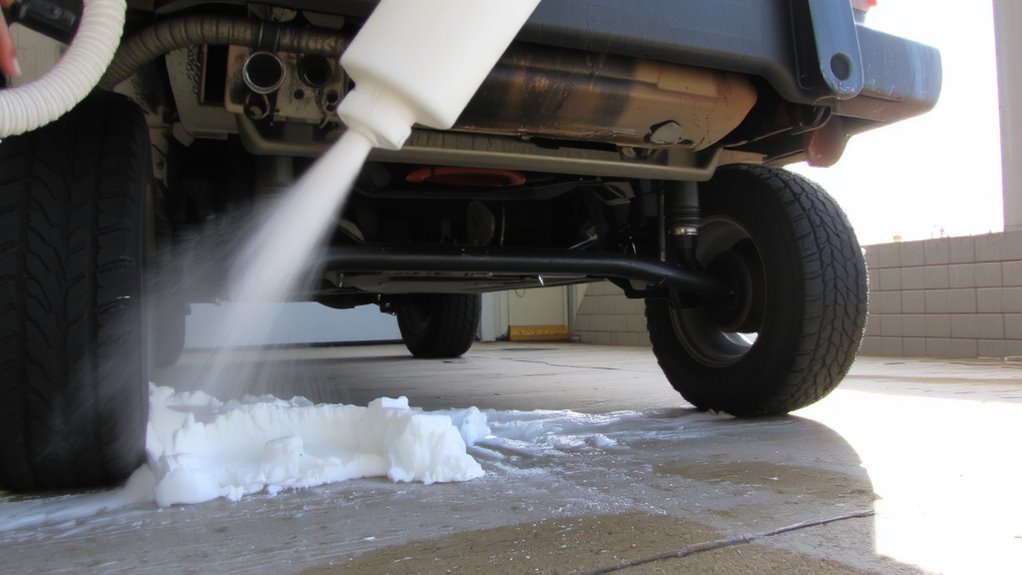
While tackling tough grime on hard surfaces, applying foam properly guarantees maximum dwell time and contaminant breakdown. Start with driveways and garage floors, using steady, overlapping passes for full coverage. Maintain a consistent distance of 12–18 inches from the surface to preserve foam dwell time. For undercarriages, adjust your nozzle to increase undercarriage pressure, ensuring foam penetrates tight spaces and clings to vertical metal surfaces. A well-heated workspace enhances cleaning efficiency, especially when preparing a cold 120V electric garage heater before starting your decontamination process.
| Surface | Nozzle Setting | Ideal Pressure (PSI) |
|---|---|---|
| Driveway | Wide fan pattern | 300–400 |
| Garage floor | Medium spray | 350–450 |
| Wheel wells | Focused stream | 400–500 |
| Undercarriage | High-pressure tip | 500–600 |
Use slow, methodical motions to avoid thin spots. Proper pressure and pattern selection improve foam adhesion and cleaning efficiency.
Let the Foam Sit to Break Down Grime
After applying the foam, don’t rush the next step-let命令ing it dwell is where the real cleaning happens. Foam dwell time typically ranges from 3 to 10 minutes, depending on contamination level and product formulation. During this period, the chemical reaction process breaks down grease, grime, and bonded contaminants. The alkaline or neutral pH of most foaming agents reacts with acidic dirt residues, emulsifying oils and lifting them from surfaces. This dwell phase maximizes cleaning efficiency without agitation. Avoid letting foam dry completely; reapply if necessary on porous or heavily soiled areas. Ideal ambient temperature for best reaction: 50°F to 85°F. Humidity levels above 70% may extend effective dwell time. Proper timing guarantees deep penetration into textured surfaces like concrete or undercarriage components. Following recommended dwell specifications enhances decontamination while reducing water and labor during rinsing.
Scrub First, Then Rinse Off All Residue
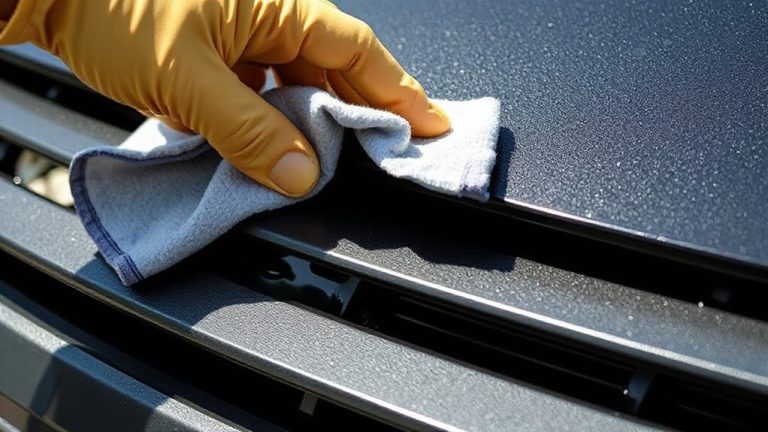
Once the foam has had time to react and loosen embedded contaminants, it’s time to remove the residue-start by scrubbing. Use a soft, non-abrasive brush or microfiber mitt to agitate the surface, focusing on high-soil areas like wheel wells and lower panels. This mechanical action enhances soil removal by breaking the bond between contaminants and the surface. Avoid excessive pressure to prevent marring. After scrubbing, apply the pre rinse technique: rinse thoroughly with pressurized water at 1,200–1,500 psi to eliminate all loosened debris and foam residue. Maintain a 30-degree nozzle angle and 12–18 inch distance to prevent splashback. Complete removal guarantees no chemical residue remains to interfere with subsequent cleaning stages. Proper sequencing-agitate, then rinse-maximizes decontamination efficiency. This two-step process greatly improves cleaning outcomes by guaranteeing all degraded grime is fully flushed away before further treatment.
Clean Your Foam Gun After Every Use
Always clean your foam gun immediately after each use to maintain peak performance and extend its lifespan. Foam gun maintenance is critical because residue buildup clogs internal passages, degrading spray consistency. The cleaning frequency-every single use-prevents chemical crystallization in the nozzle and lance. Flush the gun with clean water for 30–60 seconds to clear soap from the venturi chamber. Disassemble the nozzle tip weekly, or after every five uses, inspecting for grit or mineral deposits. Use a 1:10 vinegar-water solution if scale is present. Reassemble securely to avoid pressure leaks. Operate within standard pressure ranges of 100–1,100 psi; exceeding limits damages seals, especially when dry-fired. A neglected foam gun loses up to 40% output efficiency within ten uses. Treat it like a precision tool, not a hose attachment. Consistent cleaning keeps foam output uniform, guarantees pattern accuracy, and prevents premature replacement.
On a final note
You’ve applied the foam correctly when surfaces are evenly coated without runoff. Most automotive shampoos require a 10:1 water-to-concentrate ratio for ideal foam density. Allow 3–5 minutes of dwell time to emulsify contaminants. Use a pH-neutral solution with a 7.5–8.5 concentration to protect paint and rubber. Always rinse before foam dries. Clean the foam gun with fresh water immediately-flush for at least 30 seconds to prevent nozzle clogging.