Step-by-Step Guide to Replacing Factory Speakers in a Compact SUV
Replace your compact SUV’s factory speakers by selecting 6.5-inch, 4-ohm models with polypropylene cones for durability and proper impedance match. Use a Phillips screwdriver, pry tool, and wire strippers to remove door panels safely, releasing push clips evenly. Connect new speakers using factory harness adapters to avoid cutting wires. Test audio with 320 kbps files to verify clarity and polarity. Finalize by securing panels and checking for distortion-optimal performance hinges on precise fit and clean connections. Further insights follow.
Notable Insights
- Confirm replacement speakers match factory size, depth, and use 4-ohm impedance for stock head unit compatibility.
- Gather necessary tools including screwdrivers, wire strippers, and a plastic pry tool for safe disassembly.
- Remove door panel screws and use a pry tool to release clips without damaging interior surfaces.
- Connect new speakers using factory harness adapters to avoid cutting wires and ensure secure connections.
- Test audio output for clarity and distortion before reinstalling door panels and securing all components.
Choose the Right Speakers for Your SUV
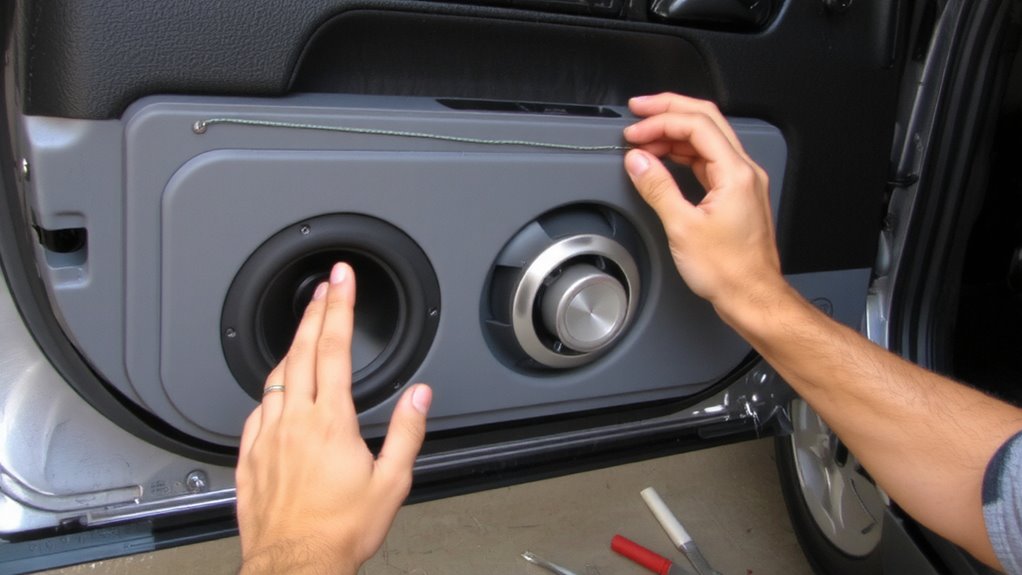
A good speaker upgrade starts with selecting the right fit for your compact SUV’s factory openings and audio system. You need speakers that match the factory speaker size-typically 6.5-inch coaxials in most compact SUVs. Check your owner’s manual or measure the mounting diameter and depth. Speaker impedance matters; stick to 4-ohm models to guarantee compatibility with your stock head unit. Mismatched impedance can strain the amplifier, reducing sound quality and lifespan. For better audio imaging, choose component speakers with separate tweeters. They dramatically improve sound staging, creating a more realistic illusion of where instruments and vocals originate. Position tweeters near eye level for peak performance. Polypropylene cones handle moisture and temperature swings well, ideal for automotive environments. Avoid 8-ohm speakers unless upgrading the amplifier-they can reduce output power by nearly half. Consider models from the Best Budget Car Speakers list to balance performance and affordability without sacrificing sound quality.
Gather Tools and Installation Supplies
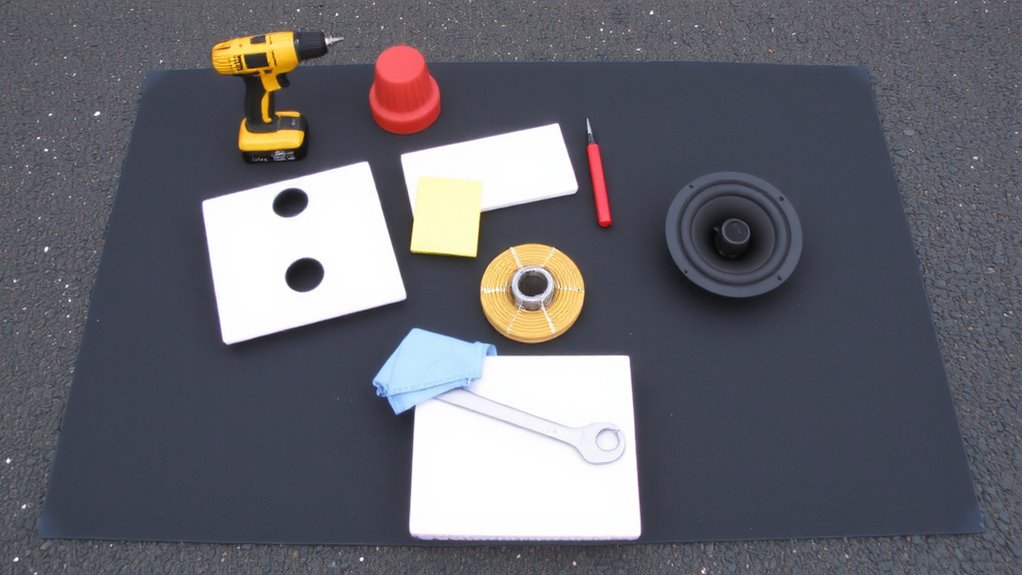
Now that you’ve picked the right speakers to match your compact SUV’s factory openings and audio system, it’s time to prepare everything needed for a smooth installation. You’ll need a Phillips screwdriver, a flat pry tool, wire strippers, and a 7/16-inch wrench for speaker terminal access. A multimeter helps verify signal output before final connections. Include heat-shrink tubing for reliable wiring insulation-this prevents shorts and maintains signal integrity over time. Use crimp connectors or solder joints to guarantee strong electrical contact. Most replacement speakers include mounting brackets; these adapt aftermarket units to factory locations, especially when size or screw alignment differs. Confirm bracket material is rigid plastic or metal to avoid resonance. Keep dielectric grease on hand to protect connections from moisture. Label all wires during disassembly to simplify reconnection. Organize tools and supplies beforehand to minimize errors and reduce install time. For accurate diagnostics, consider using one of the best car multimeters top-rated models to ensure precise voltage and continuity readings.
Remove Door Panels Without Damage
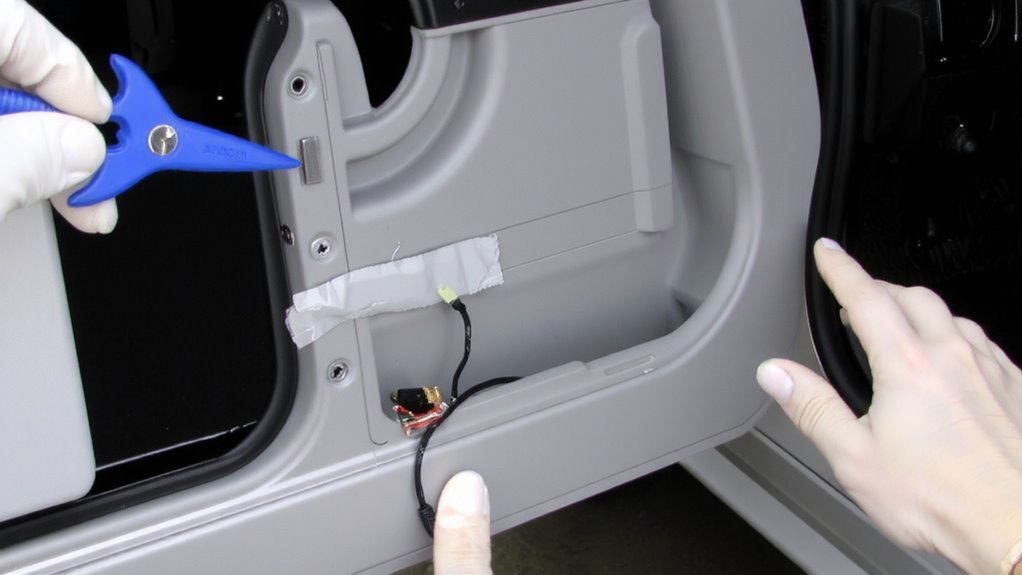
Since door panels are secured with hidden fasteners and fragile clips, prying carelessly can crack the plastic or damage interior trim-proceed with control and the right tools. Begin by removing screws from visible locations, typically 7–10 mm in diameter, near the door handle and armrest. Use plastic pry tool usage to separate the panel from the door frame, applying even pressure along seams. Proper pry tool usage prevents surface marring and guarantees clean panel clip removal. These plastic push clips snap into metal grommets and break if pulled unevenly. Slide the tool edge behind the panel and twist gently to release each clip. You’ll hear a distinct snap when the clip disengages. Work from the bottom upward, supporting the panel’s weight to avoid straining wires. Disconnect any wiring harnesses before fully removing the panel. Handle components by their edges to avoid fingerprint residue or stress fractures.
Replace Factory Speakers With New Ones
Precision matters when swapping out factory speakers, and getting it right starts with matching size and wiring compatibility. Factory speaker locations typically use standard sizes-most compact SUVs have 6.5-inch front and rear drivers-so verify your new speakers match exactly. Check depth clearance too; some aftermarket models are too long and hit the door cavity. Wiring compatibility guarantees seamless integration: use the factory harness adapter instead of cutting wires. Match impedance (usually 4 ohms) and sensitivity (85–90 dB) for maximum performance. Speaker placement affects sound imaging-position tweeters higher for better high-frequency dispersion, mimicking a concert hall’s front stage. Secure mounting prevents vibration; use rubber gaskets to seal out moisture. Tighten screws evenly to avoid warping the frame. Align the speaker cone flush with the mounting surface. Proper placement and wiring compatibility prevent distortion and guarantee balanced output across all frequencies. For clean, reliable signal transfer, consider using high-quality speaker wire gauge matched to your amplifier’s power output.
Test Audio Quality Before Closing Up
What if the sound isn’t quite right after installation? Before finalizing anything, test audio fidelity thoroughly. Play a variety of tracks covering bass, mids, and highs to assess sound clarity. Use familiar, high-bitrate files (320 kbps or higher) to guarantee accurate evaluation. Listen for distortion, phase issues, or imbalances between left and right channels. Confirm each speaker receives proper power-check amplifier output matches speaker impedance, typically 4 ohms. Verify wiring polarity matches positive and negative terminals. Poor polarity reduces bass response and weakens stereo imaging. If audio fidelity seems off, recheck connections and crossover settings. Test volume at multiple levels-low, mid, and high-to detect inconsistencies. Guarantee factory head unit gain isn’t overpowering the new drivers. Small adjustments now prevent major fixes later. Trust your ears and technical data equally.
Reinstall Panels and Finalize Setup
Once you’ve confirmed the sound quality meets expectations, carefully begin reinstalling the interior panels. Proper speaker alignment guarantees peak sound projection and prevents vibration interference. Reattach each panel using original mounting points, applying firm, even pressure to snap them securely into place.
| Component | Installation Tip |
|---|---|
| Door Trim | Align clips before pressing into place |
| Wire Insulation | Verify no exposed copper; use shrink tubing if needed |
| Speaker Grille | Snap in straight to avoid cracking |
Guarantee wire insulation is intact throughout the routing path to prevent short circuits. Double-check all connections beneath the dash and at speaker terminals. A clean, secure setup enhances system longevity and performance. Confirm full panel engagement by gently tugging along edges-no gaps or rattles should remain. Finalize by powering the system and verifying consistent output across all channels.
On a final note
You’ve completed the speaker upgrade successfully. Properly secured connections guarantee signal integrity and prevent distortion. Verify all screws are tightened to 3.5 Nm to avoid panel vibration. Your new 6.5-inch speakers deliver frequency response from 55 Hz to 21 kHz, enhancing clarity and bass. Matched to your SUV’s 120-watt RMS stereo, they perform perfectly. Test all channels at varied volumes to confirm alignment. Finalize only after confirming no rattles or audio dropouts.