How to Wash a Car After Driving Through Agricultural Fields
Wipe loose mud off your car first to avoid scratching paint during washing. Agricultural mud contains silica particles up to 80 microns-larger than 50 microns, they act like sandpaper. Use a 12-inch horsehair brush with 1.5-inch bristles to lift debris panel by panel. Pre-rinse undercarriage and tires with 1,500 psi and a 15-degree nozzle, holding 6–8 inches away. Detailers who follow these steps protect their finish more effectively.
Notable Insights
- Remove loose mud with a soft brush or microfiber cloth to prevent paint abrasion from embedded silica particles.
- Pre-rinse tires and undercarriage using 1,500 psi pressure and a 15–25° nozzle to dislodge packed agricultural debris.
- Wash with pH-balanced car soap and a foam mitt, using top-down straight-line motions to avoid scratching.
- Clean wheel wells and mud traps with a high-pressure nozzle and citrus degreaser to remove stubborn farm residue.
- Dry thoroughly with a blower and microfiber towel, inspect for grit, then apply ceramic coating for protection.
Remove Loose Mud Before It Scratches the Paint
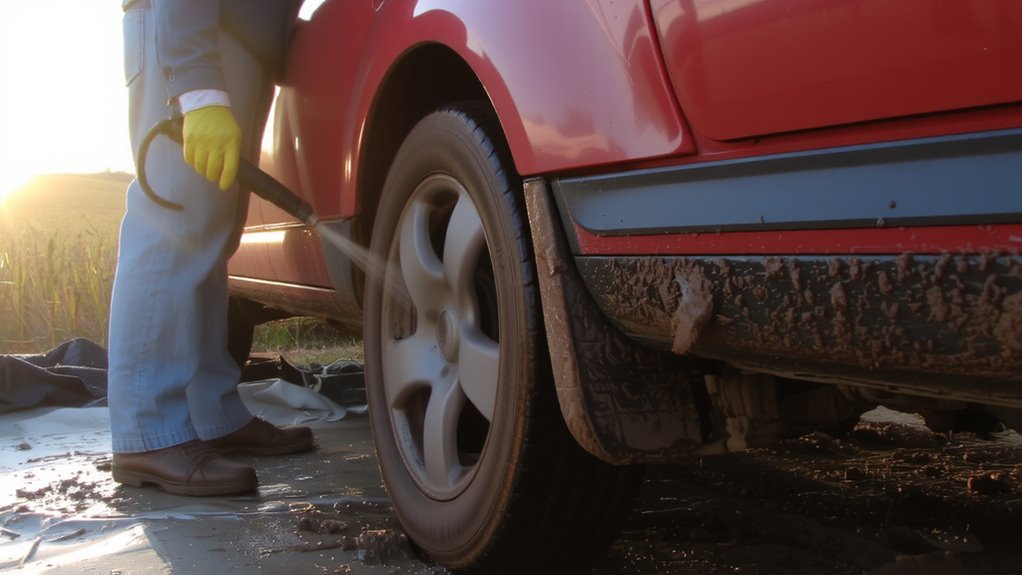
Before rinsing the vehicle, it’s critical to remove any loose mud to prevent surface abrasion during washing. You risk damaging the clear coat if you brush or spray mud-laden surfaces prematurely. Start by gently blowing or sweeping away dry clumps with a soft brush or microfiber cloth. Mud tracking occurs when embedded grit transfers across panels, causing micro-scratches. Use a 12-inch wide, horsehair detailing brush with bristles 1.5 inches long to lift debris without contact pressure. These bristles hold stiffness yet flex to avoid marring. Work panel by panel, from top to bottom, in straight-line motions-never circular. This method reduces cross-contamination and controls particulate spread. On average, untreated agricultural mud contains silica particles up to 80 microns, which act like sandpaper above 50 microns. Removing bulk matter first guarantees later rinsing is effective and safe. A powerful shop vac for car detailing can efficiently extract residual debris from crevices and wheel wells after initial brushing.
Pre-Rinse Muddy Undercarriage and Tires
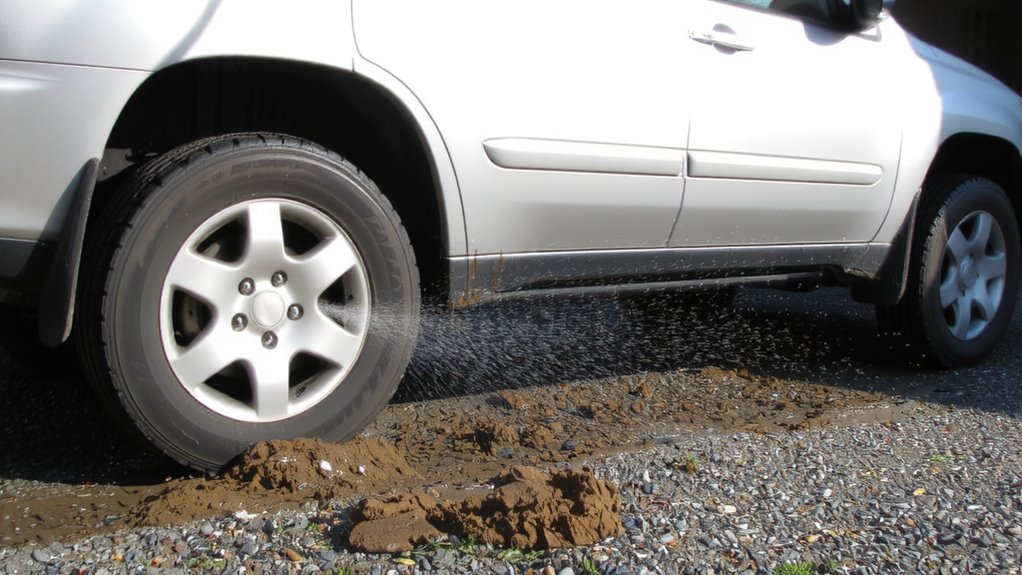
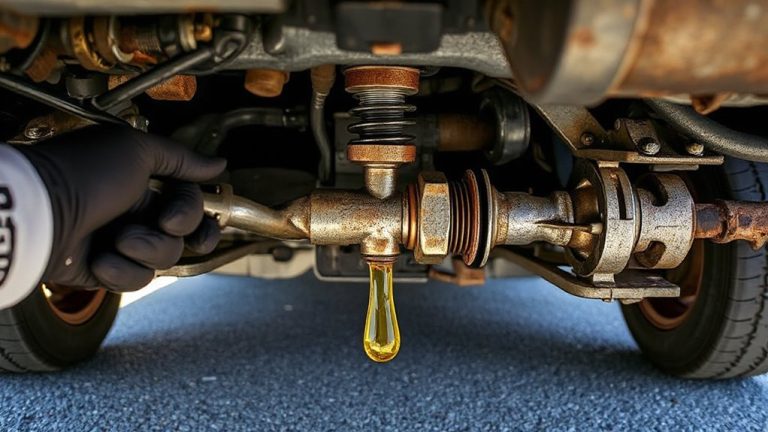
Now it’s time to tackle the heaviest contamination-start by pre-rinsing the undercarriage and tires to loosen packed mud and road grime. Use a pressure washer with at least 1,500 psi to guarantee effective water pressure. A 15- or 25-degree spray angle nozzle is ideal-narrower angles increase impact without damaging surfaces. Begin at the rear diffuser and work forward, spraying upward into wheel wells and suspension components. Hold the nozzle 6–8 inches from the surface to maximize cleaning efficiency. Rotate tires manually to reach all areas. Spend 2–3 minutes per wheel well to dislodge embedded debris. Focus on seams, brackets, and brake lines where mud accumulates. Maintain steady motion to avoid concentrating water pressure too long in one spot. This step removes coarse contaminants before they interfere with detergent application. Pre-rinsing reduces scrubbing force later, lowering scratch risk. Keep spray angle consistent to guarantee complete coverage without trapping water in sensitive joints. For optimal results, consider using a dedicated undercarriage cleaner formulated to dissolve stubborn agricultural residue and prevent corrosion.
Wash With Car-Safe Soap After Farm Exposure
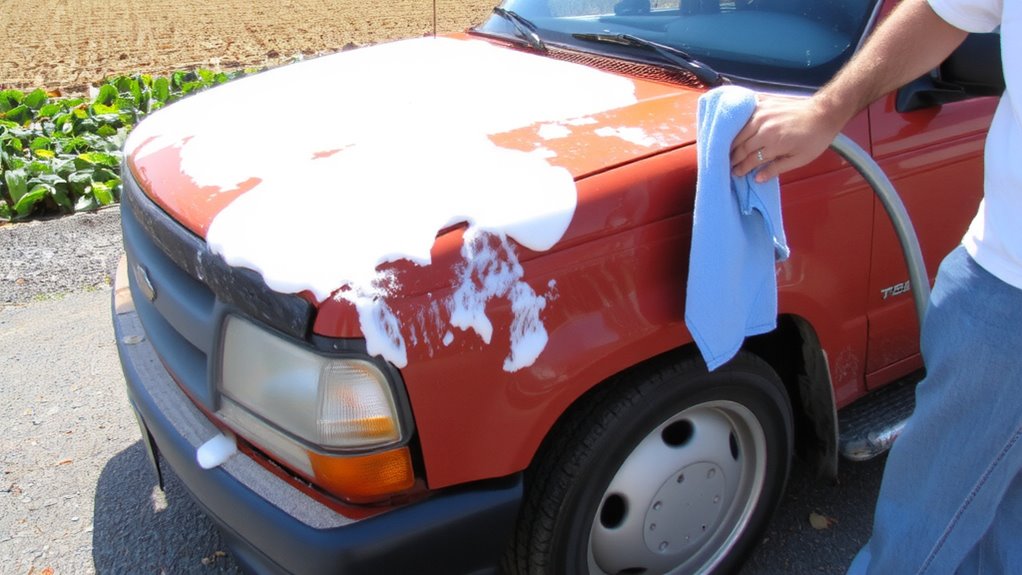
Dirt from farm fields carries more than just mud-it often includes fertilizer residues, pesticides, and fine silts that cling to paint and corrode metal. You need car-safe soap to neutralize these contaminants without damaging wax or clear coats. Use a pH-balanced, non-abrasive formula with a soap concentration of 2–4 ounces per gallon of water. This ratio guarantees effective cleaning while minimizing chemical stress on surfaces. Apply the solution with a high-density foam mitt or lambswool pad to preserve paint integrity. Your scrub technique should follow a top-down motion, using straight-line passes instead of circles to reduce micro-scratches. Work in shaded areas to prevent soap from drying prematurely, which can leave residue. Rinse thoroughly immediately after scrubbing. These steps guarantee chemical and particulate removal while maintaining long-term surface protection. For best results, choose one of the top-rated car wash soaps that are specifically designed for safe, effective cleaning without stripping protective coatings.
Clean Wheel Wells and Hidden Mud Traps
While much of the vehicle’s surface gets immediate attention, the wheel wells and hidden mud traps often retain the most stubborn agricultural buildup. These areas collect moisture, soil, and organic matter, accelerating debris accumulation and increasing corrosion risk. Use a high-pressure nozzle at 1,200–1,800 PSI to dislodge caked-on mud from wheel arches and suspension components. Avoid exceeding 2,000 PSI near rubber or plastic liners to prevent damage. Apply a citrus-based degreaser to break down embedded grime, letting it dwell for 3–5 minutes. Scrub crevices with a stiff-bristled brush featuring nylon bristles (0.032” diameter) for effective cleaning without scratching. Thoroughly rinse to eliminate all residue. This step is critical for rust prevention, especially on steel control arms, brake lines, and undercarriage joints exposed to field chemicals and moisture over time.
Dry and Spot-Check for Leftover Residue
After rinsing away degreaser and loosened debris, residual moisture in wheel wells and panel gaps can conceal remaining contaminants. Begin air drying with a low-moisture, high-velocity blower to force water from tight spaces; this step prevents trapped moisture from evaporating and leaving mineral deposits. Use an automotive-specific microfiber towel for towel finishing-its split-fiber construction lifts water without marring clear coats. Inspect all surfaces under direct sunlight or a 5,000-lumen LED work light, checking for clinging silt or organic residue. Pay special attention to rocker panels and undercarriage edges where mud accumulates. A quick pass with a clean, dry microfiber cloth confirms surface readiness. Spot-check with a white fabric swab on painted areas; any discoloration indicates leftover grit. Immediate re-cleaning at this stage avoids long-term adhesion. Air drying reduces water spotting by 90% compared to passive evaporation. Towel finishing guarantees a contaminant-free finish pre-sealing.
Seal Paint Against Crop Dust and Debris
A ceramic coating is your best defense against the abrasive effects of crop dust and persistent agricultural debris. This advanced paint protection forms a semi-permanent bond with your vehicle’s clear coat, typically lasting 2–5 years. It delivers superior contamination prevention by repelling water, dirt, and chemical residues. Below are key performance metrics:
| Feature | Ceramic Coating | Wax (Traditional) |
|---|---|---|
| Durability | 2–5 years | 3–6 weeks |
| Thickness | 1–2 microns | 0.2–0.5 microns |
| Heat Resistance | Up to 600°F | Up to 180°F |
| Water Contact Angle | 110°–115° | 90°–95° |
| Scratch Resistance | High (hardness 9H) | Low (2H–4H) |
Apply in a clean, dry environment after thorough decontamination. Use microfiber applicators for even spread. Cure time is 24–72 hours. This sealant enhances gloss and drastically reduces future cleaning effort. It’s essential for long-term paint protection and effective contamination prevention in agricultural settings.
On a final note
You’ve protected your vehicle from agricultural contaminants. Always start with a thorough pre-rinse using 50–60 psi water pressure to remove loose mud. Use pH-balanced car shampoo (pH 7.0–8.5) to preserve wax and clear coat. Dry with microfiber towels to prevent swirls. Apply a ceramic sealant with >9H hardness for long-term defense against crop dust. Inspect wheel wells with a flashlight to confirm no residue remains.