How to Test for Parasitic Drain Using a Multimeter in Automotive Systems
Turn off all vehicle systems and disconnect the negative battery terminal. Set your multimeter to measure DC current in milliamps, plug the red probe into the amp (A) port, and connect it between the battery post and terminal. A normal parasitic draw is 20–50 mA; anything above 50 mA indicates a problem. Remove fuses one at a time to pinpoint the circuit causing excess drain. Once identified, inspect and repair faulty components or wiring-continued testing reveals hidden electrical faults.
Notable Insights
- Confirm the charging system is functional by checking for 13.2–14.7V at the battery with the engine running.
- Clean battery terminals and inspect for corrosion to ensure accurate electrical readings and connections.
- Set the multimeter to DC milliamps, connect red probe to current port, and insert in series with the battery negative terminal.
- Measure parasitic draw with all systems off; normal drain is 20–50 mA, exceeding 50 mA indicates a problem.
- Remove fuses one at a time while monitoring current to isolate the circuit causing excessive drain.
Test for Parasitic Battery Drain
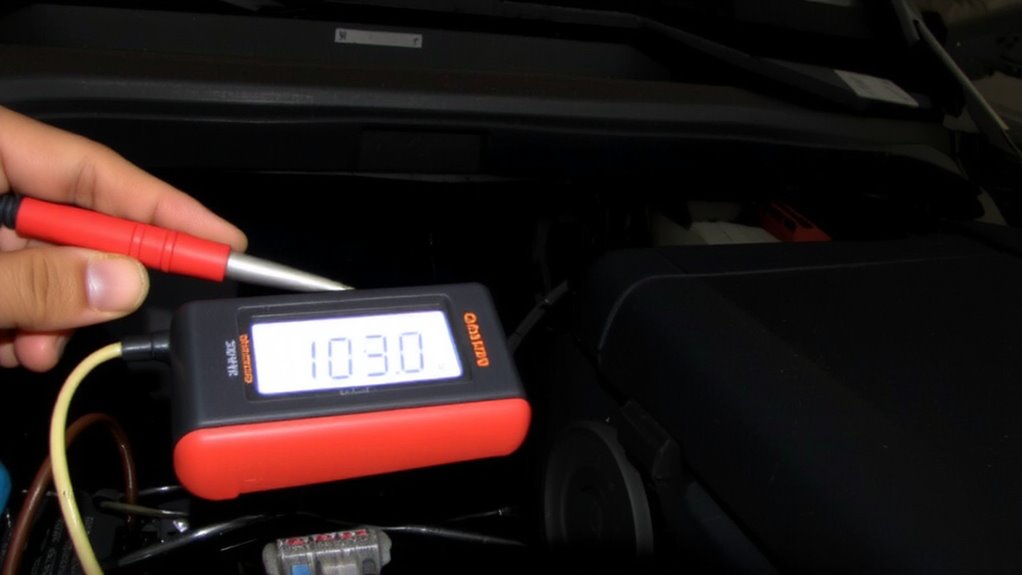
What if your car’s battery keeps dying overnight despite no obvious issues? You might have a parasitic drain. First, confirm the charging system is functioning-voltage should read 13.2–14.7V with the engine running. A faulty alternator or voltage regulator often mimics drain symptoms. Next, inspect for battery corrosion at the terminals-corrosion increases resistance and disrupts current flow, leading to false readings or poor charge retention. Clean terminals thoroughly before testing. With the engine off and all accessories powered down, wait 20–30 minutes for control modules to enter sleep mode. Then, disconnect the negative terminal and connect your multimeter in series to measure current draw. A healthy system typically draws 20–50 milliamps; anything above 100 mA suggests a parasitic drain. Address excessive draw promptly to avoid battery failure and confirm reliable starts.
Set Up Your Multimeter for Current Testing
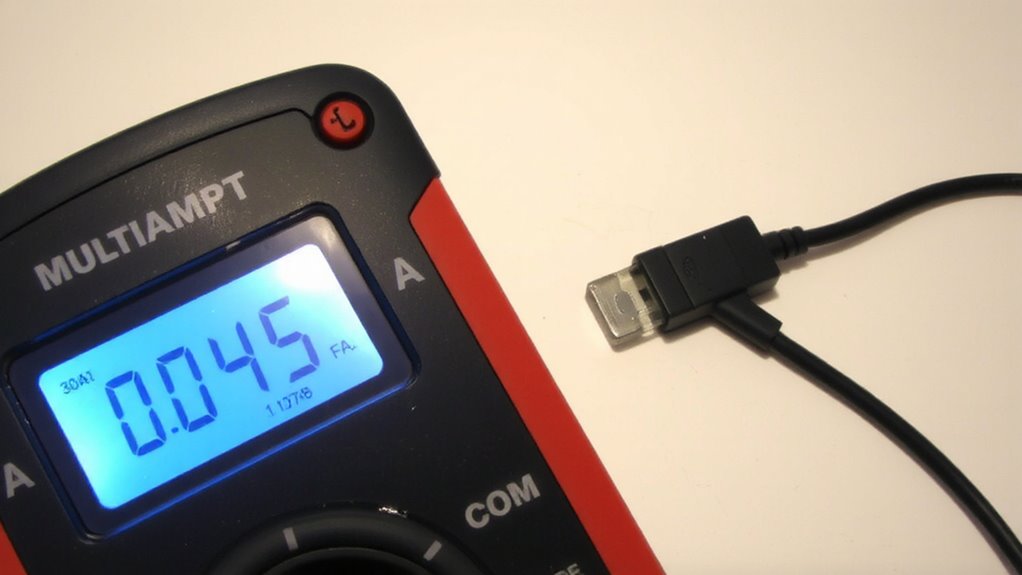
A proper multimeter setup is essential for accurate current testing. Set your multimeter to measure DC current in the milliamp (mA) range, typically 10A or 200mA, depending on expected draw. Incorrect probe placement can damage the meter or yield false readings. Plug the red probe into the current (A) port, not voltage (VΩ). The black probe stays in the COM port. Make certain the vehicle is off and ready for testing. Perform fuse removal on the battery’s negative terminal to break the circuit safely. This allows you to insert the multimeter in series with the battery and vehicle system. Secure connections to prevent intermittent contact. Poor probe placement introduces resistance, skewing results. Always verify settings before connecting. A well-configured multimeter with correct probe placement and proper fuse removal makes certain precise parasitic drain diagnosis. For reliable performance, consider using one of the best car multimeters recommended for automotive diagnostics.
Check for Excessive Current Draw
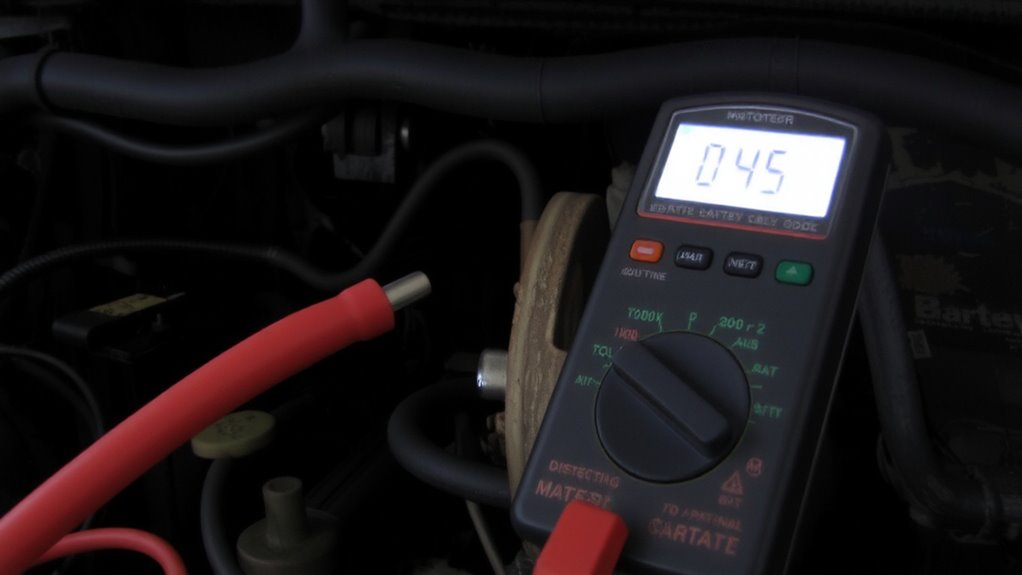
Start by connecting your multimeter in series with the battery’s negative terminal to measure the vehicle’s parasitic current draw. Set your meter to measure milliamps (mA) with the range up to 500 mA for accurate readings. A normal parasitic drain should be under 50 mA. If your reading exceeds this, there’s excessive current draw. Check for battery corrosion around the terminals, as corroded connections can create resistance and affect measurements. Clean the terminals thoroughly before retesting. Conduct a visual fuse inspection-look for damaged or improperly seated fuses that might indicate a circuit fault. Most vehicles have key-off loads from the ECU, clock, and alarm system, which typically draw 20–45 mA. A reading markedly above 50 mA means a hidden issue. Don’t assume a bad component immediately-first confirm correct multimeter setup and eliminate external power sources. For reliable results, consider using a Fluke multimeter known for durability and accuracy in automotive diagnostics.
Find the Circuit Causing the Drain
How do you pinpoint the exact circuit responsible for the drain once you’ve confirmed excessive current? Use circuit isolation through systematic fuse removal. Start with the vehicle off and the multimeter still in series with the battery’s negative terminal. Begin removing fuses one at a time from the fuse box, watching the amperage reading. When you pull a fuse and notice a significant drop-say, from 60 mA to 25 mA-you’ve likely found the offending circuit. This drop indicates the removed circuit was contributing to the parasitic drain. Label each fuse location as you test it for clarity. Some circuits may show minor current; that’s normal. Focus on those causing measurable changes. Circuit isolation this way narrows the fault to a specific system-like audio, lighting, or ECU. Avoid skipping fuse blocks-check both underhood and interior panels. This method is precise, repeatable, and essential for accurate diagnosis.
Fix the Faulty Circuit
Once you’ve identified the circuit causing the parasitic drain, the next step is to inspect all components powered by that circuit for abnormal current draw. Begin by disconnecting each device one at a time while monitoring the multimeter. A sudden drop in current indicates the faulty component. Check for damaged circuit insulation, which can allow unintended grounding and continuous power flow. Inspect wire routing along the harness-poor placement near sharp edges or heat sources often leads to chafed wires. Replace any melted or frayed insulation with high-temp automotive-grade sleeving. Guarantee wires follow factory routing paths to prevent stress and short circuits. Use a wiring diagram to verify correct connections. Repair splices with solder and heat shrink, not crimp connectors. Faulty insulation or incorrect wire routing accounts for over 60% of parasitic drain cases. Addressing these restores proper circuit integrity and stops unwanted current loss.
Verify the Repair Fixed the Drain
The real test comes after the fix-current draw must drop to acceptable levels or the problem’s still lurking. Reconnect the battery and set your multimeter to measure milliamps in series, just as before. A normal parasitic drain is 20–50 mA; anything above 75 mA suggests an issue remains. If readings are high, double-check the circuit you repaired. Even small oversights, like a pinched wire or faulty ground, can sustain the drain. Confirm battery health, since a degraded battery may mimic drain symptoms due to reduced capacity. Weak alternator performance can also distort results-verify output is 13.8–14.4 volts at idle. Use a load tester to assess battery condition if uncertainty persists. Recheck current draw after eliminating these variables. Consistently low readings confirm the repair. Monitor over 24 hours if needed. Accurate verification guarantees long-term reliability and protects your electrical system.
On a final note
You’ve confirmed the parasitic drain is under 50 milliamps, the typical threshold for modern vehicles. Your multimeter, set to measure DC current in series with the negative battery cable, showed no spikes above spec. By pulling fuses methodically, you isolated the faulty circuit. After repairing the short or component, you retested. Current draw now stays within limits. The battery will hold charge. The system operates as designed.