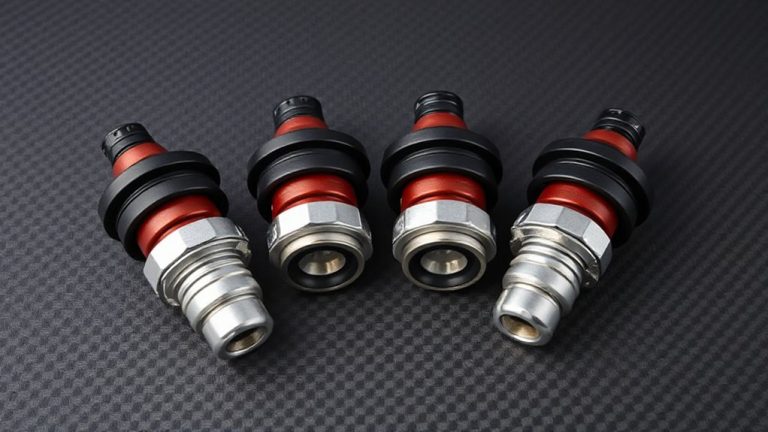
Step-by-Step Guide to Installing Front Stage in a Mid-Size SUV
Choose 6.5-inch or 6×9-inch coaxial or component speakers that match your SUV’s factory mounting depth, typically 2.5 to 4 inches. Pair them with a compact Class D amplifier-under 10 inches long-delivering 50–75 watts RMS per channel at 4 ohms. Remove door panels, inspect factory wiring, and install new speakers using foam gaskets for an airtight seal. Run 4-gauge power wire from the battery through a firewall grommet, keeping signal cables shielded and separated. Ground the amp within 18 inches of the battery using 10 AWG wire. Mount tweeters high on the dash or sail panels for ideal imaging. Set high-pass crossovers at 80 Hz with a 24 dB/octave slope. There’s still more to get right for flawless integration.
Notable Insights
- Verify front speaker size and depth using the owner’s manual or physical measurement before purchasing replacements.
- Remove door panels carefully with a trim tool and inspect factory wiring for compatibility and damage.
- Install component speakers with separate tweeters for improved sound imaging and frequency response.
- Apply damping pads and foam gaskets to reduce vibrations and create an airtight seal behind the speaker.
- Route power and signal wires separately, using proper gauges and shielding to prevent interference and ensure safety.
Choose Front Stage Speakers That Fit Your SUV’s Factory Locations
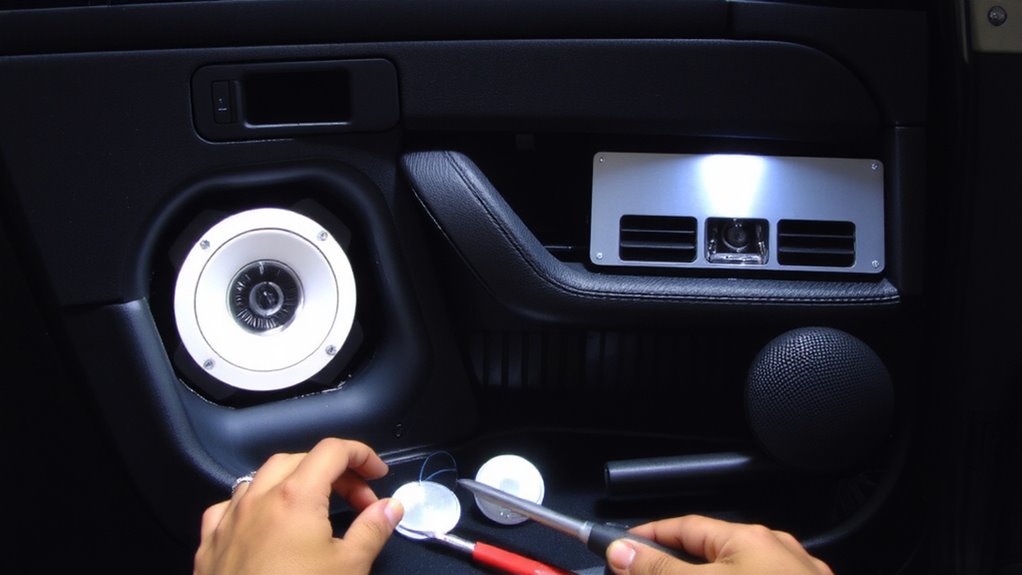
Most mid-size SUVs use either 6.5-inch or 6×9-inch front speaker locations, so checking your owner’s manual or measuring the factory openings is the first step. Speaker placement directly impacts sound staging and imaging, with angled or tweeter-mounted designs offering ideal off-axis response. Factory speakers often sit flush or shallow, limiting cone movement-aftermarket models with recommended sensitivity ratings of 88dB or higher perform more efficiently. Guarantee new speakers match your dash or door cavity depth; many measure 2.5 to 4 inches deep. Proper acoustic insulation reduces cabin resonance and road noise, improving clarity. Apply damping material like butyl pads to door panels before installation-this increases effective enclosure volume. Coaxial models integrate tweeters for broader frequency dispersion, while component sets allow separate tweeter placement for precise imaging. Always verify impedance compatibility (typically 4 ohms) with your factory or aftermarket head unit. For budget-friendly options that still deliver strong audio performance, consider the best budget car speakers when selecting replacements for your front stage.
Find the Best Compact Amp for Your SUV’s Front Stage Upgrade
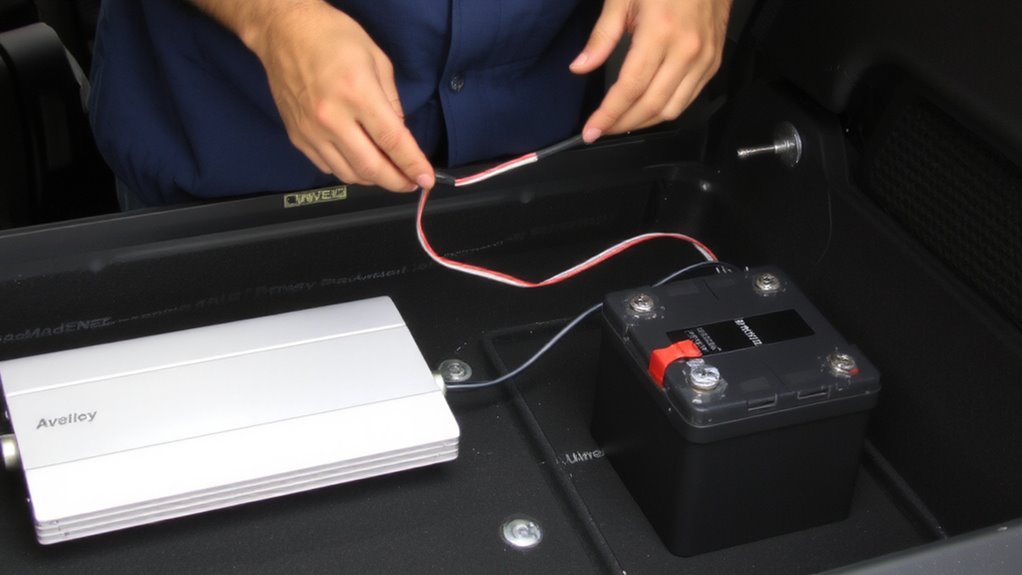
You’ve selected speakers that fit your SUV’s front openings and optimize sound staging, so now it’s time to power them effectively. A compact amplifier guarantees clean power without sacrificing cabin space. Look for models measuring under 10 inches in length and 2 inches in height to fit tight enclosures behind panels or under seats. Amp efficiency matters-choose a Class D amplifier with efficiency ratings above 80% to minimize power loss and heat buildup. This reduces strain on your SUV’s electrical system during long drives. Signal clarity depends on a signal-to-noise ratio exceeding 90 dB and low total harmonic distortion (THD under 0.05%). These specs preserve audio detail, especially in vocal and instrumental midranges. Match the amp’s RMS output to your speakers’ power handling, typically 50–75 watts per channel for front components. This guarantees dynamic range without clipping.
Access Factory Speaker Sites in Your SUV’s Front Doors
After removing the interior door panels, you’ll gain direct access to the factory speaker mounting locations. Door panel removal requires a trim tool and a Phillips screwdriver-disconnect the battery first for safety. Most mid-size SUVs use 6.5-inch factory speakers with a mounting depth of 2.1 inches. Inspect wiring connectors carefully during factory wiring inspection to identify positive/negative leads and impedance (typically 4 ohms). Avoid damaging wire insulation.
| Component | Specification |
|---|---|
| Factory Speaker Size | 6.5″ |
| Mounting Hole Diameter | 5.75″ |
| Impedance | 4 ohms |
| Wiring Gauge (OEM) | 18 AWG |
Check for corrosion or frayed wires. Clean mounting surfaces before installation.
Route Power and Audio Wires Safely Through Your SUV
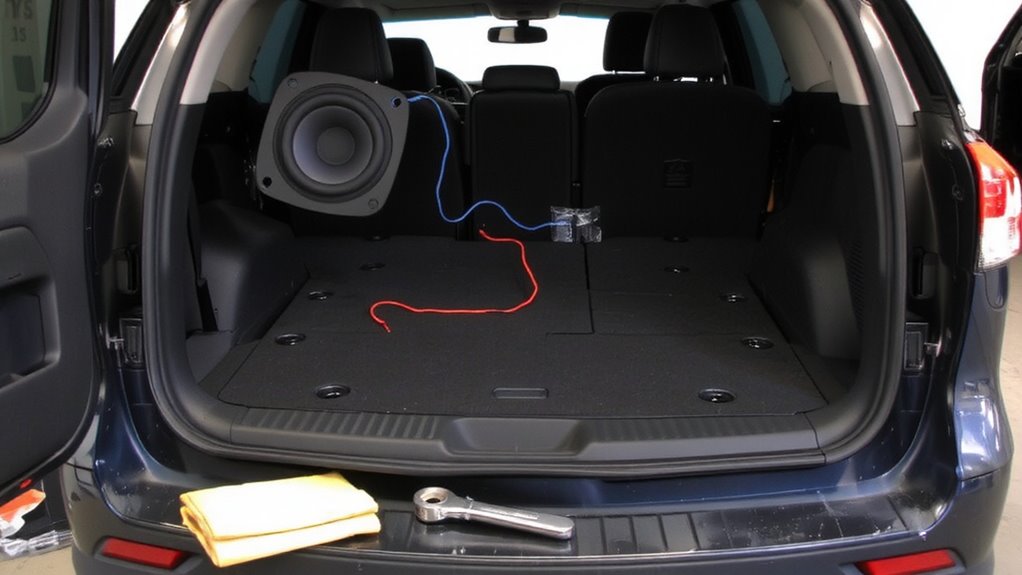
With the door panels off and factory speaker sites exposed, your next focus shifts to moving wires from the front doors to the amplifier and battery locations. Proper wire management prevents shorts and signal loss. Run power cables from the battery to the amplifier location using a 4-gauge stranded copper wire, passing through the firewall via a rubber grommet to maintain factory sealing. Use nylon zip ties every 12 inches to secure lines along existing harness paths. For noise isolation, keep audio signal wires at least 12 inches away from power cables. Cross them at 90-degree angles if necessary. Shielded RCA cables reduce electromagnetic interference. Route speaker wires through door boots using protective split loom sleeves to avoid chafing. Make certain all paths allow door closure without pinching. Secure all runs with non-abrasive tape or insulated clips. For convenient in-car mounting of tablets used during installation or tuning, consider using a top-rated iPad car holder to keep devices secure and accessible.
Mount and Wire the Amplifier for Clean Front Stage Signal
Though amplifier placement affects both performance and accessibility, you’ll want to mount it securely in a well-ventilated area, typically under a front seat or in the trunk near the front wall. Secure the amplifier with bolts or brackets to prevent vibration damage. Maintain at least 2 inches of clearance around heat sinks for proper cooling. Use a non-conductive surface to avoid grounding issues. For signal purity, connect the RCA cables from the head unit to the amp using a shielded, low-capacitance cable-keep it away from power wires. Implement noise reduction by grounding the amplifier to bare metal within 18 inches of the battery, using a 10 AWG ground wire. Guarantee tight, corrosion-free connections. Power the amplifier with at least 4 AWG wire fused within 12 inches of the battery. This setup preserves signal integrity and minimizes electrical interference for clean front stage output. Choose a high-quality amplifier based on your system’s power needs and configuration to ensure optimal Top Car Stereo Amplifiers performance.
Install New Front Stage Speakers and Seal for Maximum Sound
If you want your front stage to deliver crisp, dynamic sound, installing high-quality speakers with an airtight seal is essential. Use 6.5-inch component speakers with separate tweeters for accurate imaging and frequency response from 50 Hz to 20 kHz. Mount them securely using polymer baffle rings to prevent panel vibrations. Apply acoustic damping pads-like butyl-based sheets-to the door chassis, covering at least 70% of the inner surface, to reduce resonance. Sound isolation is improved by sealing the speaker mounting surface with closed-cell foam gaskets. This airtight seal prevents sound cancellation and boosts bass response. Guarantee the speaker basket doesn’t compress the surround. Wiring should use 16-gauge OFC cabling with crimped terminals. Properly sealed doors act like speaker enclosures, increasing efficiency by up to 3 dB. A precise fit maximizes output and minimizes distortion under high volume.
Tune Crossovers and Time Alignment for Balanced Front Sound
How do you guarantee each speaker in your front stage performs as a unified team? You tune crossovers and time alignment. Proper crossover settings prevent frequency overlap, enabling clean frequency blending. Set high-pass filters around 80 Hz for mids and tweeters, and low-pass at 100 Hz for woofers. This secures each driver handles only its intended range. Adjust slope steepness-24 dB/octave works well for precise separation. Time alignment delays the closer speaker so sound from all drivers arrives at your ears simultaneously. This maintains phase coherence, critical for accurate imaging. Use your head unit’s built-in DSP or an external processor. Measure speaker distances accurately, typically within 0.1 millisecond precision. Tweeters should align to match mid-bass arrival time. When done right, the front stage sounds seamless, like a single source-just as engineers intended.
On a final note
You’ve completed a precision front stage upgrade. Properly matched 6.5-inch component speakers fit factory door locations with neodymium magnets and 300-watt peak handling. The compact 4-channel amp delivers 75 watts RMS per channel at 4 ohms. Signal integrity is maintained via 16-gauge oxygen-free copper wiring. Sealed enclosures prevent acoustic leakage. Time alignment and 3.5-kHz crossover settings optimize phase coherence.