Reducing Coil Spring Sag Risk by Elevating Lower Control Arms Independently
You reduce coil spring sag by elevating your lower control arms with precision spacers or adjustable brackets, increasing spring preload by 0.5 to 1.5 inches. This maintains factory ride height and reduces dynamic load stress. Preload counters permanent compression from material fatigue due to repeated cycles. Use a 3-ton floor jack and 6,000-lb jack stands for safe, independent control arm lifting. Proper alignment prevents torsional strain that cuts fatigue life by up to 30%. There’s more to optimizing suspension longevity.
Notable Insights
- Elevating lower control arms increases spring preload, helping maintain coil spring tension and reduce permanent compression.
- Proper preload from raised control arms prevents sag by keeping springs within optimal stress ranges during operation.
- Precision spacers or adjustable brackets lift control arms 0.5 to 1.5 inches, preserving factory ride height and alignment.
- Independent elevation ensures even load distribution, minimizing torsional strain and uneven fatigue on coil springs.
- Using correct tools and incremental lifting ensures safe, aligned installation, preventing misalignment-induced spring degradation.
What Causes Coil Spring Sag?
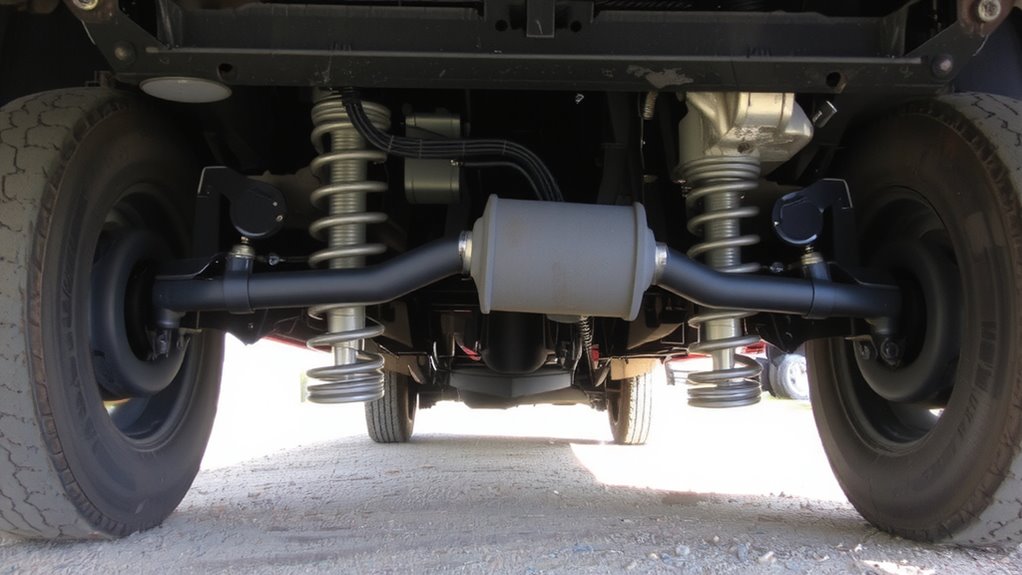
While coil springs are built to handle heavy loads, they can still lose height over time due to material fatigue and overloading. You experience sag when repeated stress degrades the spring’s tensile strength, reducing its ability to rebound. Material fatigue occurs gradually, especially in vehicles regularly carrying heavy cargo or towing. Each cycle of spring compression wears down the metal’s crystalline structure, leading to permanent deformation. Over time, this results in reduced ride height and compromised suspension performance. Standard coil springs are engineered for a specific cycle life-typically 100,000+ compressions under rated load-but exceed that limit or surpass the load rating, and failure accelerates. Excessive spring compression, especially beyond design tolerances, causes the coils to settle below original specs. This isn’t immediate; it develops over thousands of load cycles. You’ll notice it as uneven stance, reduced ground clearance, or poor handling-all signs the spring can no longer maintain its intended form.
How Elevating Lower Control Arms Prevents Sag
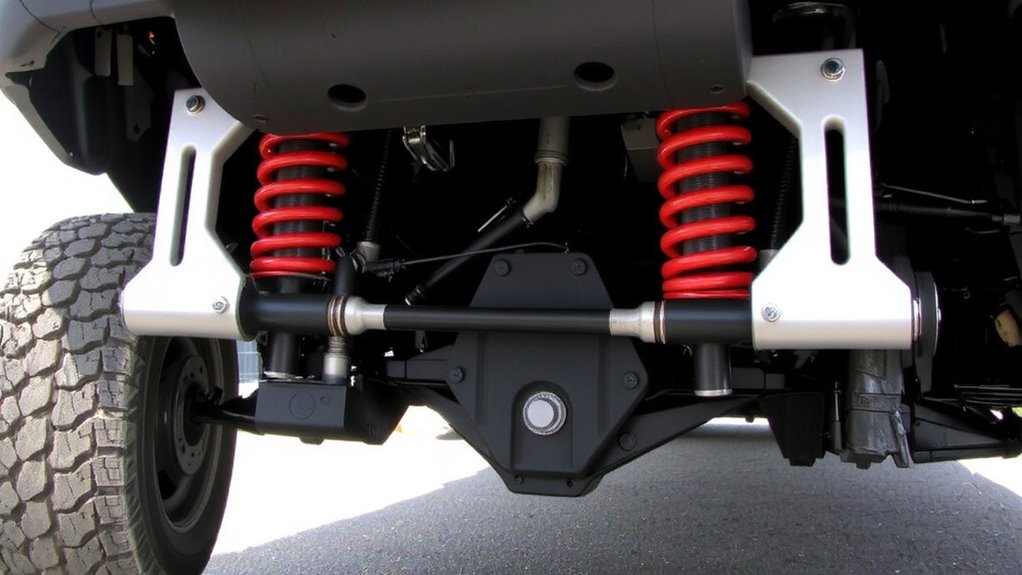
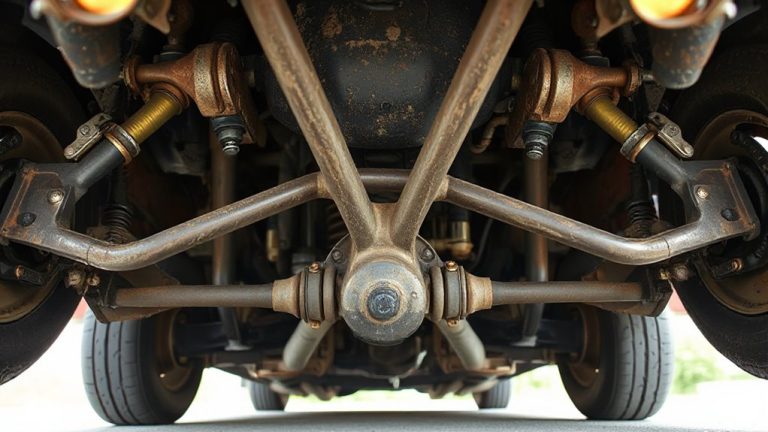
You can reduce coil spring sag by changing how the suspension geometry handles load, and one effective method is elevating the lower control arms. This adjustment increases spring preload, guaranteeing the coil spring remains under initial tension even under heavy loads. With proper preload, the spring resists settling into a permanently compressed state. Raising the lower control arms also modifies suspension travel, reducing the dynamic force exerted on the spring during compression. This improves long-term durability. You maintain factory ride height, preserving handling and alignment specs. Adjustments typically require precision spacers or adjustable control arm brackets, often allowing 0.5 to 1.5 inches of lift. The fix targets sag before it starts-by optimizing load distribution, you prevent metal fatigue. Proper installation guarantees even load sharing between spring and shock. This isn’t a cosmetic change-it’s structural reinforcement.
Tools You Need to Lift Control Arms
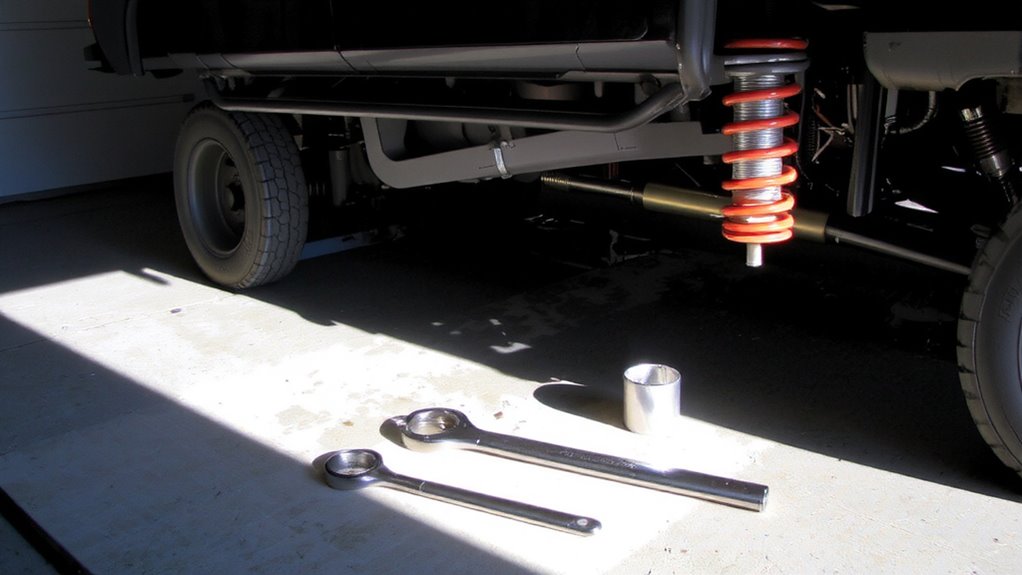
If you’re planning to elevate the lower control arms, having the right tools guarantees precision and structural integrity. A hydraulic floor jack with at least 3-ton capacity secures reliable jack placement under reinforced frame points. Use jack stands rated for 6,000 pounds per corner to secure the vehicle safely. You’ll need a torque wrench calibrated to 100 ft-lbs for accurate fastener tightening. Common socket sizes include 10mm, 13mm, 15mm, and 18mm for control arm bolts and strut nuts. An impact wrench with a ½-inch drive enhances speed and consistency during disassembly. Include a ball joint separator and control arm alignment tool to maintain suspension geometry. Precision matters-incorrect jack placement risks misalignment. Proper socket sizes prevent rounding fasteners. Each tool contributes to maintaining factory ride height specs and minimizing coil spring sag over time. For heavy-duty lifting performance, consider a floor jack for trucks with extended lift range and high weight capacity.
Safely Elevate Lower Control Arms: Step-by-Step
When lifting the lower control arms, precision guarantees the suspension maintains its designed geometry and prevents premature coil spring sag. Use a hydraulic floor jack rated for at least 3 tons to guarantee lift stability. Position the jack under the reinforced section of the control arm, near the ball joint, to avoid deformation. Always pair the jack with jack stands rated to 6,000 pounds per stand for reliable jack safety. Lift slowly in quarter-inch increments, checking for wobble or shifting. Confirm the vehicle is level using a digital inclinometer on the frame; deviation should not exceed 0.5 degrees. Support both control arms independently to prevent torsional stress. Never rely on a single lift point. Maintain clear space around the work area and wear ANSI-approved safety glasses. Proper technique guarantees consistent ride height and reduces long-term sag risks.
Keep Suspension Geometry Aligned During Installation
While maintaining proper alignment isn’t always visible, it’s critical to preserving the suspension’s engineered performance. You must guarantee alignment precision when reinstalling components to prevent unintended stress on bushings and joints. Misalignment skews camber, caster, and toe angles, accelerating tire wear and reducing handling stability. Keep the lower control arm positioned as close as possible to its loaded ride height during assembly. This maintains factory suspension geometry and guarantees accurate load balance across the spring and shock. Alignment precision also prevents preload distortion in the coil spring, which can lead to premature sag. Use alignment pins or mock ball joints to temporarily secure components before final tightening. These tools replicate operational conditions, allowing you to achieve correct pivot points. Always reference the manufacturer’s alignment specs-typically within ±0.5 degrees of camber and ±0.2 degrees of caster. Proper setup now guarantees long-term ride height consistency.
5 Mistakes That Lead to Coil Spring Sag
Though coil spring sag is often blamed on material fatigue, improper installation practices are just as likely to compromise spring integrity. You might not realize that improper storage exposes springs to moisture and deformation, weakening their tensile strength over time. Always store springs vertically on dry racks, not stacked or lying flat. Excessive loading is another silent killer-overloading beyond the spring’s rated capacity, typically 1,200–1,800 pounds depending on vehicle class, causes permanent set. You’ll see a 10–15% drop in free length once this happens. Never exceed the manufacturer’s load limit stamped on the spring. Incorrect pre-load during setup-especially when lowering control arms unevenly-creates uneven stress distribution. This accelerates fatigue, especially in the first few coils. Even minor misalignment during installation induces torsional strain, reducing fatigue life by up to 30%. Avoid these mistakes, and you’ll maintain ideal spring performance.
When Sag Returns: Time to Upgrade Your Springs?
Is it really worth holding onto worn coil springs when performance starts slipping? You risk handling degradation and uneven tire wear. Sag compromises ride height, alignment, and load capacity-critical for vehicles carrying heavy cargo or towing. If you notice a persistent dip at the rear or bottoming out on bumps, it’s time for spring replacement. Modern OE-spec springs restore original ride height, but upgrading offers enhanced load capacity and durability. Consider high-yield steel springs rated for 10–15% higher load capacity than stock. These support added weight without premature fatigue. Check spring rates: 180–220 lb/in suits most daily-driven trucks. Progressive-rate designs improve comfort under light loads while firming up under stress-like a shock absorber managing energy. Don’t delay. Persistent sag stresses shocks, bushings, and control arms. Replace in axle sets to maintain balance. Upgraded springs deliver precise control, consistent geometry, and renewed load capacity.
On a final note
You reduce coil spring sag by independently elevating lower control arms. This adjustment increases suspension preload without over-compressing the spring. Maintaining correct pinch weld alignment guarantees geometry stays within 0.5° of factory camber specs. Use 1/2-inch wrenches and calibrated torque settings (85–92 ft-lbs) to secure bolts. Proper installation extends spring life by up to 30%. Upgrade springs only if sag exceeds 15mm after correction.