How to Remove Rusty Brake Rotors Without Damaging the Hub on a Dodge Charger
Use a six-point 14mm socket and ½-inch breaker bar to remove lug nuts without rounding. Spray PB Blaster into the rotor-to-hub interface and let it soak for at least 15 minutes-overnight for heavy rust. Apply even heat around the hub with a propane torch at 300–400°F to break corrosion bonds. Tap the rotor’s inner edge with a brass hammer to loosen it. You’ll learn how to protect the hub during removal and prevent future seizure with proper prep.
Notable Insights
- Apply penetrating oil to the rotor-to-hub interface and let it soak for at least 15 minutes to break down rust bonds.
- Use a propane torch to heat the center hub area evenly, causing thermal expansion that loosens the rotor without damaging components.
- Retract caliper pistons with a C-clamp tool before removal to prevent pressure on the rotor during disassembly.
- Tap the rotor’s inner edge with a brass hammer to free it, avoiding the braking surface and hub to prevent damage.
- Use a spline drive puller with M12 x 1.5 threads and gradual force to remove seized rotors while protecting the hub flange.
Get the Right Tools to Remove Dodge Charger Brake Rotors
A solid toolkit makes all the difference when tackling stubborn brake components. You need proper tool selection to address rotor corrosion without damaging the hub. Use a six-point, 14mm socket with a ½-inch drive breaker bar to loosen lug nuts-this reduces rounding risk. A C-clamp brake caliper tool helps retract pistons efficiently. For seized rotors, a spline drive puller with M12 x 1.5 threads applies even pressure. Include a torque wrench for precise reassembly-100 ft-lbs is standard for Dodge Charger wheels. Pair it with a rubber mallet to gently free corroded edges. A digital caliper lets you measure rotor thickness; minimum spec is 24.4mm. Always wear impact-resistant gloves. Avoid universal pullers-they can crack cast iron. Proper tools save time, prevent part damage, and guarantee safety. Rotor corrosion demands patience and precision, not force.
Spray Penetrating Oil and Let It Soak In
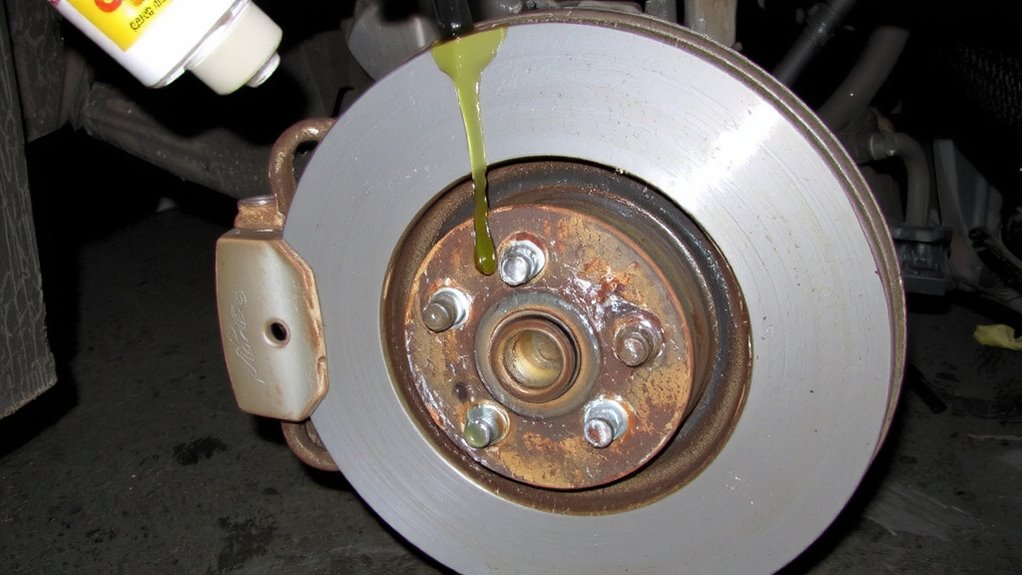
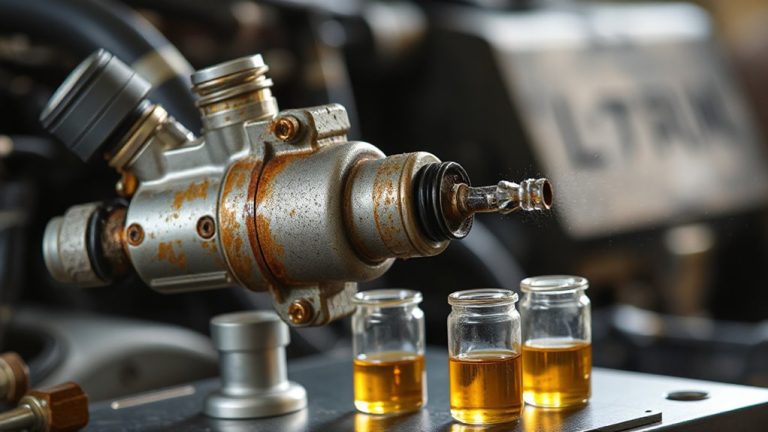
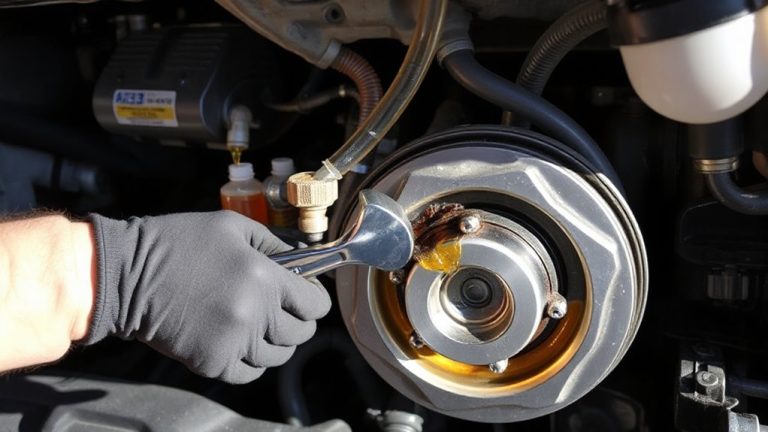
Several applications of penetrating oil considerably improve your odds of breaking free a rust-seized rotor. Spray the oil where the rotor meets the hub, focusing on the lug nut studs and center pilot hole. Moisture exposure over time causes iron oxide buildup, binding the rotor to the hub. The oil seeps into microscopic gaps, initiating a chemical reaction that weakens corrosion bonds. Let it soak for at least 15 minutes; longer for severe rust-overnight is ideal. Reapply every few hours to maintain saturation. Use a high-quality formula like PB Blaster or Kroil, which have low surface tension (under 30 dynes/cm), allowing deeper penetration. Capillary action draws the fluid inward, dissolving rust at the molecular level. This process reduces friction and shearing force needed to rotate the rotor. Proper soaking minimizes impact tool use, reducing hub damage risk. Patience here guarantees smoother removal later.
Apply Even Heat Without Warping the Hub
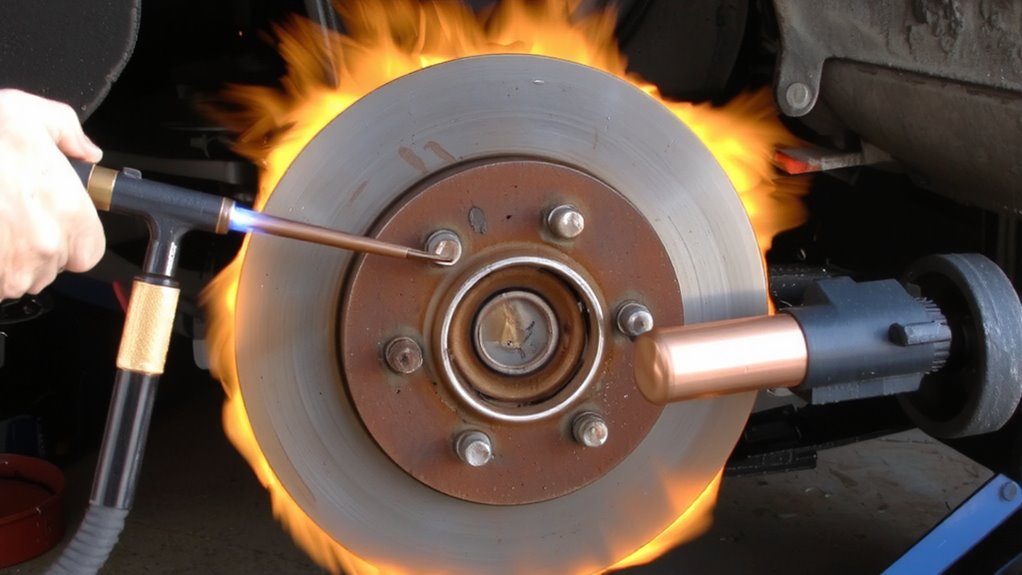
You’ve soaked the rotor-to-hub interface with penetrating oil, giving the chemical agents time to break down corrosion bonds at the molecular level. Now, apply even heat using a propane torch to induce thermal expansion. Focus the flame on the rotor’s center hub area, not the outer edges. This creates differential expansion, loosening the rotor’s grip. Maintain a distance of 2–3 inches and use a back-and-forth motion to guarantee uniform heat distribution. Avoid prolonged exposure to any single spot to prevent warping the aluminum hub. Temperatures should reach 300–400°F-enough to expand steel but not damage nearby seals or bearings. Use a non-contact infrared thermometer to monitor. Uneven heating risks distortion; think of it like baking a pan-hot spots cause warping. Proper heat distribution minimizes stress and maintains hub integrity.
Tap the Rotor Loose Safely
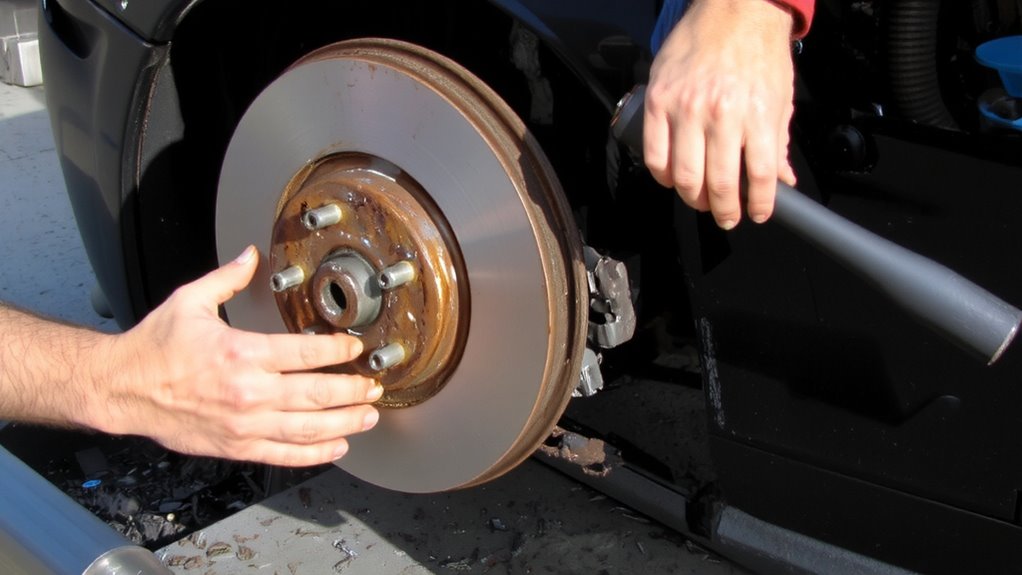
Use a brass or dead-blow hammer to strike the rotor’s inner edge near the lug studs-this avoids chipping or damaging the cast iron surface. Apply controlled impacthttps://www.google.com) force to break the rotor’s bond with the hub without warping components. A brass hammer delivers softer blows than steel, reducing the risk of cracking the rotor or damaging wheel studs. Focus strikes evenly around the rotor’s circumference to loosen corrosion evenly. Never strike the braking surface or hat area directly-this can create runout or imbalance. The goal is vibration, not brute force. If needed, use a plastic or rubber mallet for lighter impact. Avoid excessive force that could damage the hub’s bearing or mounting flange. For stubborn rotors, combine tapping with penetrating oil applied earlier. The repeated impact breaks rust’s static grip. Always keep safety glasses on. Check for manufacturer-recommended torque specs later when reinstalling. Reference [](https://www.bing.com) for torque patterns during reassembly.
If the Rotor Won’t Come Off, Try This
What do you do when the rotor still refuses to budge despite tapping and penetrating oil? Apply controlled heat around the hub mounting area using a propane torch. Heat expands metal, breaking rust bonds without causing impact damage. Avoid overheating the rotor face or wheel studs. If heat fails, use a two- or three-jaw gear puller rated for 10,000 lbs of force. Attach it evenly to the rotor’s edge and tighten steadily. This introduces directed vibration stress that loosens corrosion. Never strike the rotor’s face with a hammer-this risks warping or impact damage. Some models have threaded e-clip holes; use 8mm bolts to push evenly against the hub. Rotate the bolts in half-turn increments. This method applies consistent pressure, mimicking a shop press. Persistent rotors may need 24-hour reapplication of penetrating oil.
Protect the Hub While Freeing the Rotor
A damaged hub can compromise wheel alignment and safety, so protecting it during rotor removal is essential. Hub protection starts with installing a thin barrier between the rotor and hub face. Use a brass drift instead of a steel hammer to avoid marring surfaces. Apply force evenly around the rotor edge to prevent warping. Rotor shielding involves placing a scrap brake pad or aluminum foil over the hub before impact work. Never strike the lug studs directly-this can damage wheel bearings. If using a puller, guarantee contact points are padded with soft metal sleeves. The hub flange on a Dodge Charger has a machined surface tolerance of ±0.002 inches; even minor dents disrupt this precision. Protecting this surface guarantees proper rotor runout and eliminates vibration. Effective hub protection preserves OEM specifications and prevents costly replacements. Always prioritize rotor shielding to maintain long-term braking performance and wheel integrity.
Why Dodge Charger Rotors Seize (And How to Prevent It)
Rust and corrosion are the main reasons your Dodge Charger’s brake rotors seize over time, especially if you overlook simple maintenance steps. Corrosion buildup occurs when moisture reacts with iron in the rotor, forming iron oxide that bonds the rotor to the hub. This is common in humid climates or after short trips that don’t allow the rotors to heat up and dry out. A galvanic reaction can also accelerate corrosion when dissimilar metals-like the aluminum hub and steel rotor-interact in the presence of an electrolyte, such as road salt. This electrochemical process speeds up rust formation at the contact point. Prevent seizure by applying anti-seize compound (zinc or nickel-based) to the hub during installation. Use a thin, even layer-about 0.5 mm thick-on the hub’s pilot and contact surface. Regular driving helps burn off moisture. Applying a water pump stop leak product during cooling system maintenance can help prevent internal corrosion that may contribute to overheating and excessive rotor stress.
On a final note
You’ve successfully removed the rotor without damaging the hub. Always inspect the hub for scoring or pitting-smoothness is critical for proper rotor alignment. Use a digital micrometer to verify hub runout stays under 0.002 inches. Reassemble with clean, lubricated studs. Torque lug nuts to 90–110 ft-lbs in a star pattern. Prevent future seizure by applying anti-seize compound rated for 2500°F on the hub interface.