Diagnosing Poor Spray Gun Technique by Analyzing Blended Panel Transitions
You’re seeing visible shifts because inconsistent distance or angle disrupts atomization. Hold the gun 6–8 inches from the surface at a 90-degree angle to guarantee even laydown. Dry spray and orange peel point to improper pressure-keep it between 28–32 psi-and incorrect flash times. Overlap passes by 50–75% with steady movement. Defects reveal technique flaws; adjusting fluid output and pattern width improves blend quality. There’s a systematic way to correct each flaw.
Notable Insights
- Inconsistent spray distance causes hue shifts; maintain 6–8 inches for uniform film and seamless blends.
- Improper overlap leads to visible transitions; use 50–75% pattern overlap for smooth panel blending.
- Orange peel or dry spray indicates incorrect pressure or viscosity, affecting blend quality.
- Misaligned gun angle creates streaks; keep 90 degrees to ensure even material laydown.
- Overspray and edge marring result from incorrect fan width or technique beyond panel edges.
How Spray Technique Affects Panel Blending
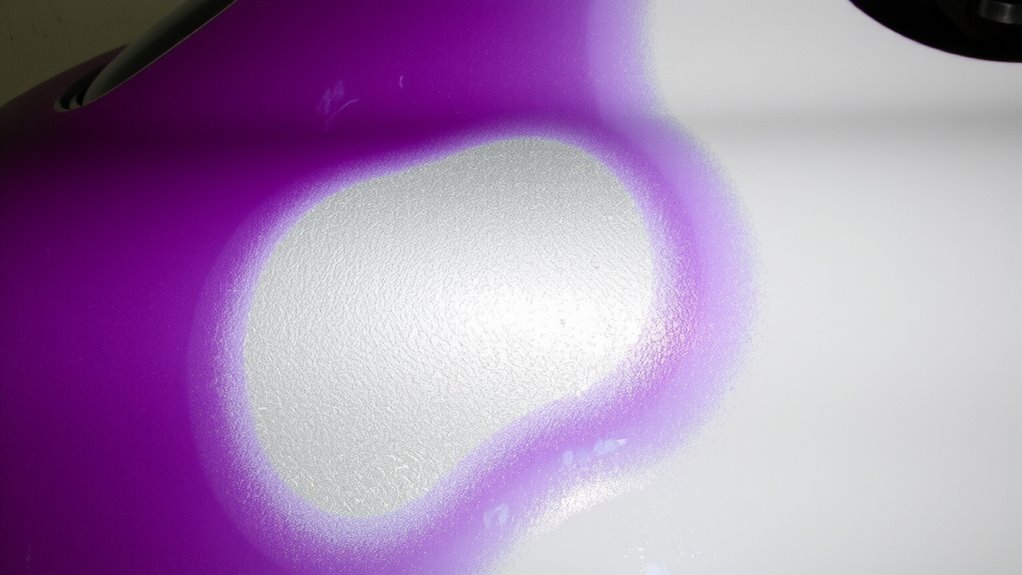
Spray pattern. You control it by adjusting fan width, fluid pressure, and trigger pull. An improper setting causes uneven deposition, compromising panel blending. Maintain 6–8 inches from the surface for best atomization. Overlap each pass 50–75% to guarantee smooth shifts. Poor technique creates visible bands or mottling, especially under direct light. Color matching depends on consistent application; slight variations in distance or speed alter film thickness, shifting perceived hue. Surface preparation is critical-clean, sanded, and sealed substrates accept paint evenly. Skipping steps leads to poor adhesion and blotchy results. Use P240–P400 grit for feathering edges. A mil gauge measures wet film thickness-stay within manufacturer specs, typically 1.5–2.5 mils per coat. Consistency ensures seamless blends. Your control of spray dynamics directly affects finish quality. Mastery demands practice, precision, and attention to detail. Technique isn’t optional-it’s foundational.
Spot the Signs: Dry Spray and Orange Peel in Transitions
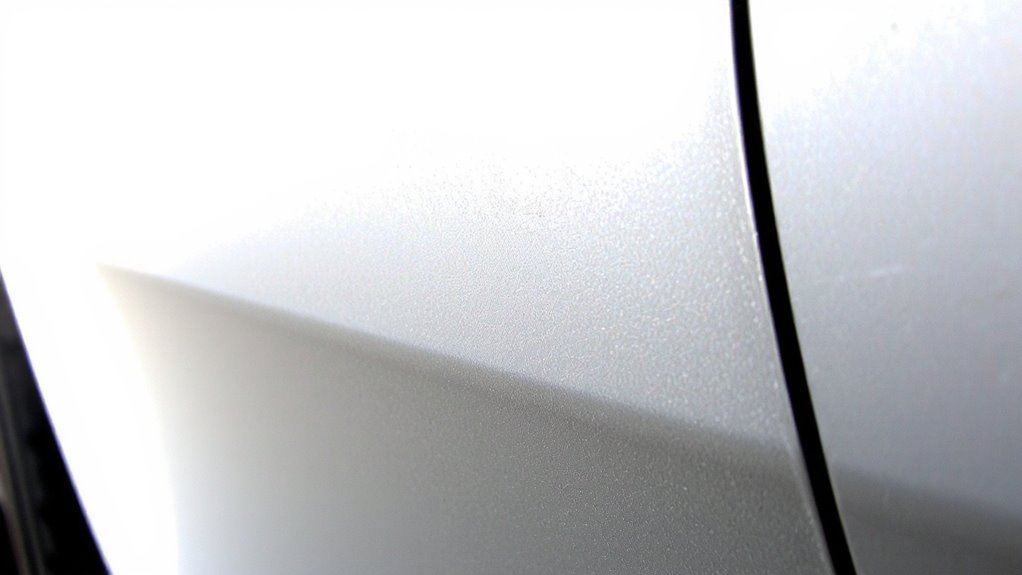
Dry spray and orange peel are among the most common defects you’ll encounter in paint shifts. You’ll recognize dry spray by its powdery appearance and uneven adhesion, caused when atomized paint particles land before fully wetting the surface. This results in a dry film with poor flow and a rough texture, especially noticeable in changes. Orange peel, on the other hand, appears as a dimpled surface resembling citrus skin, stemming from improper solvent evaporation or incorrect spray viscosity. You’re likely to see it when gun pressure exceeds 28–32 psi or when material isn’t properly reduced. Both defects compromise gloss retention and surface uniformity. Inspect under direct lighting at a 45-degree angle to spot these flaws early. Corrective action requires adjusting fluid output and ensuring proper flash times. Detecting these signs promptly helps maintain seamless blends and professional finish quality.
Hold the Right Distance and Angle for Smooth Blends
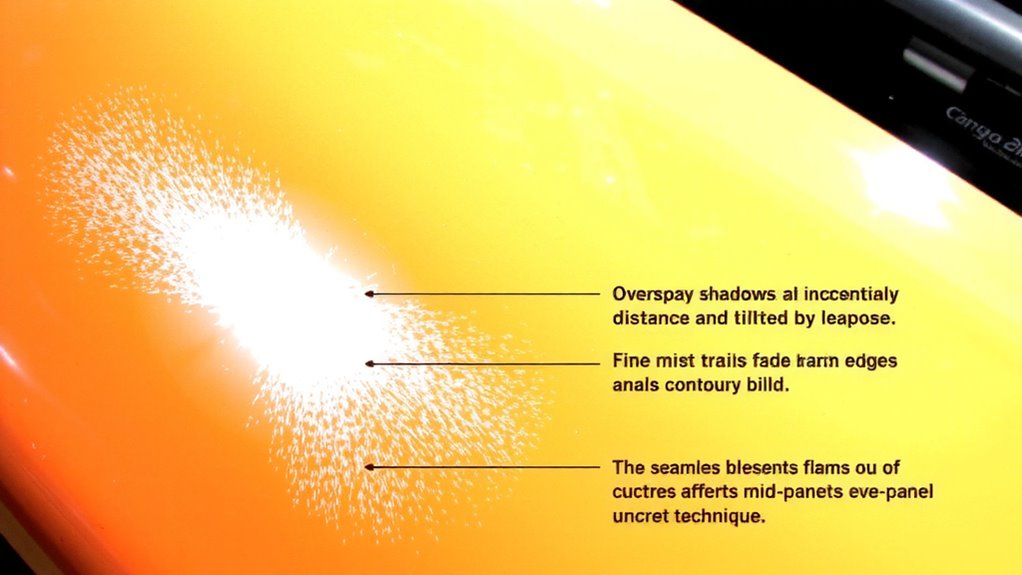
When you’re aiming for seamless blends, maintaining the correct distance and angle between the spray gun and the surface is critical. Hold the gun 6 to 8 inches from the panel for a consistent distance. This range guarantees even atomization and avoids dry spray or runs. Deviating just 2 inches can disrupt film thickness and cause uneven sheen. Maintain a 90-degree angle to achieve proper alignment-tilting the gun causes streaks and uneven laydown. Use your body to move, not your wrist, to keep motion steady. Overlap each pass by 50% to guarantee uniform coverage. The spray pattern should be fully developed, with no distortion from arc motion. Proper technique guarantees the carrier evaporates evenly and pigment deposits uniformly. Even slight changes in distance or tilt affect the finish. Mastering consistent distance and proper alignment gives you control over every shift.
Stop Overspray and Feathering Before It Sets
Because overspray and feathering can ruin an otherwise flawless finish, controlling airflow and spray pattern is essential. You must set your spray gun’s atomization pressure between 28–32 psi for best overspray prevention. Too high, and you’ll create fine mist that drifts; too low, and paint won’t atomize evenly, increasing the risk of buildup. Adjust the fan pattern to 50–75% of full spread, matching it to the panel width to enhance feathering control. Hold the gun perpendicular and move parallel to the surface, starting and stopping spray beyond the panel edges. This technique contains overspray before it settles on adjacent areas. Use a 50% lap with consistent speed to prevent stacking. Overspray prevention isn’t just clean-up reduction-it’s about precision. Feathering control guarantees smooth shifts, eliminating hard lines in blended repairs. Always check pattern uniformity on test paper first.
Master Trigger Control and Spray Speed for Even Overlap
If you want a flawless finish, mastering trigger control and spray speed is just as important as setting the right pressure and fan width. Trigger timing determines when paint starts and stops flowing, so engage the trigger fully before reaching the panel edge and release it after passing the opposite edge. This prevents uneven buildup at the ends of each pass. Maintain a steady hand rhythm to guarantee consistent speed-ideally 3 to 4 feet per second-across the surface. Too fast causes thin coverage; too slow leads to runs. Overlap each pass by 50%, letting wet layers blend smoothly. Your hand rhythm directly affects film thickness and gradient shift. Practice with water or a cheap basecoat to refine coordination. Proper technique yields uniform distribution without relying on post-spray corrections. Consistent trigger timing and hand rhythm reduce rework and improve blending accuracy, especially at panel edges.
Use Paint Defects to Improve Your Blending Technique
You’ve mastered trigger control and spray speed, so now it’s time to use what you see on the panel to refine your blending technique. Paint defects reveal critical clues about application accuracy. Orange peel indicates excessive paint thickness or improper reducer use. Measure film build with a DFT gauge; ideal thickness in blends is 1.2–1.8 mils. Runs or sags mean too much material was applied too quickly. Adjust fluid pressure by 2–3 psi and increase overlap to 75%. Poor color matching often stems from inconsistent spray distance. Maintain 6–8 inches from the surface. If hue shifts appear, verify your basecoat’s flash time-typically 7–10 minutes-allows proper pigment settlement. Edge marring suggests incorrect fan pattern alignment. Check nozzle wear; a damaged tip distorts atomization. Use a 1.3–1.4 mm fluid tip for basecoat precision. Each defect is data. Analyze, adjust, and reapply. Your eye is the final analyzer. Train it to read shifts like a spectrophotometer.
On a final note
Your spray technique directly impacts blend quality. Hold the gun 6–8 inches from the surface at a 90-degree angle. Trigger control matters-start spraying before the panel edge and release after passing it. Uneven speed causes streaks; maintain 2–3 feet per second. Dry spray indicates low material flow. Orange peel results from incorrect solvent speed or atomization pressure. Correct settings guarantee smooth shifts.