Replacing Front Brake Pads on a 2017 Kia Sorento With Caliper Bracket Torque Specs
You’ll need a floor jack, jack stands, a 3/8-inch ratchet with 14mm and 17mm sockets, and a torque wrench. Lift the front securely and remove the caliper using the 14mm guide pins. Inspect rotors for thickness and scoring. Install new pads, ensuring correct sensor routing. Torque the caliper bracket bolts to 70 ft-lbs. Lubricate slide pins with high-temperature grease. Confirm DOT 3 or DOT 4 fluid is used. Perform the bed-in procedure with controlled stops. Proper torque and alignment guarantee reliable braking performance and rotor longevity-key details follow.
Notable Insights
- Use a 3-ton floor jack and jack stands to safely lift and secure the 2017 Kia Sorento before starting brake work.
- Remove the two 14mm caliper guide pins to take off the caliper and access the old brake pads.
- Inspect rotors for thickness and scoring, replacing them if below the minimum spec stamped on the edge.
- Torque the caliper bracket bolts to 70 ft-lbs using a calibrated torque wrench for proper alignment and safety.
- Perform a bed-in procedure with five moderate and two aggressive stops to condition the new brake pads.
Gather Tools for 2017 Kia Sorento Front Brake Pads
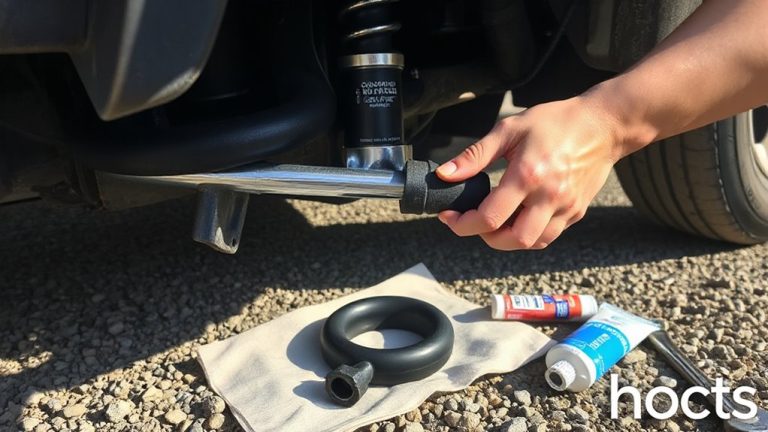
You’ll need the right tools to replace the front brake pads on your 2017 Kia Sorento efficiently and safely. A floor jack, jack stands, and a lug wrench are essential. You’ll also need a 3/8-inch drive ratchet, 14mm and 17mm sockets, and a torque wrench. A C-clamp or brake piston tool helps compress the caliper piston. Always check brake pad materials-original equipment pads are semi-metallic for durability and noise control. Performance or ceramic pads are valid alternatives, but verify compatibility. Don’t overlook caliper lubrication points. These include slide pin bores and contact areas on the caliper bracket. Use high-temperature brake grease to prevent squealing and uneven wear. A wire brush cleans corrosion from mounting surfaces. Protective gloves and safety glasses are required. Having the correct tools guarantees proper function and extends brake life.
Lift and Secure Your 2017 Kia Sorento Safely
Begin by parking on a flat, level surface and engaging the parking brake to prevent unintended movement. Place wheel chocks behind the rear tires to further secure the vehicle. Use a floor jack with a minimum 3-ton capacity at the manufacturer-recommended front jacking point, located beneath the front subframe. Apply a controlled, steady jacking technique to lift one front corner at a time-never work under a vehicle supported only by a jack. Support the lifted end securely with a jack stand rated for at least 3 tons, positioned under a reinforced frame section. Confirm stability before proceeding. A properly lifted Sorento will have the front tire suspended 6–8 inches off the ground, allowing adequate clearance for brake pad removal. Always inspect jack and stand contact points for damage prior to lifting. Safety relies on correct setup-never bypass these steps. For optimal reliability, consider a floor jack with high weight capacity designed for heavy-duty use such as lifting trucks.
Remove Caliper and Inspect Brakes
With the front of your 2017 Kia Sorento securely lifted and supported, focus shifts to accessing the brake components. Remove the two 14mm caliper guide pins using a socket wrench. Carefully hang the caliper from the strut with a wire hanger or bungee cord-avoid letting it dangle by the hose. With the caliper out of the way, remove the old brake pads. Inspect for excessive brake dust accumulation, which can indicate sticky slide pins or worn pad material. Examine the rotor surface for scoring. Rotor surface scoring deeper than 0.040 inches (1.0 mm) exceeds manufacturer tolerance and requires resurfacing or replacement. Check rotor thickness at multiple points using a micrometer; minimum thickness is stamped on the rotor edge. Measure pad wear-if under 3mm, replacement is necessary. Document findings to inform repair decisions.
Install New Front Brake Pads on 2017 Sorento
New front brake pads require proper preparation before installation to guarantee peak performance and longevity. You must match the brake pad material to your driving needs-ceramic for quiet operation and low dust, semi-metallic for high heat tolerance. Inspect the rotor surface finish; it should be smooth and free of grooves, with a cross-hatch pattern at 60 to 80 microinches RA for ideal friction. Lightly sand any tarnish on the pad backing plate to guarantee full contact. Position the new pads firmly into the caliper bracket, making sure they align with the rotor without binding. Verify the pad wear sensor routes correctly if equipped. The internal and external pads must sit flush against their mounting points. Proper fit minimizes vibration and noise while maximizing brake efficiency. Do not contaminate friction surfaces. You’re now ready for the next step.
Torque Caliper Bracket to 70 Ft-Lbs
You’ve seated the new front brake pads securely in the caliper bracket, guaranteeing alignment with the rotor and correct routing of the wear sensor. Now, torque the caliper bracket bolts to exactly 70 ft-lbs using a calibrated torque wrench. This specification guarantees structural integrity and proper brake force distribution. The bracket must remain stable under high thermal and mechanical loads. Before tightening, inspect the caliper slide pins for smooth movement and lubricate them with high-temperature brake grease. Binding pins can lead to uneven pad wear and reduced braking performance. Confirm the brake fluid type is DOT 3 or DOT 4, as specified by Kia, to maintain compatibility with the hydraulic system. Avoid over-tightening, which may distort the bracket or damage threads. Proper torque preserves the bracket’s relationship to the spindle and rotor. This step guarantees reliable brake function and extends component life.
Test and Bed In New Brake Pads
After installing the new brake pads and torqueing all components to spec, it’s time to bed them in properly-this step is critical for maximizing brake performance and longevity. The bedding procedure transfers a uniform layer of brake pad material onto the rotor surface, enhancing grip and reducing noise. Begin with five moderate stops from 50 mph to 10 mph without coming to a complete stop, allowing 30 seconds between each to dissipate heat. Follow with two aggressive stops from 60 mph, using firm, consistent pressure. Avoid dragging brakes afterward. Let the system cool for at least 10 minutes. This process optimizes the friction interface and stabilizes performance under load. Proper bedding improves bite, reduces fade, and extends pad life. Skipping it risks uneven wear and diminished stopping power.
On a final note
You’ve completed the front brake pad replacement on your 2017 Kia Sorento. Torque the caliper bracket bolts to precisely 70 ft-lbs using a calibrated torque wrench. This guarantees proper alignment and prevents hardware fatigue. Always use OEM-spec pads for best performance. After installation, pump the brake pedal to restore pressure. Perform a controlled bed-in procedure: six 50-65 mph stops with cooling intervals. This maximizes pad adhesion and braking efficiency.