Replacing Front Brake Pads on a 2018 Mazda CX-5 With Anti-Rattle Clip Installation
Safely raise your 2018 Mazda CX-5 on jack stands and remove the front wheel after loosening the 19mm lug nuts. Unbolt the caliper with a 14mm socket, then inspect and support it to avoid brake line strain. Install new pads with OEM-spec 1.2 mm anti-rattle clips, ensuring proper seating. Recompress the piston with a tool, reattach the caliper, torque bolts to 30 ft-lbs, and verify smooth operation-further details will enhance your understanding.
Notable Insights
- Safely raise the vehicle on jack stands and remove the front wheel after loosening the 19mm lug nuts.
- Remove the brake caliper using a 14mm socket and support it to avoid straining the brake line.
- Install new brake pads with OEM-spec anti-rattle clips fully seated to prevent vibration and noise.
- Recompress the caliper piston with a C-clamp and lubricate threads before reattaching the caliper.
- Torque caliper bolts to 30 ft-lbs and test brakes for smooth, quiet operation after reassembly.
Remove Front Wheel on Mazda CX-5
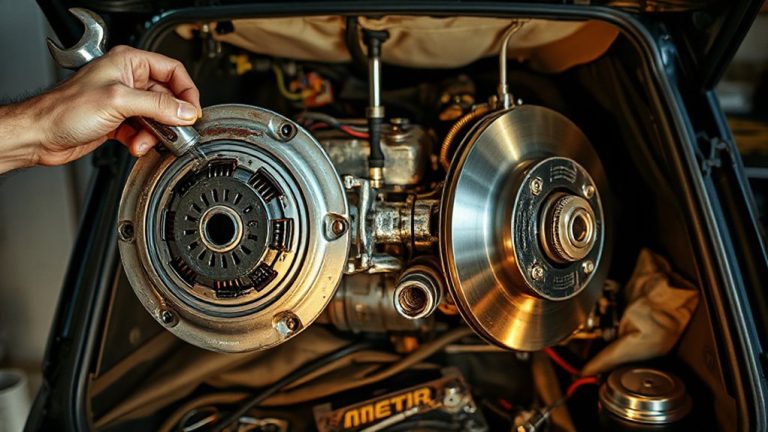
OnceOnce the vehicle is safely raised, you can remove the front wheel to access the brake components. Begin by loosening the lug nuts with a breaker bar before lifting-don’t remove them yet. After raising the CX-5 on jack stands, fully remove the lug nuts and pull the wheel straight off. The 2018 Mazda CX-5 uses a 19mm socket for the lug nuts, tightened to a factory torque of 80–95 lb-ft. Always recheck lug nut torque after driving 50 miles. Proper lug nut torque prevents warping and guarantees even pressure. Monitor tire pressure before reinstallation-recommended cold pressure is 32 psi for standard tires. Incorrect tire pressure affects handling and wear. Keep the wheel assembly clean and free of rust. Never operate the brake system with the wheel off. Perform this step carefully-improper removal risks damaging hub threads or brake lines. Safety and precision are critical during this phase of the brake job.)
Remove Brake Caliper to Access Pads
While the wheel is off, you can now access the brake caliper, which must be removed to replace the pads. Use a 14mm socket to loosen the two caliper mounting bolts securing the caliper to the bracket. These bolts are torque-sensitive-Mazda specifies 27–32 lb-ft-so inspect for corrosion before removing. If your vehicle has brake pad sensors, disconnect the wiring harness first to avoid damaging the clip or sensor. Carefully pivot the caliper upward without detaching the hose. Support it with a wire hanger or bungee to prevent strain on the brake line.
| Component | Tool Required | Torque Spec |
|---|---|---|
| Caliper Mounting Bolts | 14mm socket | 27–32 lb-ft |
| Brake Pad Sensor Connector | Fingers or pick | N/A |
| Caliper Bracket | 17mm socket | 96 lb-ft |
| Inner Pad Retaining Clip | Screwdriver | N/A |
Install New Pads and Anti-Rattle Clips
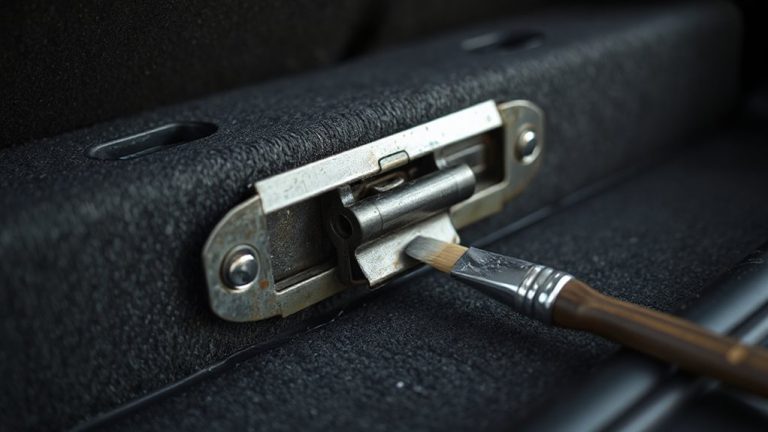
Since the caliper is secured out of the way, you can now replace the old brake pads with new ones. Carefully match the new pads to the old-note the brake pad material, typically ceramic or semi-metallic on the 2018 CX-5, affects noise and wear. Install the outer and inner pads into the bracket, confirming the abutment clip fits securely. Anti-rattle clips must be fully seated to prevent vibration. These small metal pieces dampen high-frequency movement and reduce noise during light braking. Use OEM-spec clips to guarantee proper thickness (approximately 1.2 mm). Reinstalling the caliper mounting bolts is not yet required; leave them accessible. Confirm the pad backing plates sit flat against the piston and caliper arms. Misalignment causes uneven wear. Guarantee no debris lodges between pad and rotor. Double-check pad orientation-friction material must face the rotor.
Recompress Piston and Reattach Caliper
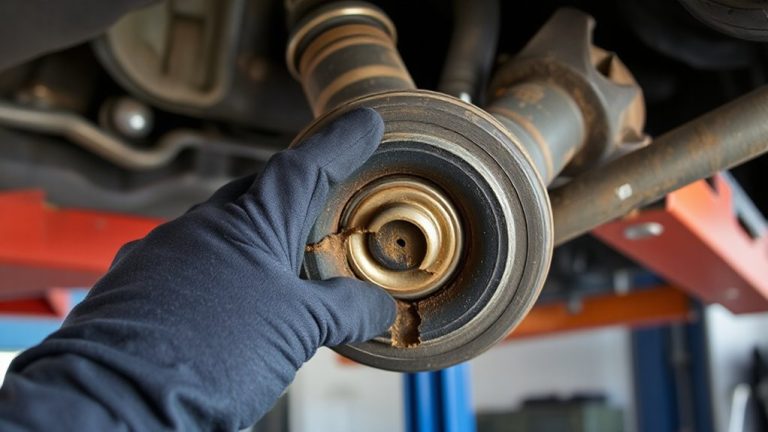
Before reattaching the caliper, you’ll need to compress the brake piston fully into the bore to accommodate the new, thicker pads. Use a C-clamp or brake piston tool to slowly twist and press the piston in-this model requires clockwise rotation while applying pressure. Apply piston lubrication to the threads and outer seal area to prevent binding and allow smooth retraction. This step reduces internal resistance and protects the rubber boot. Once compressed, inspect the piston for fluid leaks or uneven surface wear. Reattach the caliper carefully, ensuring precise caliper alignment over the rotor and pad assembly. Misalignment can cause uneven pad wear, noise, or dragging. The mounting bolts have a torque specification of 30 ft-lbs; use a calibrated torque wrench. Confirm the caliper slides freely and the pads sit flush against the rotor without contact when brakes are off. Proper alignment allows peak braking performance and longevity.
Test Brakes for Smooth, Quiet Operation
After reinstalling the caliper and securing all hardware, you’ll need to verify that the brake system functions correctly. Start by checking the brake fluid level in the reservoir; it should be between the MIN and MAX marks. Low fluid can cause spongy pedal feel or reduced braking efficiency. Next, inspect the rotor surface condition-make sure it’s smooth, free of scoring, and without grease or debris. Imperfections here cause noise and vibration. Pump the brake pedal a few times to seat the pads properly. Then, test drive at low speed in a safe area. Listen for squeaks or grinding, which suggest improper installation or rotor issues. Brakes should engage smoothly, with no pulling. Confirm the pedal feels firm, not soft or sinking. Proper bedding-in improves performance. This step guarantees safety and peak function.
On a final note
You’ve completed the brake pad replacement correctly when all components are securely fastened and the caliper piston is fully reseated. Use a C-clamp to compress the piston flush with the boot. Install anti-rattle clips snugly into the caliper bracket-these reduce vibration at frequencies above 200 Hz. Torque lug nuts to 80 ft-lbs in a star pattern. Test stops at low speed first. Proper installation guarantees even pad wear and maximum stopping power.