Alloy Wheel Crack Inspection Using Dye Penetrant for Structural Soundness
You can detect cracks as small as 0.001 inches using dye penetrant inspection. The dye seeps into surface flaws via capillary action, then glows under UV light. Clean the wheel, apply penetrant, wait 10–15 minutes, wipe clean, and apply developer. Linear indications reveal cracks; rounded ones suggest porosity. Cracks over 25 mm or in high-stress zones mean replacement. Proper technique follows ASTM E1417-accuracy improves when environmental and procedural controls are maintained. There’s more you need to know for reliable results.
Notable Insights
- Dye penetrant inspection detects surface cracks as small as 0.001 inches using capillary action and fluorescent dye visible under UV light.
- Proper cleaning, dwell time, and developer application are critical for accurate defect detection in alloy wheels.
- Linear indications typically reveal cracks, while rounded or irregular patterns may indicate porosity or surface contamination.
- Cracks over 25 mm long or located in high-stress areas like the barrel or hub require wheel replacement.
- Inspection must follow ASTM E1417 standards and be performed in a clean, well-lit, ventilated environment for reliable results.
How Dye Penetrant Inspection Finds Hidden Cracks
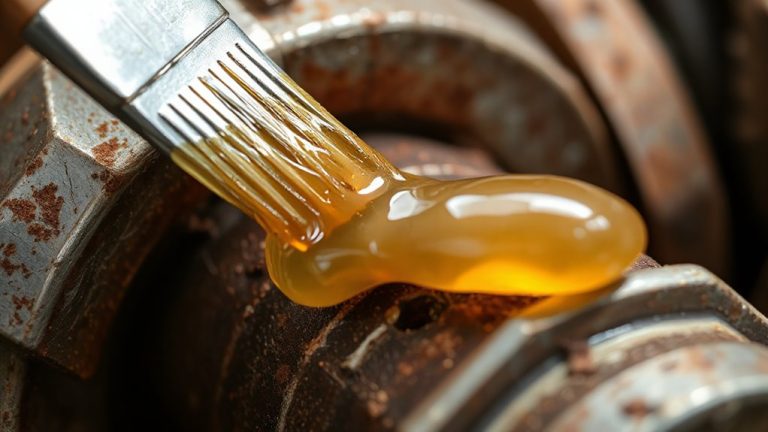
How do tiny cracks too small to see become suddenly visible? Dye penetrant inspection makes hidden flaws apparent using a simple yet effective process. You apply a fluorescent dye to the alloy wheel’s surface, allowing it to seep into surface discontinuities as small as 0.001 inches wide. The liquid penetrant remains in cracks while excess is cleaned from the surface. Next, a developer is applied, drawing trapped dye upward through capillary action. Under ultraviolet light, the fluorescent dye glows brightly, revealing crack location, length, and shape. This method detects hairline fractures invisible to the naked eye. Fluorescent dye increases contrast and sensitivity, making it ideal for precision inspections. Surface discontinuities like micro-cracks, porosity, or fatigue splits are clearly visualized. The technique follows ASTM E1417 standards, ensuring reliability. No complex equipment is needed, yet accuracy remains high. You get a repeatable, cost-effective inspection method trusted in aerospace and automotive industries.
Test Your Alloy Wheel in 5 Simple Steps
Crack detection starts with a methodical approach you can apply confidently at home or in the shop. Follow these five steps to guarantee your alloy wheel’s structural integrity without sacrificing finish or performance.
| Step | Action |
|---|---|
| 1 | Clean the wheel thoroughly to reveal the true alloy finish |
| 2 | Apply dye penetrant evenly and let it dwell for 10–15 minutes |
| 3 | Wipe off excess dye and allow the surface to dry completely |
| 4 | Inspect under bright light for bleed-out indications of cracks |
Improper technique can mask defects or create false positives. Always work in a well-ventilated, dust-free area. Contaminants distort dye migration and compromise accuracy. A damaged wheel affects not only safety but also wheel balance, leading to vibration and uneven tire wear. Never reuse penetrant or apply excessive pressure during cleaning. Accurate inspection preserves both structural reliability and cosmetic quality.
What the Dye Patterns Reveal About Damage
While examining the dye pattern after it has fully developed, you’ll begin to see distinct indications that reveal the true nature and extent of damage. Sharp, linear indications signal cracks, while irregular or blotchy patterns suggest surface texture issues or contamination. Dye pooling in scattered spots often points to material porosity, common in lower-grade cast alloys. Fine, hair-like trails show subsurface flaws opened during stress. The dye’s capillary action draws it deeply into flaws, making even micro-cracks visible under UV or white light. Surface texture affects dye retention-rough areas may hold excess penetrant, causing false readings. Proper cleaning minimizes this risk. Material porosity typically appears as small, rounded indications, not linear, helping you differentiate from structural cracks. You should assess both pattern shape and consistency to judge defect type accurately. These visual cues are critical for determining whether flaws are cosmetic or compromise structural integrity.
Crack Size and Location: Repair or Replace?
A single crack can compromise an entire wheel’s integrity, so evaluating its size and location is critical. If the crack is longer than 25 mm or intersects a spoke or mounting surface, replacement is required. You must perform crack depth analysis using calibrated dye penetrant and magnification to determine subsurface extent. Cracks deeper than 3 mm compromise load-bearing capacity and aren’t repairable. Location near high-stress zones-like the barrel or hub-demands immediate rejection due to fatigue risk. Conduct a full structural integrity assessment by comparing crack dimensions against OEM tolerances. Surface cracks in low-stress areas may be repairable via TIG welding by certified technicians. However, heat from welding alters metallurgy, potentially creating new stress points. Always reinspect post-repair with dye penetrant to confirm closure. Never assume a small crack is harmless-cyclic loading can propagate flaws rapidly. Your assessment must combine precise measurement with engineering guidelines to guarantee safety.
Avoid Costly Mistakes: Pro Tips for Accurate Results
How confident are you that your inspection missed no hidden flaws? Proper lighting is essential-use at least 100 foot-candles of visible light to reveal faint indications. Insufficient illumination masks fine cracks, leading to false negatives. Surface cleanliness directly impacts dye penetrant effectiveness. Contaminants like oil, grease, or oxidation prevent penetrant from entering cracks. Clean wheels with a solvent-approved degreaser, then dry thoroughly. Abrasive blasting or wire brushing may be needed for stubborn deposits, but avoid altering the surface texture. Apply penetrant evenly and allow a 10-minute dwell time per ASTM E1417 standards. Remove excess with a lint-free cloth dampened in cleaner-don’t oversaturate. Finally, apply developer uniformly and inspect within 30 minutes. Poor technique risks misdiagnosis. Accuracy protects structural soundness and prevents costly errors down the line.
On a final note
You now have a reliable method to detect cracks in alloy wheels using dye penetrant. The process reveals subsurface flaws as small as 0.001 inches wide. Proper surface prep guarantees dye absorption into fissures via capillary action. Fluorescent dyes, viewed under UV light, highlight crack length and branching. Immediate evaluation prevents structural failure. Wheels with cracks over 1 inch or near load-bearing zones require replacement. Accurate inspection extends wheel life and maintains safety standards.