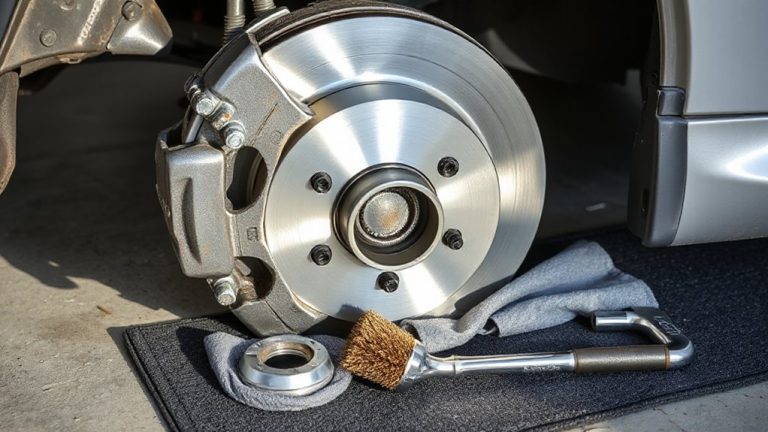
How to Bleed Brakes After Replacing Pads and Rotors on a 2017 Chevrolet Malibu
You must bleed your 2017 Malibu’s brakes after replacing pads and rotors because retracting the caliper pistons can introduce air and push degraded fluid into the system. Air compresses, creating a spongy pedal, while moisture-contaminated fluid lowers the boiling point, risking brake fade. Use an 8mm wrench, fresh DOT 3 fluid, and a clear hose to bleed each caliper. Start with the right rear, then left rear, right front, left front. Open the bleeder slightly, press the pedal slowly, close before release to prevent air re-entry. Replace at least 50 mL per wheel, watching for clear, bubble-free fluid. Keep the master cylinder above minimum to avoid sucking in air. A firm pedal and even stopping power mean success-check for leaks and performance under light braking to verify proper operation. Further refinements can improve efficiency and safety.
Notable Insights
- Retracting caliper pistons during pad and rotor replacement can introduce air, requiring brake bleeding for proper pedal feel.
- Use an 8mm wrench, fresh DOT 3 or DOT 4 fluid, and a clear hose to monitor air bubbles during bleeding.
- Locate bleeder valves at the rear of each caliper and ensure they are rust-free and turn smoothly before starting.
- For one-person bleeding, open the valve, press the pedal slowly, close before release, and repeat until fluid is clear.
- Bleed in sequence-right rear, left rear, right front, left front-while maintaining fluid level to prevent air entry.
Why You Must Bleed Brakes After Replacing Pads and Rotors
While replacing brake pads and rotors doesn’t directly introduce air into the brake lines, the process often requires retracting the caliper pistons, which can disturb the hydraulic system and lead to air ingress. You must bleed the brakes to remove trapped air, ensuring full pedal firmness and braking efficiency. Air in the lines compresses, unlike brake fluid, reducing pressure transmission-this causes a spongy pedal. Over time, brake fluid degradation occurs due to moisture absorption, lowering the boiling point and risking vapor lock. Moisture also promotes hydraulic system contamination, accelerating internal corrosion. DOT 3 fluid, used in your 2017 Malibu, must be replaced when contaminated. Bleeding restores system integrity, ensuring maximum pressure, responsiveness, and safety. Failure to bleed risks compromised braking performance and increased stopping distances.
Gather the Right Tools to Bleed 2017 Malibu Brakes
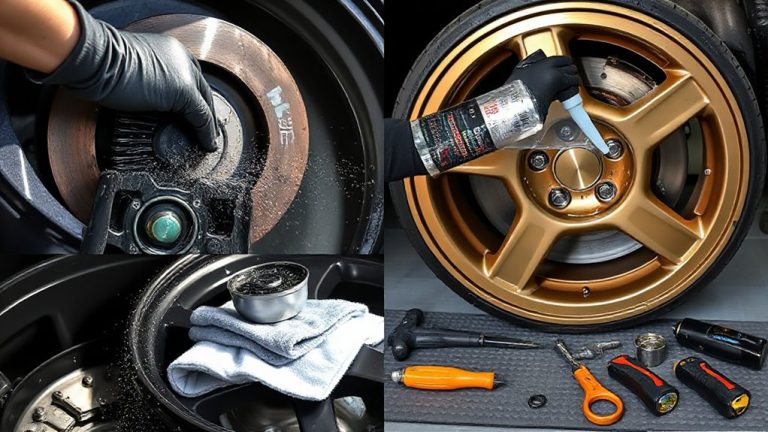
You’ve confirmed the need to bleed your brakes after replacing pads and rotors, so now it’s time to collect the proper tools for the job on your 2017 Malibu. Use a bleeder wrench size of 8mm for precise fit and minimal rounding. Always check brake fluid quality-use only DOT 3 or DOT 4 fluid, fresh and sealed to prevent moisture contamination. You’ll need a clear plastic hose, a clear container, and a helper for the pumping sequence.
| Tool | Emotional Reassurance |
|---|---|
| 8mm bleeder wrench | Prevents costly damage, guarantees control |
| Fresh brake fluid | Confidence in every stop |
| Clear tubing & jar | Lets you see air bubbles, guaranteeing completeness |
A precise setup guarantees safety, system integrity, and peak brake response.
Find the Brake Bleeder Valves on Your Malibu
The brake bleeder valves on your 2017 Malibu are located at each wheel caliper, one per wheel, and serve as access points to purge air from the hydraulic system. Proper location identification is critical-inspect the rear of each caliper behind the rotor, where the valve appears as a small hex-headed fitting (typically 8mm). You’ll find it near the caliper’s upper rear edge. Conduct a thorough valve inspection before starting: make sure the valve is free of rust, corrosion, or damage, and confirm it turns smoothly without stripping. A compromised valve can leak fluid or seize mid-bleed. Use a wrench to gently test resistance. Each valve connects to the caliper’s hydraulic chamber, allowing controlled release of air when opened. Their placement ensures gravity and fluid flow assist in effective bleeding. Accurate identification and inspection prevent system damage and guarantee peak braking performance post-maintenance.
Bleed the Brakes by Yourself: One-Person Method
Start by preparing your 2017 Mal\Cache for single-person brake bleeding after confirming each bleeder valve is clean, undamaged, and properly seated. Use a one-man bleeder kit with a check valve to prevent air re-entry. Attach the tube to the bleeder and submerge the other end in a fluid-filled container.
| Step | Action |
|---|---|
| 1 | Open bleeder slightly |
| 2 | Press brake pedal slowly |
| 3 | Monitor brake fluid color |
| 4 | Close bleeder before pedal release |
| 5 | Repeat until fluid runs clear |
Maintain consistent pedal feedback timing-press over 3 seconds, release over 2. Fresh DOT 3 fluid should be amber; dark fluid indicates contamination. Replace in accordance with GM specifications: 50 mL per wheel minimum. Bleed in sequence: RR, LR, RF, LF. Maintain master cylinder stays above minimum level.
Avoid Airlocks and Common Brake Bleeding Mistakes
While brake bleeding seems straightforward, skipping key steps can introduce airlocks that compromise pedal response and braking efficiency. Always keep the master cylinder reservoir at least half full to prevent air from entering the system. Airlocks often cause spongy pedal feel or complete pressure loss. Brake fluid contamination-like moisture or debris-reduces boiling point and corrodes components; use only DOT 3 fluid as specified for your 2017 Malibu. Never reuse old fluid. Tighten bleeder screws to 89 in-lbs to avoid damage. Begin bleeding at the farthest wheel (right rear), then left rear, right front, and finally left front. Skipping this sequence risks trapped air. Inadequate bleeding can lead to uneven pressure and pedal pulsation, mimicking warped rotors. Guarantee each bleeder emits a steady stream without bubbles. Double-check connections after each step.
Use a Pressure or Vacuum Bleeder for Faster Results
If you’re looking to cut down on time and reduce the chance of introducing air into the system, consider using a pressure or vacuum bleeder instead of the traditional two-person method. Pressure advantages include faster fluid movement and consistent pressure at 15–25 psi, minimizing air pockets. Vacuum efficiency shines with single-person operation, pulling old fluid and trapped air from the caliper smoothly. These tools connect directly to the bleeder valve, simplifying the process across all four wheels.
| Method | Key Benefit |
|---|---|
| Pressure Bleeder | Maintains constant pressure; reduces airlocks |
| Vacuum Bleeder | Fast fluid extraction; high vacuum efficiency |
Each method works reliably on the 2017 Malibu’s hydraulic system. Use fresh DOT 3 fluid and follow the manufacturer’s specs for best results.
Test Your Brakes: Check for Responsiveness and Safety
Now that you’ve bled the brake system using a pressure or vacuum bleeder and verified all air is purged from the lines, it’s time to confirm the system performs as designed. Start by checking the brake fluid level in the reservoir; it should be between the “MIN” and “MAX” marks on the translucent container. Low fluid can introduce air and reduce hydraulic pressure. Take the Malibu for a test drive in a safe, open area. Apply moderate pressure to the brake pedal-you should feel firm resistance with no sponginess. Evaluate stopping distance: from 30 mph, the car should halt smoothly within about 35 feet under normal conditions. Excessive travel or longer distances indicates residual air or improper pad seating. Verify both front and rear brakes engage evenly. Any vibration or pulling suggests misalignment or rotor issues. Test repeatedly to verify consistency. Finalize by rechecking the brake fluid level and topping off if needed.
On a final note
You must bleed the brakes after replacing pads and rotors to remove trapped air. Air in the hydraulic system reduces pressure, leading to a soft or spongy pedal. The 2017 Malibu’s brake system uses DOT 3 brake fluid with a 48 psi maximum operating pressure. A proper bleed restores firm pedal feel and safe stopping. Use the correct procedure to guarantee peak brake performance.