How to Clean Corroded Alternator Terminals Without Causing Damage
Turn off the engine and disconnect the battery’s negative terminal first. Use a 10mm or 13mm wrench to remove the alternator cable, wearing dielectric gloves and goggles. Mix one tablespoon of baking soda in 8 ounces of water, then scrub terminals with a brass wire brush to avoid damaging soft metal. Rinse with a damp cloth and dry completely. Apply dielectric grease before reconnecting. Test output voltage-it should be 13.8–14.4V with the engine running. Proper torque on the terminal nut is 5–7 ft-lbs. You’ll learn the full sequence of inspection, cleaning, and prevention steps next.
Notable Insights
- Turn off the engine and disconnect the battery’s negative terminal first to prevent electrical damage or sparks.
- Use a brass wire brush or terminal cleaning tool to gently scrub corrosion without harming soft lead terminals.
- Apply a baking soda and water solution to neutralize acid and loosen crusty deposits safely.
- Rinse with a damp cloth and dry thoroughly with compressed air or a lint-free towel to prevent moisture-related issues.
- Reconnect cables securely, test voltage (13.8–14.4V), and apply dielectric grease to prevent future corrosion.
Recognize Corrosion on Alternator Terminals
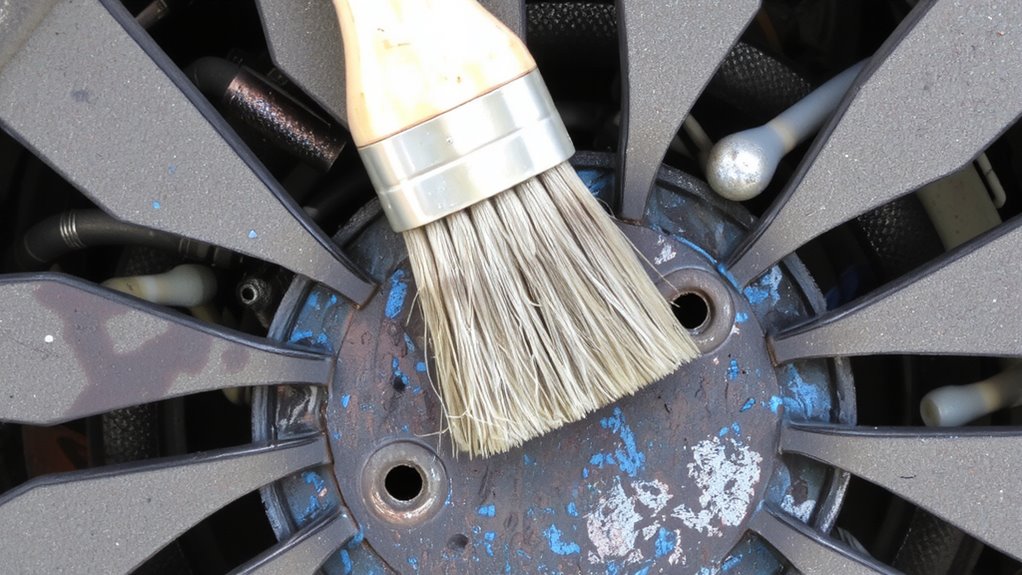
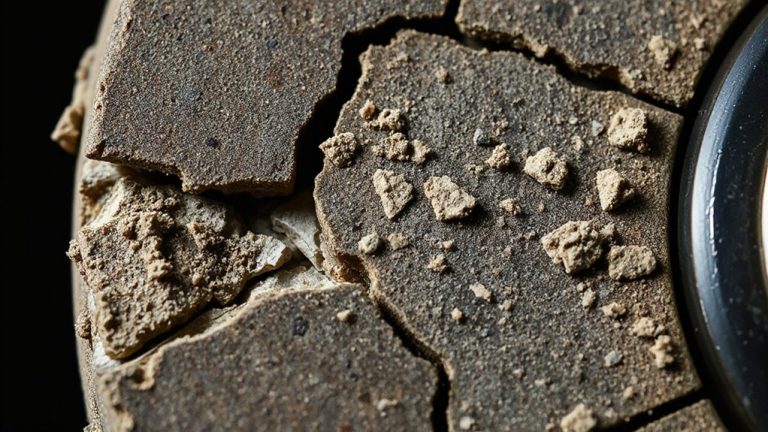
You’ll want to spot corrosion on your alternator terminals early since it can seriously hinder charging performance. A routine visual inspection is essential. Look closely at the battery cable connections and where they meet the alternator’s output terminal (typically labeled “B+”). Corrosion often appears as a powdery, crusty residue-white, green, or blue-which disrupts electrical conductivity. Terminal discoloration is a key warning sign. Fresh metal should be shiny; dull, ashen, or flaky surfaces mean oxidation or sulfate buildup. Use a flashlight to check hard-to-see areas. Corrosion increases resistance, reducing voltage output-your alternator may still spin, but deliver only 11.5 volts instead of the ideal 13.8–14.4 volts. Poor charging leads to dim lights, slow cranking, and premature battery failure. Early detection through visual inspection prevents deeper electrical issues and costly repairs.
Gather Tools to Clean Alternator Terminals
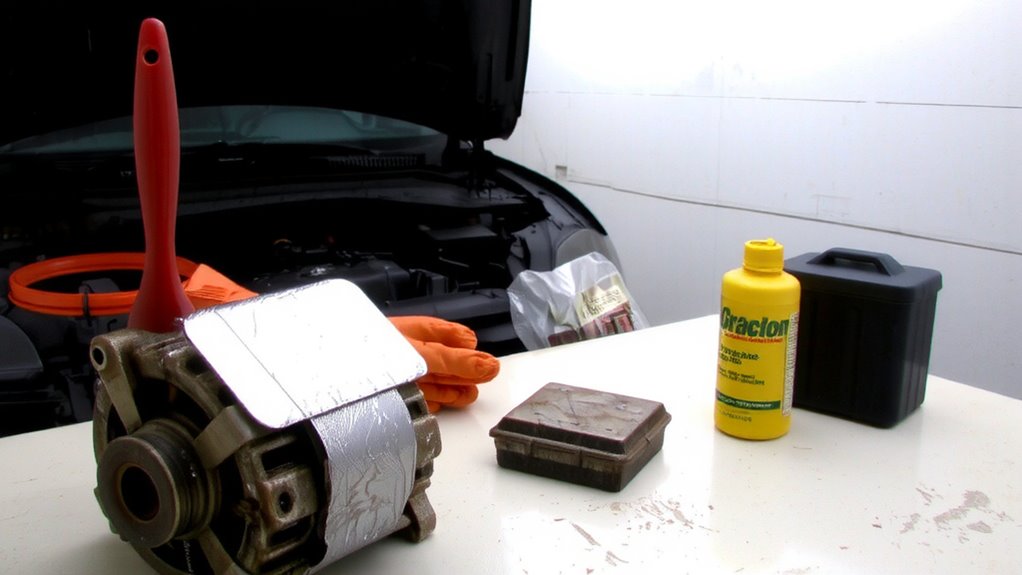
When preparing to clean corroded alternator terminals, having the right tools guarantees both safety and effectiveness. Begin with a basic alternator inspection to assess corrosion level and terminal integrity. For terminal maintenance, gather a wire brush with brass bristles-softer than steel, it removes corrosion without damaging lead terminals. Include a terminal cleaning tool with dual slotted ends for precise contact surface scraping. Use a multimeter to test voltage drop before and after cleaning; values above 0.2 volts indicate poor connectivity. Wear dielectric gloves for protection and use safety goggles to shield against acid particles. Acquire a spray bottle of baking soda solution to neutralize acid buildup. A torque wrench guarantees proper reconnection later-most automotive alternator terminals require 8–10 ft-lbs. Keep lint-free cloths handy to wipe residue, guaranteeing a clean surface for reliable electrical flow.
Disconnect Alternator Terminals Safely
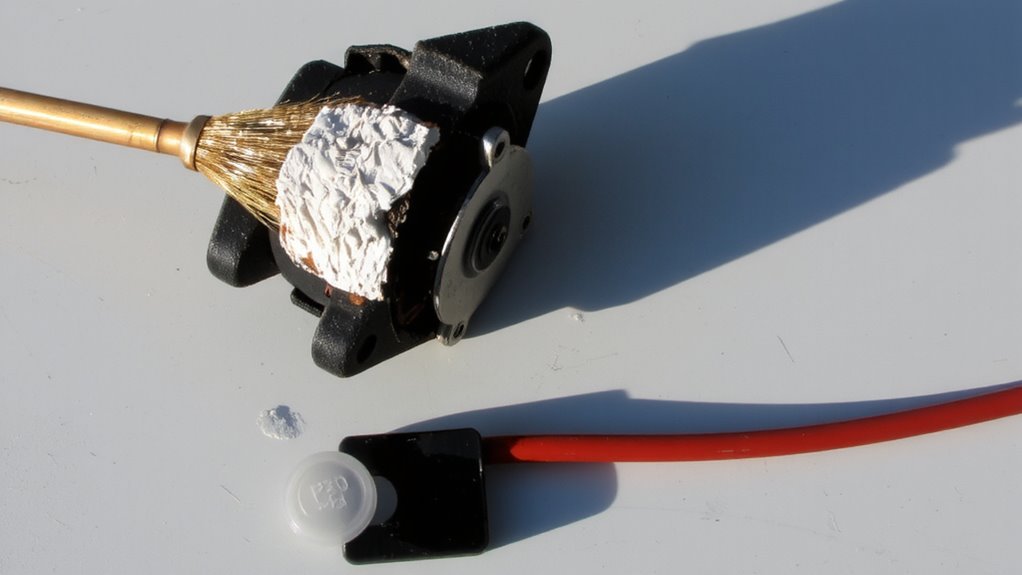
Before touching any electrical components, make certain the vehicle is off and the keys are removed from the ignition to prevent accidental short circuits. This simple step is critical among safety precautions to avoid electrical hazards. Always disconnect the battery before working near the alternator. Start with the negative terminal to reduce the risk of sparks. Use the correct-sized wrench-typically 10mm or 13mm-to loosen the nut securing the terminal. Gently pull the cable off without tugging on the wiring. If corrosion is severe, wear insulated gloves and protective eyewear.
| Step | Action |
|---|---|
| 1 | Turn off the engine |
| 2 | Remove ignition keys |
| 3 | Disconnect battery negative |
| 4 | Use proper-sized wrench |
| 5 | Inspect for damage |
Always respect electrical hazards to prevent injury or component failure.
Clean Corrosion With Baking Soda
A small amount of corrosion can greatly impair electrical conductivity, making cleaning essential for proper alternator performance. Create a cleaning solution using one tablespoon of baking soda mixed with eight ounces of distilled water. This mixture triggers a controlled baking soda reaction that neutralizes acidic corrosion deposits without harming metal surfaces. Dip a stiff-bristled brush into the solution and apply it directly to the corroded areas. The mild abrasive action supports effective terminal scrubbing, removing residue from grooves and contact points. Avoid vigorous scrubbing that could damage protective plating. For stubborn buildup, repeat application and allow the solution to fizz briefly before brushing. Rinse the area with a clean, damp cloth-never spray water directly. Dry thoroughly with compressed air or a lint-free towel to prevent residual moisture. This method guarantees reliable conductivity restoration while preserving terminal integrity.
Reconnect, Test, and Prevent Recurring Buildup
Once the terminals are clean and completely dry, reconnect the battery by attaching the positive cable first, followed by the negative. Proper reconnect techniques guarantee electrical safety and prevent short circuits. Tighten each terminal to 5–7 ft-lbs using a torque wrench for reliable contact without damaging threads. Start the engine and check voltage across the terminals with a multimeter; you should see 13.8–14.4 volts, confirming alternator function. If readings fall outside this range, inspect connections or test the alternator output under load. Apply dielectric grease or anti-corrosion spray to inhibit future buildup. Effective prevention strategies include inspecting terminals every three months and using corrosion-resistant terminal protectors. These shields absorb acids and reduce oxidation by up to 80%. Keep battery surfaces dry and free of residue to minimize conductive paths. Consistent maintenance extends battery life and guarantees peak charging performance. For tougher corrosion, consider using a dedicated battery terminal cleaner that combines abrasive action with chemical treatment to safely restore conductivity.
On a final note
You’ve successfully cleaned corroded alternator terminals without damage. Always disconnect the battery first-negative terminal first-to prevent shorts. Use a baking soda–water mix (one tablespoon per cup) to neutralize acid corrosion. A wire brush removes residue effectively. Apply dielectric grease after reconnection to inhibit future buildup. Guarantee tight connections: 8–10 ft-lbs torque on terminal bolts. Proper maintenance extends alternator life and ensures consistent 13.5–14.5V output.