How to Integrate Aftermarket Speakers With Factory HD Radio Tuners
Keep your factory HD Radio for reliable tuning and use it to power aftermarket speakers that improve sound quality. Factory amplifiers typically put out 10–15 watts RMS per channel, so choose 4-ohm speakers with 85+ dB sensitivity for compatibility. Upgrade with polypropylene-woofers and silk-dome tweeters to enhance clarity and bass response without extra amplification. Use a wiring harness adapter and 16-gauge wire to maintain signal integrity. Confirm impedance and polarity during installation to avoid distortion. A multimeter helps verify clean connections before final assembly. Proper placement maintains balanced imaging and peak output. You’ll find precise speaker selection and careful wiring make all the difference in accessing cleaner, fuller sound from your existing system. Further details reveal how to maximize performance within factory limits.
Notable Insights
- Use aftermarket speakers with 4-ohm impedance to match factory head unit output and prevent distortion.
- Select speakers with 85+ dB sensitivity for efficient sound reproduction using factory radio’s 10–15W power.
- Retain HD Radio and factory features by keeping the original head unit during speaker upgrades.
- Use a wiring harness adapter to connect new speakers without cutting factory wiring.
- Test each speaker channel before reinstalling panels to confirm proper connectivity and sound balance.
Keep Your Factory HD Radio and Upgrade Sound
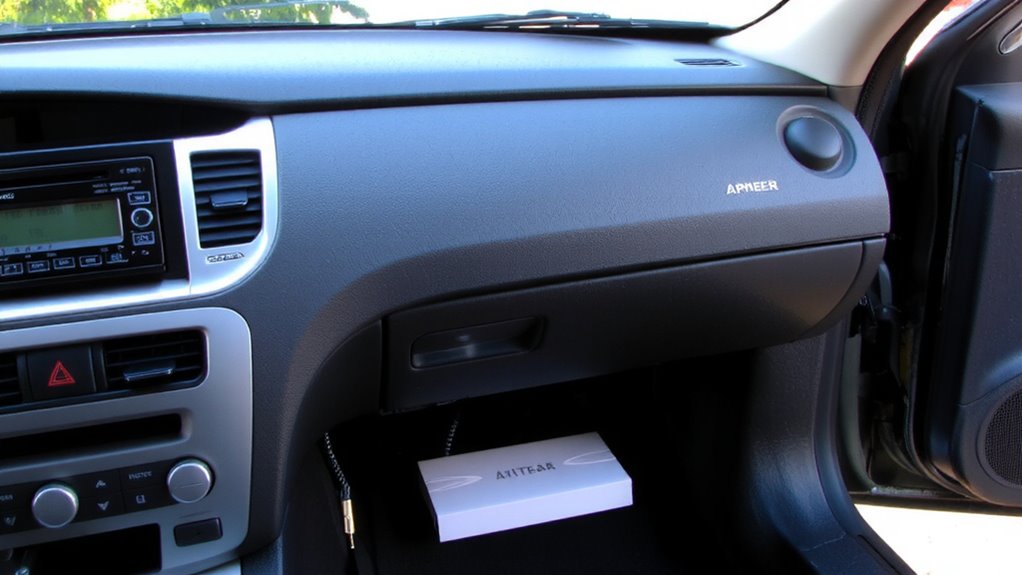
You can keep your factory HD Radio and still get high-quality sound by adding aftermarket speakers. Factory systems often limit audio fidelity due to cost-cutting materials and design. Aftermarket speakers improve clarity, bass response, and volume handling. They’re engineered with better components-like rubber surrounds, enhanced voice coils, and optimized cone materials-increasing durability and sound accuracy. While your factory radio maintains strong signal quality for HD and FM broadcasts, its internal amplifier lacks power, typically delivering only 10–15 watts RMS per channel. Aftermarket speakers with 85–92 dB sensitivity efficiently convert that power into louder, cleaner output. This preserves dynamic range and detail, especially in vocal and instrument separation. Upgrading doesn’t require replacing the head unit, ensuring compatibility and retaining factory features. The improved audio fidelity results from better speaker design, not signal alteration. You’re amplifying what the signal already carries.
What Tools and Parts You’ll Need
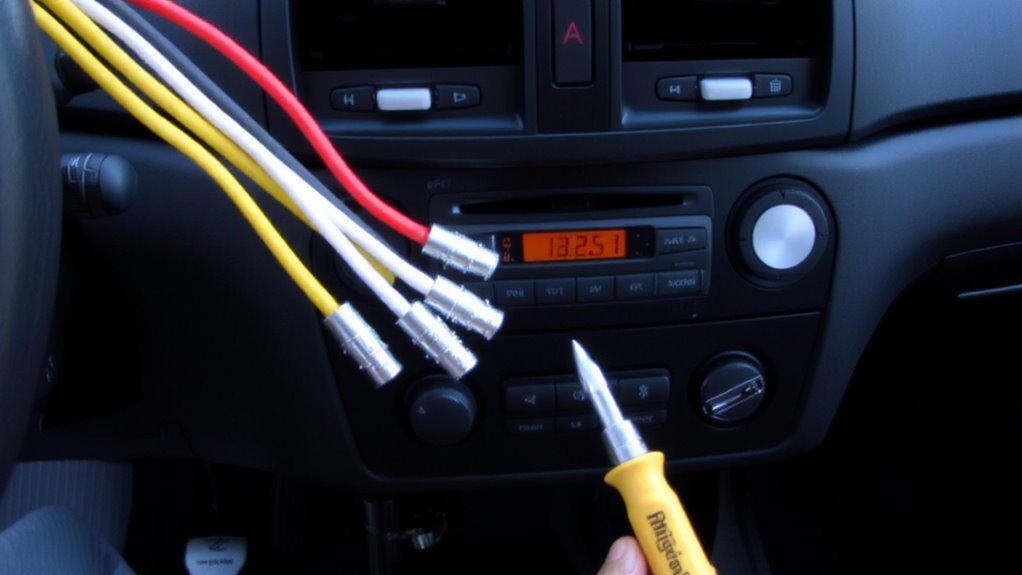
A successful speaker upgrade starts with gathering the right tools and components. You’ll need wire strippers, crimping tools, electrical tape, and wire connectors. A multimeter helps verify connections and check speaker impedance, which should match your factory radio’s output-typically 4 to 8 ohms. Mismatched speaker impedance can strain the amplifier or reduce sound quality. Use 16- to 18-gauge wiring for speaker runs; 16-gauge is better for longer distances to minimize resistance. Wiring gauge affects power transfer-thinner wires (higher gauge numbers) increase signal loss. Include a wiring harness adapter to connect aftermarket speakers without cutting factory harnesses. A trim removal tool set prevents damaging interior panels. Labels and zip ties keep wires organized. With these tools and attention to speaker impedance and wiring gauge, you guarantee clean, efficient installation and peak audio performance. For accurate diagnostics, consider using one of the best car multimeters to ensure reliable voltage and continuity readings.
Choose Aftermarket Speakers for Factory Radios
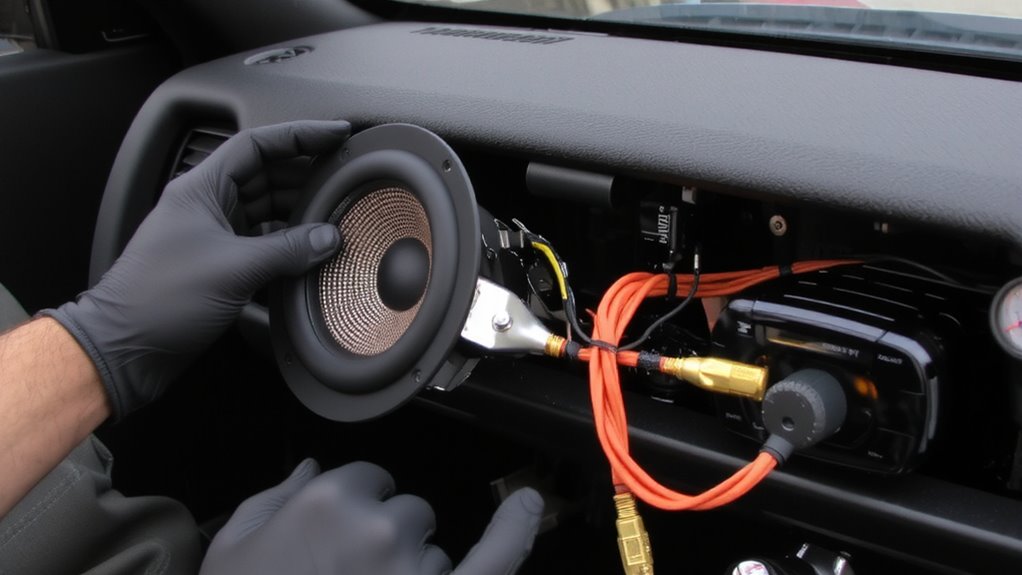
While factory radios can deliver decent sound, they often lack the power and clarity to drive high-performance audio, making speaker selection critical. Choose aftermarket speakers with a speaker impedance of 4 ohms to match most factory head units and prevent distortion. Most factory systems deliver 15–20 watts RMS per channel, so select speakers with compatible sensitivity ratings-85 dB or higher-for efficient sound reproduction. Look for woofers made from polypropylene or carbon fiber to enhance bass response without requiring extra amplification. Tweeters should use silk domes for smooth high-frequency output. Coaxial designs integrate tweeters into the main speaker, simplifying installation. Avoid 2-ohm speakers-they can overheat your radio. Guarantee outer frame dimensions and mounting depth fit your vehicle’s factory locations. Proper speaker matching preserves audio balance and prevents channel strain, especially during dynamic passages. For balanced sound and value, consider the best mid-range car speakers.
Remove Old Speakers and Install New Ones
Replacing factory speakers starts with safely accessing the mounting locations, typically found behind door panels, in dash arrays, or along rear shelves. Remove screws and plastic fasteners carefully to avoid damaging trim. Once exposed, disconnect the factory speaker wires from the old drivers. When installing new speakers, guarantee correct speaker placement to maintain balanced sound imaging-front tweeters should align near ear level, angled toward the driver. Match the new speaker’s impedance (usually 4 ohms) and sensitivity (85–90 dB) to your factory HD radio’s output. Secure the speaker using supplied adapters or mounting brackets. Pay close attention to wire routing; run cables away from sharp edges or moving door mechanisms. Use conduit or grommets where necessary to prevent abrasion. Proper wire routing protects connections and reduces noise interference. Finally, test each channel before reassembling panels.
Avoid These Factory Radio Wiring Mistakes
One of the most common wiring mistakes when upgrading speakers is reversing polarity across channels. This causes sound waves to cancel each other, reducing bass and clarity. Always match positive and negative leads-typically, white (left+) and gray (left–) for front, green (right+) and violet (right–) for rear. Grounding issues are another frequent problem; improper grounding introduces noise and reduces signal integrity. Use a dedicated ground wire connected directly to the vehicle’s chassis, not nearby bolts with paint or rust. Poor grounding increases resistance, inviting signal interference from alternators or ignition systems. Shielded speaker wire helps, but avoid running audio cables parallel to power lines. Keep speaker runs short and separated from high-current wiring to minimize inductance. Double-check connections before powering up. Correct wiring guarantees peak impedance matching-usually 4 ohms per channel-and protects your factory HD radio’s internal amplifier from strain.
Test Your Factory Radio and New Speakers
Now comes the moment of truth-your new speakers are wired, and it’s time to verify everything functions as designed. Power on the radio and play a familiar track at low volume. Check each speaker for sound output and inconsistencies. Proper speaker impedance guarantees your factory amplifier isn’t overloaded-most aftermarket speakers operate at 4 ohms, matching factory HD radio specs. Signal clarity should be crisp, without distortion or buzzing. If audio cuts out, recheck wiring continuity and grounding. Confirm polarity: positive leads connect to positive terminals to maintain phase alignment. Use the table below to troubleshoot key issues:
| Issue | Solution |
|---|---|
| No sound | Verify connections and fuse |
| Distorted output | Check speaker impedance match |
| Weak signal clarity | Guarantee secure, corrosion-free joints |
Adjust gain settings if available, then retest.
On a final note
You’ve preserved your factory HD Radio while upgrading audio quality. Modern aftermarket speakers with 4-ohm impedance and 85 dB+ sensitivity integrate seamlessly. Match power handling to your head unit’s 15–20 watts RMS output. Proper gauge wire (16–18 AWG) prevents signal loss. Testing confirms phase alignment and distortion-free playback. This upgrade enhances clarity and bass response without disabling HD reception or triggering error codes.