How to Replace a Faulty Fuel Pump Relay (12V, 10–20 Amp)
You can replace a faulty fuel pump relay quickly with basic tools. First, confirm the issue by checking for 12 volts at the relay’s power terminal-no voltage means a bad circuit. Locate the relay in the fuse box, usually labeled “FP” or “FPR,” and verify it’s a 4-pin or 5-pin model rated for 12 volts and 10–20 amps. Swap in the new relay, ensuring firm, correct alignment. Start the engine to verify smooth idle and stable RPMs between 600–1,000. Further details on testing and troubleshooting follow.
Notable Insights
- Locate the fuel pump relay in the fuse box using the diagram on the lid.
- Confirm relay failure by checking for 12 volts at the power terminal with ignition on.
- Test relay continuity; infinite resistance indicates an internal break.
- Remove faulty relay and replace with an identical 4-pin or 5-pin model.
- Start engine and verify smooth operation, stable idle, and no warning lights.
Understand the Fuel Pump Relay

The fuel pump relay acts as a power switch, sending electricity from the battery to the fuel pump when needed. Its primary relay function is to complete the electrical circuit only when the ignition is turned on or the engine is running. Without it, the fuel pump won’t receive power, and fuel won’t reach the engine. Most relays are small, black, and rectangular-roughly 1 inch wide, with four or five metal prongs underneath. These prongs connect into a relay socket wired into the vehicle’s electrical circuit. When energized, an internal electromagnetic coil creates a magnetic field that closes a set of contacts, allowing current to flow. This design prevents excessive current from running through the ignition switch. You’ll usually find the relay in the fuse box under the dashboard or in the engine bay. Its precise operation guarantees reliable fuel delivery and protects sensitive components.
Confirm a Bad Fuel Pump Relay
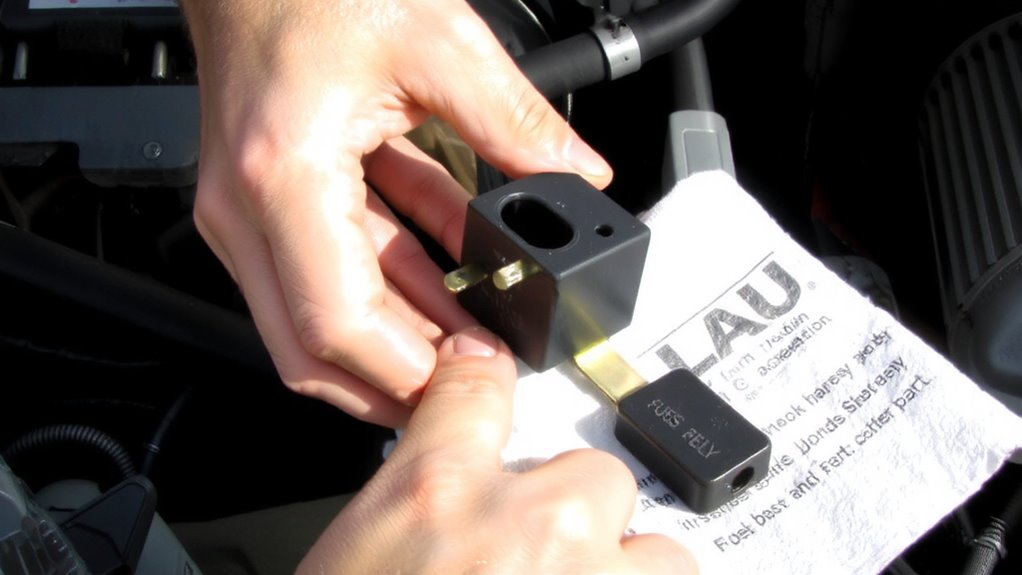
While you can’t always see a failing fuel pump relay, its symptoms often point directly to electrical faults in the fuel system. You may notice the engine cranks but won’t start, stalls unexpectedly, or struggles to maintain power. These issues suggest inadequate fuel delivery due to relay failure. To confirm, perform a voltage check at the relay’s power terminal using a digital multimeter. With the ignition on, you should read 12 volts; no reading means power isn’t reaching the relay. Next, conduct a continuity test on the relay’s output side. Set your multimeter to ohms and check for resistance. A reading of infinite resistance indicates an open circuit. Real-world testing shows failed relays often pass voltage checks but fail continuity tests. This confirms internal breakage, stopping current flow. Accurate testing eliminates guesswork and prevents unnecessary part replacement. For reliable results, use a top-rated car multimeter that offers precision and durability in automotive diagnostics.
Find the Fuel Pump Relay
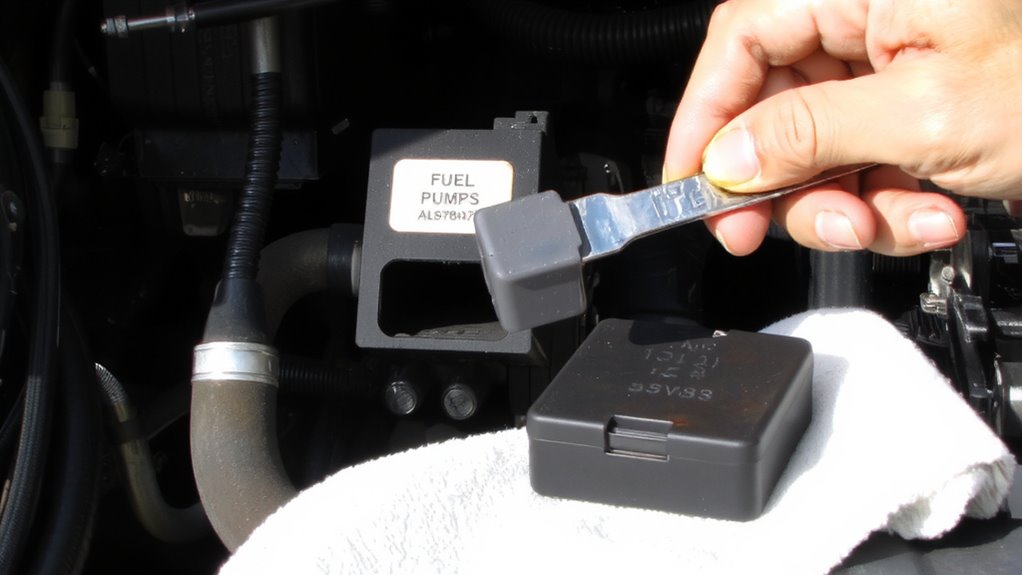
Now that you’ve confirmed the relay isn’t functioning properly, it’s time to locate it before any replacement can happen. The fuel pump relay location is typically inside the fuse box, either under the dashboard or in the engine compartment. Open the fuse box and check the lid’s underside-most vehicles have a diagram labeling each component. The relay often appears as a small, black, rectangular module, roughly 1 inch wide. It may be labeled “fuel pump” or coded numerically, like “FP” or “FPR.” Relay positions vary by make and model, so consult your owner’s manual for exact placement. A standard automotive relay operates on a 12-volt system and uses a 4- or 5-pin configuration. Use visual comparison with a known-good relay if unsure. Make certain the ignition is off before probing the fuse box to avoid electrical shorts.
Replace the Fuel Pump Relay
Grab your replacement fuel pump relay and make sure it matches the old one in pin configuration-either 4-pin or 5-pin-since using the wrong type can disrupt power delivery to the fuel pump. Align the new relay with the socket in the fuse box, guaranteeing proper orientation of the prongs. Fuel system operation depends on this connection, as the relay acts as a switch for power to the fuel pump. Press it firmly into place until it clicks, securing good contact with the electrical components. The relay typically operates at 12 volts and handles 10–20 amps, depending on the vehicle’s fuel delivery requirements. Avoid forcing it; misalignment can bend pins and compromise conductivity. This component controls high-current circuits using a low-current signal, much like a gatekeeper for electrical components. A correct installation guarantees consistent voltage to the fuel pump, enabling reliable fuel system performance.
Start the Engine and Check Results
Once the new fuel pump relay is securely installed, turn the ignition key to the “on” position without starting the engine-this allows the fuel pump to prime the system for about 2–3 seconds, creating the necessary pressure in the fuel lines. Then, start the engine. Listen for smooth ignition and steady idle. Poor engine performance, like hesitation or stalling, may indicate incomplete priming or electrical issues. A properly functioning relay restores maximum fuel delivery, directly improving engine performance and fuel efficiency. Monitor the tachometer for stable RPMs-typically 600–1,000 in neutral. Check for dashboard warning lights; none should remain on. Take a short test drive to verify consistent power delivery and throttle response. Correct fuel pressure, usually 45–65 psi depending on the model, guarantees efficient combustion. If all signs are normal, the replacement was successful. Record the repair for future reference.
On a final note
You’ve replaced the fuel pump relay correctly when the engine starts smoothly. The OEM-spec relay, typically rated at 30 amps with blade terminals (ISO 280), guarantees proper voltage delivery to the fuel pump. A functional relay clicks once upon key activation, priming the fuel system within 2 seconds. Incorrect amperage or poor contacts cause startup failure. Verify operation with a multimeter: 12V at the relay’s power terminal confirms circuit integrity.