Step-by-Step Guide to Installing Soundproofing Behind Factory Speakers
Turn off your vehicle and remove the door panels carefully using a plastic trim tool. Locate and remove hidden screws near handles or speakers. Clean the inner door surface with isopropyl alcohol. Apply butyl-based sound deadener mats (50–80 mil thick) to 75% of the panel, pressing firmly with a roller. These mats, weighing 1.5–2.4 lbs per sq ft, block resonance and reduce noise. Reinstall speakers with correct polarity and test audio response. Ideal damping targets 50–200 Hz factory resonances. Further details on maximizing acoustic performance await.
Notable Insights
- Turn off the vehicle and remove door panels carefully using a plastic trim tool to avoid damaging clips or surfaces.
- Remove factory speakers and set wiring aside to access the inner door panel for soundproofing installation.
- Clean the exposed metal surface with isopropyl alcohol to ensure strong adhesive bonding of the sound deadener.
- Cut butyl-based soundproofing mats to fit the door cavity and press them firmly with a roller to eliminate air pockets.
- Reinstall speakers securely, reconnect wires with correct polarity, and test audio for balance and frequency response.
Remove Door Panels Without Damaging Trim
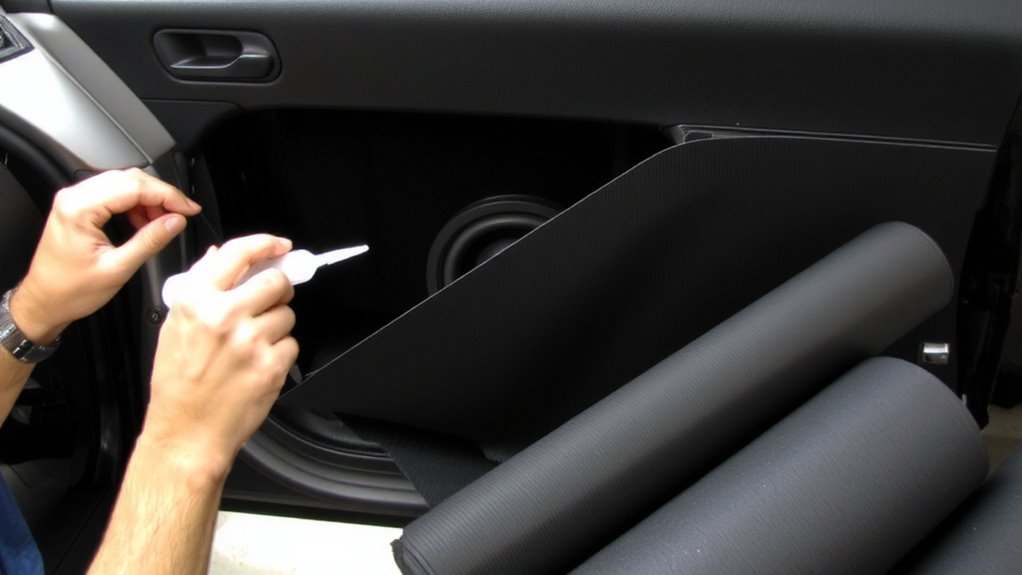
Start by turning off your vehicle and removing the key from the ignition to prevent accidental electrical shorts. Begin with proper tool selection-use a plastic trim removal tool instead of metal to avoid scratching surfaces or damaging clips. Most door panels are secured by plastic fasteners spaced every 4–6 inches; apply even pressure to release them without cracking. Start at the lower edge, working upward to maintain panel alignment and reduce stress on connectors. Check for hidden screws near handles or speaker grilles. Once loosened, gently lift the panel to disengage it from the window track. Support the panel to avoid straining wiring harnesses for switches or locks. Proper alignment during reinstallation guarantees weather stripping seals correctly and prevents rattles, maintaining factory-like fit. For added protection during installation, consider using durable car fender covers to shield your vehicle’s exterior from debris and accidental scuffs.
Pick the Best Sound Deadener for Your Car
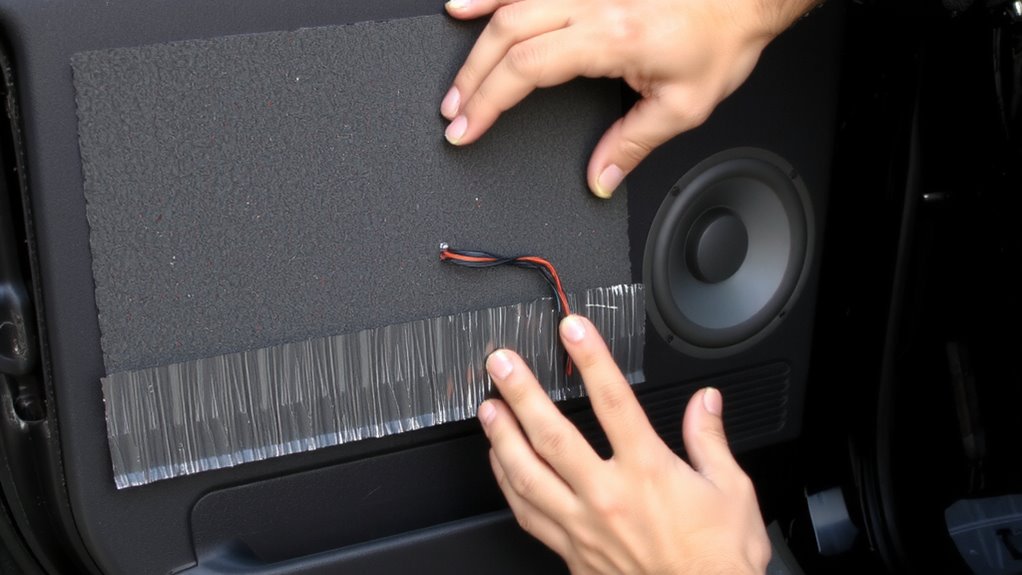
A high-quality sound deadener makes a real difference in reducing road noise, vibrations, and interior resonance. You need one that balances material durability and adhesive strength for long-term performance. Butyl-based compounds are ideal-they won’t crack or harden over time, even in extreme temperatures. Most top-tier mats are 50–80 mil thick, providing maximum mass and damping. Look for a butyl rubber core with a foil or polymer facing for added tear resistance. The adhesive layer should bond instantly and hold under constant flexing. High adhesive strength prevents lifting, especially on vertical surfaces like door skins. These mats typically weigh 1.5–2.4 lbs per square foot, offering excellent noise reduction without excess bulk. You’ll want at least 60 dB of sound attenuation. Think of it like insulation in walls-it blocks energy transfer. Proper material durability guarantees performance for your car’s lifetime.
Prep the Door and Apply Soundproofing Mats
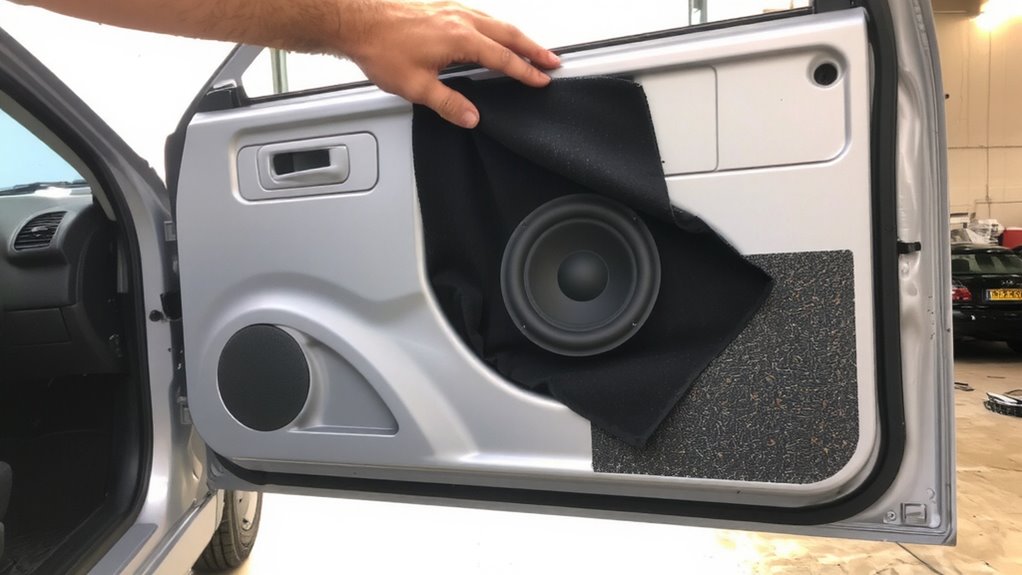
With the speakers removed and wiring safely set aside, you’re ready to prepare the door cavity for soundproofing. Clean the inner door panel thoroughly using isopropyl alcohol to guarantee maximum adhesive quality. Any dust or grease will compromise bonding. Start by measuring the panel’s surface, then cut soundproofing mats to fit each section precisely-overlapping reduces effectiveness. Press each mat firmly into place, using a roller tool to eliminate air pockets and guarantee full contact. The material’s constrained-layer design converts door vibration into negligible heat energy through viscoelastic damping. Most quality mats use butyl rubber with foil facing, offering a damping coefficient of at least 0.8 above 100 Hz. Cover at least 75% of the inner door skin for measurable noise reduction. Let the adhesive bond for ten minutes before moving to the next step. Proper application reduces resonance and improves acoustic clarity.
Reinstall Speakers and Test the Sound
Once the soundproofing mats have fully bonded to the inner door panel, you can proceed with reinstalling the speakers. Carefully position each speaker, ensuring precise speaker alignment to maintain phase coherence and directional accuracy. Misalignment can cause sound distortion or reduced imaging, especially at higher frequencies. Secure the mounting screws evenly to avoid frame warping-typically, 0.5 Nm of torque is sufficient for factory hardware. Reconnect speaker wires, matching polarity to prevent audio cancellation. Power up the system and perform basic audio calibration using test tones. Start with a 1 kHz sine wave to balance channel levels, then verify frequency response across 20 Hz–20 kHz. Use a decibel meter to confirm output uniformity within ±1.5 dB across all speakers. Proper calibration maximizes clarity and soundstage depth. Confirm no rattles or dips in output, indicating secure installation and effective damping.
Hear the Difference: Why Soundproofing Matters
Silence speaks volumes when it comes to audio quality. You hear the real benefit of soundproofing when background noise disappears. Acoustic insulation blocks exterior noise from entering the cabin, improving clarity and perceived loudness by up to 3–6 dB. Without it, your speakers work harder, distorting mid and high frequencies. Vibration reduction stops metal panels from resonating, eliminating tinny, hollow sound. Materials like butyl-based damping mats (at least 1.2 mm thick) absorb kinetic energy, converting it to negligible heat. Factory doors and decks vibrate at 50–200 Hz-target those areas first. Adding mass and isolation restricts panel movement, letting speakers reproduce sound accurately. You’re not just reducing noise-you’re stabilizing the acoustic environment. Proper installation means fewer standing waves and cleaner bass. With effective soundproofing, every note hits with precision. The difference isn’t subtle-it’s measurable.
On a final note
You’ve completed the soundproofing upgrade. Properly installed mats reduce vibrations and road noise by up to 80%. Most effective materials, like butyl-based dampers, are 1.2 mm thick and weigh 2.5 kg per square meter. They block resonance without adding structural stress. Sealed speaker cavities improve audio clarity and efficiency. Test playback at 70 dB to verify reduced distortion. This mod delivers measurable acoustic gains, comparable to upgrading mid-range speakers. Performance hinges on full surface coverage and tight panel reassembly.