Sealing Joints in Intake Systems to Eliminate Vacuum Leaks and Lean Conditions
You must seal intake joints properly to stop vacuum leaks that lean out the air-fuel mixture. Unmetered air enters through degraded gaskets or cracked manifolds, especially at the throttle body or intake-to-head interfaces. Use high-temp silicone or EPDM gaskets, or apply Permatex Ultra Black RTV (#81920), rated to 600°F. Apply a 0.125-inch bead and torque fasteners to OEM specs in a crisscross pattern to avoid warping. Smoke test the system afterward to confirm integrity-there’s more to optimizing the seal than just the parts you use.
Notable Insights
- Replace degraded gaskets at throttle body and intake manifold joints to stop unmetered air entry.
- Use high-temperature resistant materials like EPDM, silicone, or Permatex Ultra Black RTV for durable seals.
- Ensure joint surfaces are clean, flat, and free of debris before installing new gaskets or sealant.
- Follow OEM torque specifications and tightening patterns to avoid gasket crush or aluminum warpage.
- Perform smoke or pressure testing post-repair to confirm leak-free operation and proper fuel trim balance.
How Vacuum Leaks Cause Lean Engine Conditions
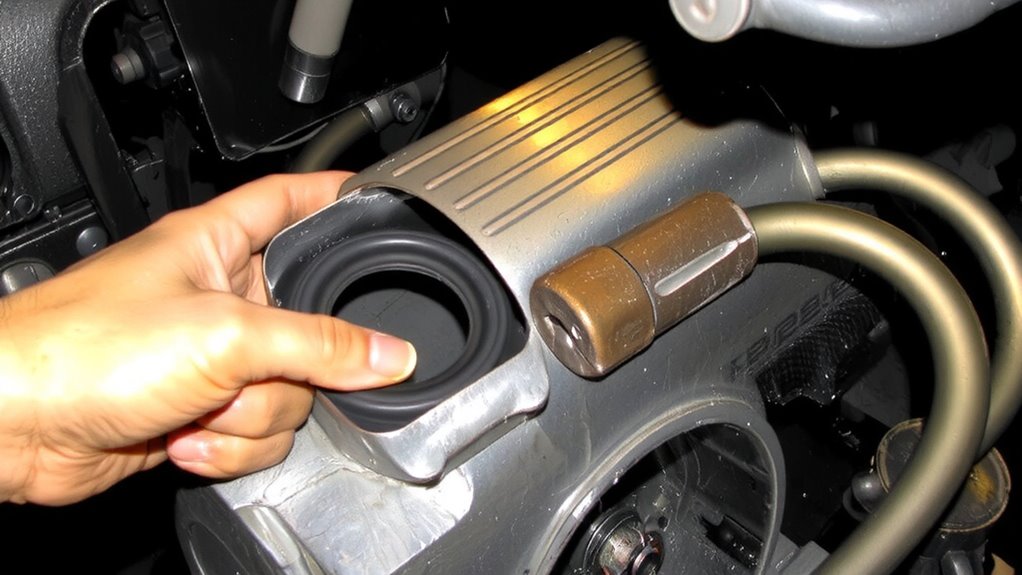
What happens when unmetered air sneaks into your engine’s intake system? It disrupts the air-fuel balance, causing a lean condition. Your engine expects a precise air-to-fuel ratio-typically 14.7:1 for gasoline. Unmetered air upsets this balance. Oxygen sensors detect excess oxygen in the exhaust and relay data to the ECU. The ECU responds by adjusting fuel trims-adding extra fuel via long- and short-term fuel trims. If vacuum leaks persist, fuel trims max out near +25%. That’s the trimming limit on most ECUs. Once reached, the engine can’t compensate. Lean misfires, poor idle, or hesitation follow. A large leak overwhelms correction capacity. Normal oxygen sensor readings cycle rapidly between rich and lean signals. With a leak, the signal stays skewed lean. You’ll notice higher hydrocarbon emissions and reduced power. Left unresolved, prolonged lean operation damages pistons and valves from elevated combustion temperatures.
Common Intake Joints That Leak Vacuum
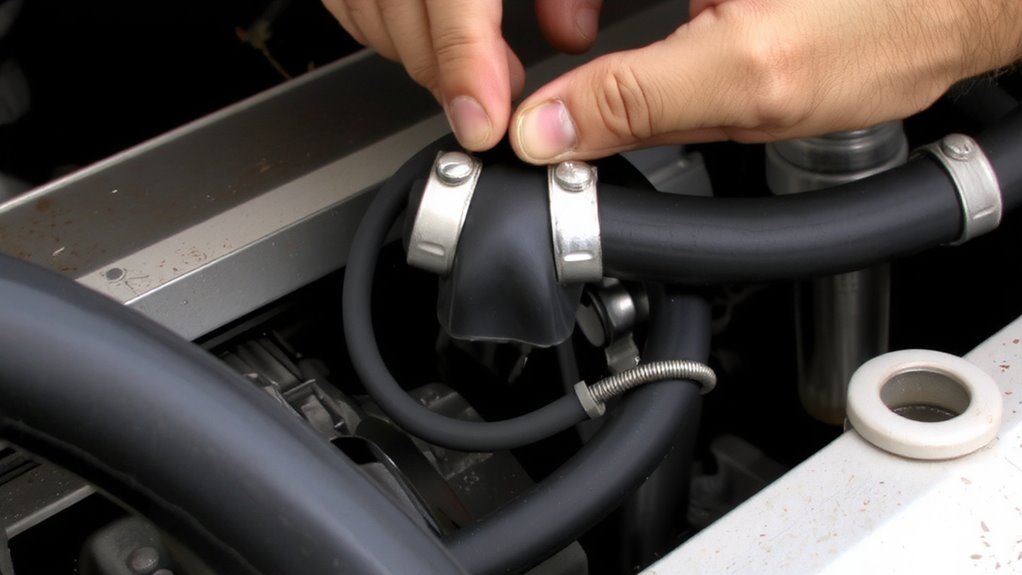
Where do vacuum leaks most often occur in your intake system? The throttle body is a frequent culprit, especially where it bolts to the intake manifold. Over time, heat cycles and vibration can loosen fasteners or degrade the sealing surface, creating gaps. A faulty throttle body gasket lets unmetered air bypass the mass airflow sensor, disrupting fuel trim. Another weak point is the intake manifold gasket, which seals the manifold to the cylinder head. If this manifold gasket fails-due to age, poor installation, or material breakdown-air enters downstream of the throttle body, causing a lean condition. These joints operate under high vacuum at idle, magnifying even pinhole leaks. Cracked plastic manifolds or warped metal surfaces worsen the issue. Diagnosing these areas first saves time. Use a smoke test to confirm leaks, focusing on throttle body and manifold gasket interfaces.
Best Gaskets and Sealants for Intake Seals
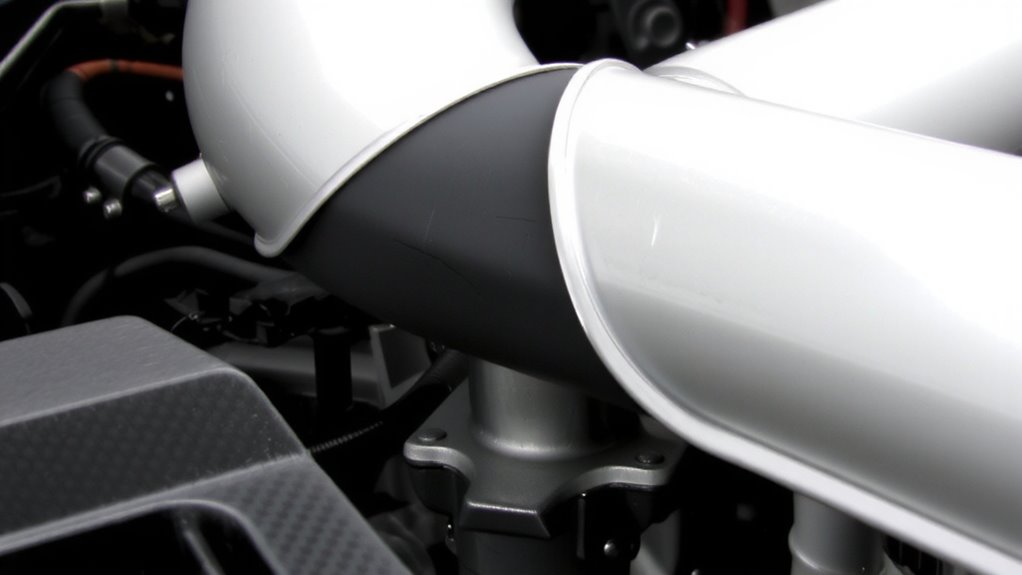
You’ll get the most reliable vacuum seal by choosing the right gasket material and sealant for your intake system’s operating conditions. EPDM and silicone gaskets resist heat and fuel exposure, offering strong material compatibility with aluminum and cast iron manifolds. Use cork-rubber blends only for low-stress joints below 250°F. For sealants, opt for high-quality RTV silicones rated for sensor-safe operation. Permatex Ultra Black (part #81920) handles temperatures up to 600°F and vibration well. Its curing time is 24 hours for full strength, though it skins over in one hour. Avoid over-application-0.125-inch bead diameter is sufficient. Anaerobic sealants work on metal-to-metal flanges but require absence of air to cure. Always check OEM specs before selecting products. Improper material compatibility leads to swelling, shrinking, or cracking.
Seal Intake Joints Without Over-Tightening
Properly sealing intake joints demands more than just the right gasket or sealant-it requires precise bolt loading to prevent leaks without damaging components. Over-tightening distorts aluminum housings and crushes gaskets, while under-tightening fails to compress them uniformly. Proper torque application guarantees even clamping force across mating surfaces. Always perform joint surface inspection-check for warpage, debris, and scoring using a straight edge and feeler gauge. Clean surfaces thoroughly before assembly.
| Fastener Size | Recommended Torque (ft-lbs) | Torque Pattern |
|---|---|---|
| 6mm | 7–9 | Crisscross sequence |
| 8mm | 14–16 | Spiral from center |
| 10mm | 22–25 | Even, progressive |
| M8 (metric) | 18–20 | Follow OEM specs |
Use a calibrated torque wrench and follow factory sequencing to maintain integrity.
Test for Vacuum Leaks After Sealing
How can you be sure the seals you’ve installed are truly airtight? Perform a vacuum leak test immediately after sealing. Use smoke testing to visually confirm leaks-connect a smoke machine to the intake and watch for escaping vapor. Even tiny gaps will reveal themselves as wisps of smoke. Alternatively, conduct pressure testing using a hand pump to pressurize the intake system to 5–10 psi. Monitor the pressure gauge; a drop indicates a leak. Both methods surpass the sensitivity of listening or using carb cleaner. Smoke testing works best on complex plumbing, while pressure testing gives quantifiable results. Always isolate components like the PCV system during testing. These diagnostics guarantee your seals hold under real operating conditions. A successful test means no unmetered air enters, preventing lean codes and poor performance. Verify every repair-don’t assume.
On a final note
You must seal intake joints properly to prevent vacuum leaks and lean conditions. Even small leaks disrupt air-fuel ratios, causing poor performance. Use high-quality gaskets with temperature ratings above 400°F and RTV silicone sealants that resist fuel and oil. Torque bolts to manufacturer specs-typically 8–12 ft-lbs-to avoid warping. Over-tightening cracks components. Always verify with a smoke test.