Step-by-Step Alternator Voltage Regulation Test for DIY Mechanics
You can test alternator voltage regulation in minutes with a digital multimeter set to DC voltage. Connect the red probe to the positive battery terminal and the black probe to the negative terminal. With the engine running, expect a stable 13.8 to 14.4 volts. Readings below 13.5 volts suggest undercharging; over 14.7 volts indicate overcharging. Test at idle, under load, and check for excessive ripple voltage. Proper tool specs and belt tension matter-details on correcting faults follow.
Notable Insights
- Set your digital multimeter to DC voltage mode and ensure it’s functional and safe for automotive use.
- Start the engine and measure voltage directly at the battery terminals with the multimeter probes.
- Observe a normal reading between 13.8 and 14.4 volts to confirm proper alternator regulation.
- Check for voltage below 13.5 volts (undercharging) or above 14.7 volts (overcharging) to identify issues.
- Test under idle, high RPM, and electrical load conditions to detect fluctuations or faulty diodes.
Test Your Alternator Voltage in Minutes
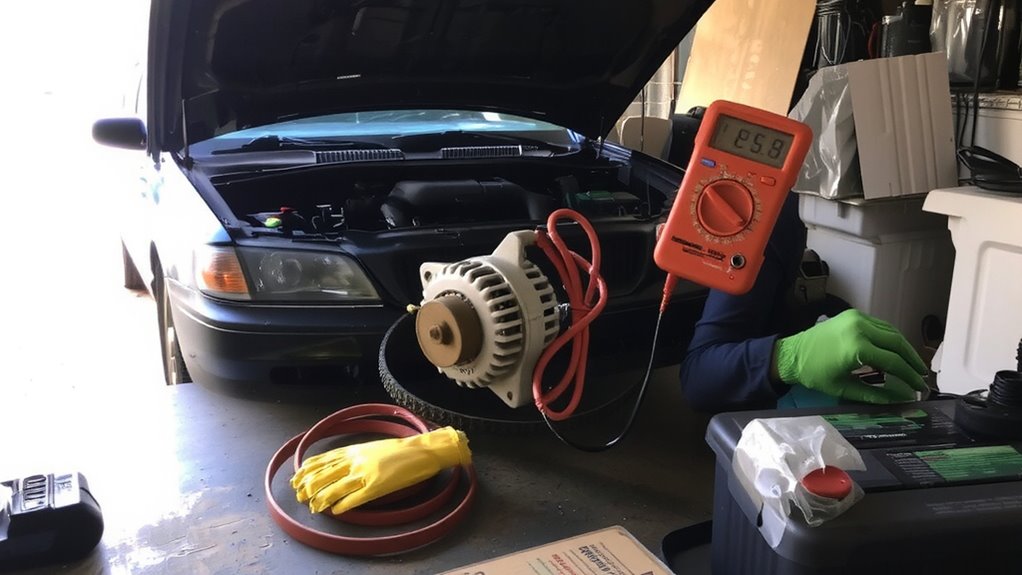
How can you quickly determine if your alternator is underperforming? Check the alternator output with a digital multimeter while the engine runs. First, set your meter to measure DC voltage. Connect the red probe to the battery’s positive terminal and the black probe to the negative terminal. A healthy charging system reads between 13.8 and 14.4 volts. If you detect a voltage drop below 13.5 volts, your alternator output is weak. Excessive voltage drop suggests worn brushes, failed diodes, or regulator issues. Sustained output above 14.7 volts risks overcharging the battery. Consistent measurements confirm system stability. A fluctuating voltage reading indicates internal faults. This quick test takes under five minutes and reveals critical charging performance data. You don’t need special tools-just accurate voltage readings. Immediate detection prevents unexpected breakdowns. For added versatility when transporting diagnostic tools, consider using a hitch cargo carrier designed for secure and easy access during mobile repairs.
Get the Right Multimeter and Tools Ready
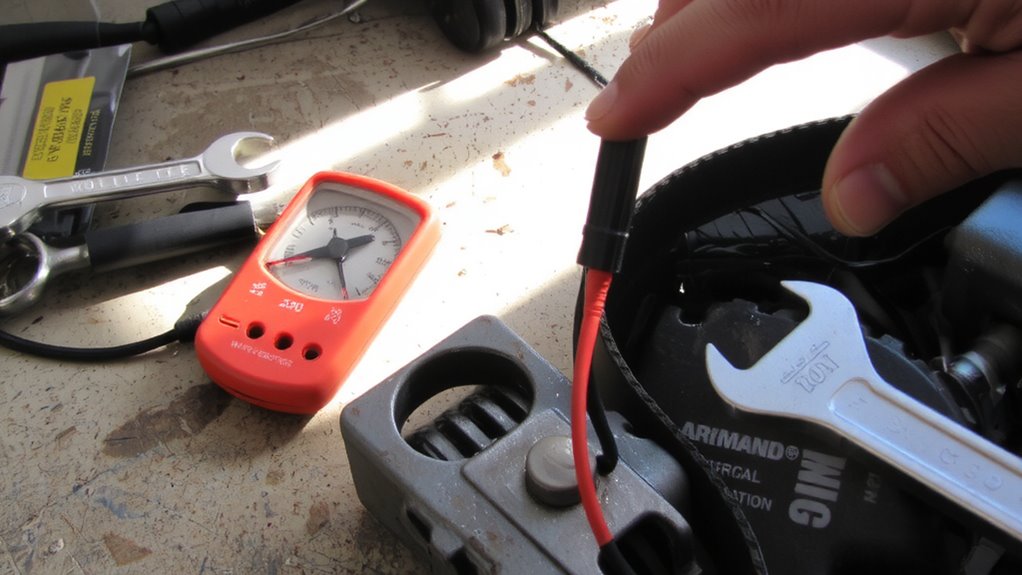
A reliable digital multimeter is your first line of defense in diagnosing alternator performance. Choose a multimeter with at least 4-digit resolution and CAT II rating for accurate voltage readings. Your tool selection directly impacts test precision-avoid cheap analog meters; they lack the stability needed for voltage regulation tests. Look for auto-ranging capability and a clear LCD display. You’ll measure voltages up to 16V DC, so guarantee your meter handles that range. Inspect probes for fraying or exposed metal-damaged leads compromise both accuracy and safety. Always follow safety precautions: wear insulated gloves, remove metal jewelry, and work in a dry environment. Double-check that the multimeter fuse is intact. Proper tool selection and safety precautions prevent damage to your equipment and protect you during testing. This simple preparation guarantees reliable, repeatable results every time. For accurate diagnostics, consider one of the top car multimeters recommended for automotive use.
Prepare Your Vehicle for Testing
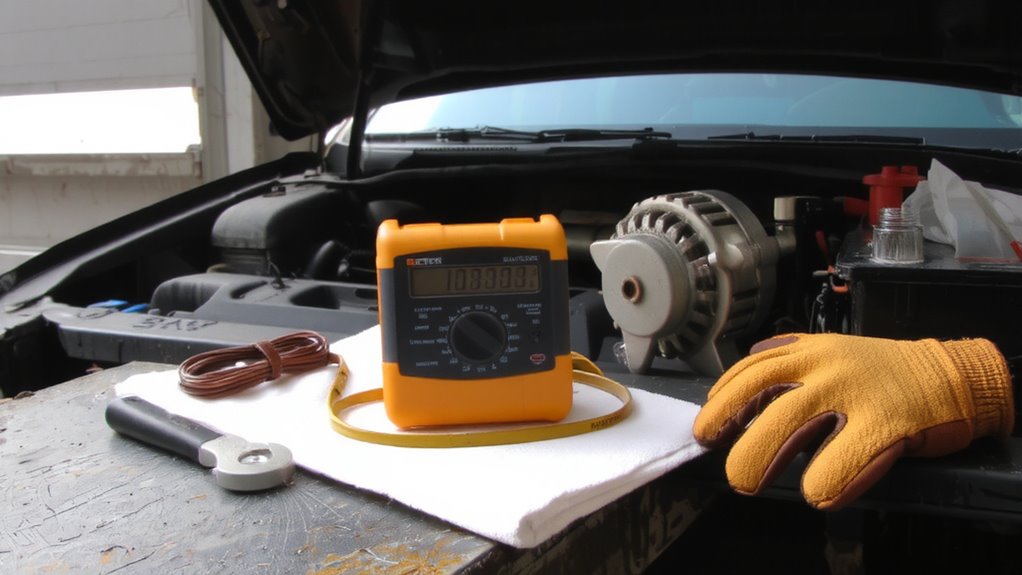
Safety starts with preparation-before touching any tools, make certain your vehicle is parked on level ground with the engine off and the parking brake firmly engaged. These safety precautions minimize risk during testing. Open the hood and secure it properly to access the engine compartment safely. Make sure the battery terminals are clean, tight, and free of corrosion, as poor connections skew voltage readings. Disconnect any aftermarket power-hungry devices that could affect electrical load. Let the engine cool completely; working on a hot engine compartment risks burns and inaccurate measurements. Wear safety glasses and insulated gloves as added protection. Verify that the alternator drive belt has proper tension-typically 1/2 inch of deflection under firm thumb pressure. Confirm all wiring harnesses are intact and free from abrasion. Proper prep guarantees accurate alternator voltage regulation testing and protects you throughout the process. Using a dedicated battery terminal cleaner can significantly improve electrical connectivity and testing accuracy.
Check Voltage at the Battery
Why do your headlights dim at idle only to brighten as the engine revs? The answer lies in your charging system’s performance. With the engine running, set your multimeter to DC volts and connect it to the battery terminals. You should read between 13.8 and 14.4 volts. This range indicates proper alternator output and charging consistency. A reading below 13.5 volts suggests undercharging, which can degrade battery health over time. Voltage above 14.7 volts indicates overcharging, risking damage to sensitive electronics. These measurements reflect real-time alternator regulation. Consistent voltage output guarantees your battery remains fully charged and ready. Charging consistency directly affects how well your vehicle starts and operates. Poor regulation strains the battery. Monitoring voltage at the battery gives you an accurate picture of system performance. It’s a vital step in diagnosing charging issues early.
Read and Understand Your Results
How do you know if your alternator’s voltage output is within safe limits? A healthy charging system reads 13.8 to 14.4 volts at the battery with the engine running. If your multimeter shows values outside this range, there may be voltage fluctuations. These fluctuations can damage sensitive electronics or prevent proper charging. Check results under different conditions-idle, high RPM, and with added electrical load like headlights or AC. Voltage should remain stable despite changing load. Significant drops below 13.2 volts or spikes above 14.7 volts indicate regulation problems. Consistent output confirms your alternator responds correctly. Minor variation under load is normal. But repeated, wide swings suggest a failing voltage regulator. Trust your meter. It reveals what your car can’t say-whether the system maintains balance. Use these readings to assess performance before moving on.
Fix Common Alternator Voltage Issues
While minor voltage fluctuations are normal, persistent deviations outside the 13.8 to 14.4 volt range demand immediate attention. Start by inspecting for overheating belts, which reduce alternator efficiency. A slipping or glazed belt can’t maintain proper pulley grip, causing inconsistent charging. Replace worn belts and guarantee correct tension-typically 90–120 pounds force deflection over a 10-inch span. Faulty diodes are another common issue; a failed diode in the rectifier bridge allows AC current leakage, disrupting smooth DC output. Test diodes with a multimeter in AC mode; ripple voltage over 0.5V AC indicates failure. Bad diodes also cause battery drain when the engine’s off. Replace the diode trio or full rectifier assembly as needed. Confirm repairs by retesting voltage at the battery terminal under load-with headlights and HVAC on, voltage should remain stable within specification.
On a final note
You’ve tested the alternator voltage successfully. A healthy charging system reads 13.8 to 14.7 volts at the battery with the engine running. Lower values suggest undercharging; higher readings indicate overvoltage. Confirm connections are clean and tight. Replace the voltage regulator or alternator if specs fall outside tolerance. Diagnose further if issues persist. Proper voltage guarantees battery longevity and stable electrical performance.