How to Upgrade Factory Wiring for Long-Term Speaker Reliability
Replace your factory 18–22 AWG copper or CCA wires with 14–16 AWG oxygen-free copper cables to prevent signal loss and corrosion. Upgraded 0.8 mm insulated, braided-shielded cables reduce resistance from 0.15 Ω to 0.05 Ω per 10 ft, blocking interference and lasting over 15 years. Use crimped, heat-shrink-sealed connectors and a multimeter to verify continuity and polarity. Matching impedance and separating power from signal cables guarantees long-term reliability. The right installation process makes all the difference.
Notable Insights
- Replace thin factory wires with 14–16 AWG oxygen-free copper cables to reduce resistance and improve signal clarity.
- Use shielded speaker wire with thick insulation to prevent interference and environmental damage over time.
- Match wire gauge to speaker impedance and run length, using 12-gauge for long runs or 4-ohm systems.
- Terminate connections with crimped or soldered connectors and seal with heat-shrink tubing for durability.
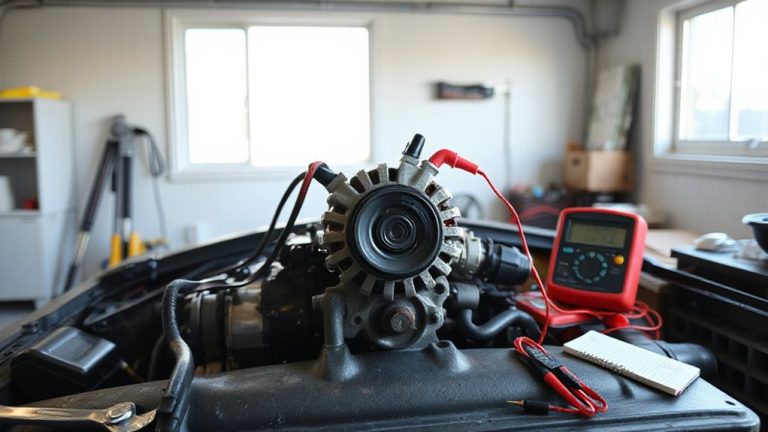
- Test continuity, polarity, and shorts with a multimeter before system activation to ensure reliable performance.
Why Factory Speaker Wiring Degrades Over Time
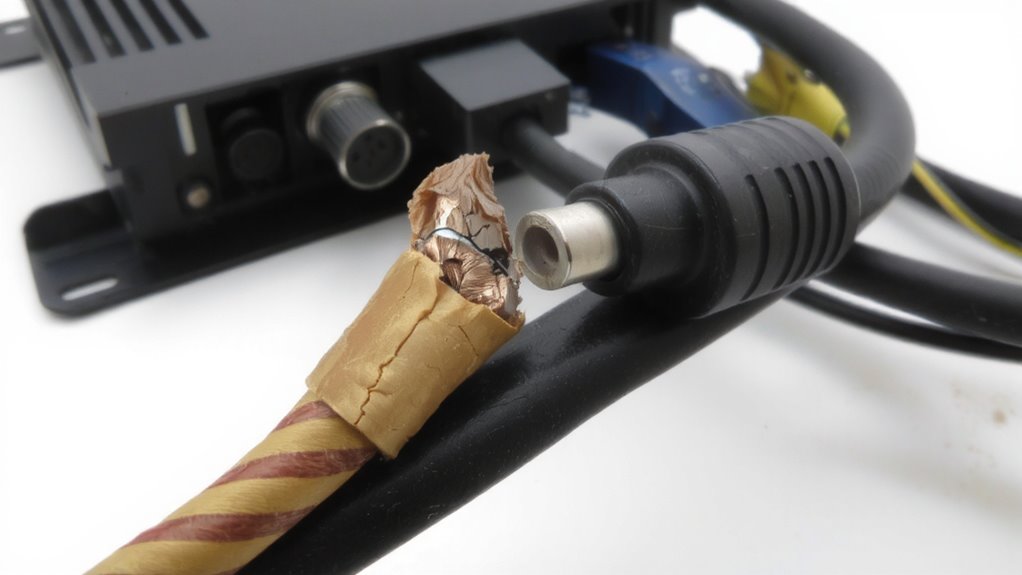
While factory speaker wiring may seem sufficient at first, it often fails over time due to material and design limitations. You’re dealing with thin, low-gauge copper or copper-clad aluminum (CCA) wires that lack durability. These materials fatigue quickly under constant signal load, leading to material fatigue that weakens conductivity. Repeated expansion and contraction from temperature shifts stress the metal, causing microfractures. Factory connections also lack proper insulation and shielding, exposing them to environmental factors. In humid or salty air, you’ll see corrosion buildup on terminals and conductors, increasing resistance and signal loss. Corrosion buildup acts like a barrier, disrupting electron flow. These wires typically measure 18–22 AWG, insufficient for high-power systems. Over time, degraded connections result in intermittent sound or total failure. You need robust materials to prevent long-term deterioration.
Why Upgraded Wiring Sounds Better and Lasts Longer
Quality begins with the conductor. Upgraded wiring improves audio fidelity and guarantees consistent signal clarity over time. Factory wires often use low-grade copper and thin insulation, increasing resistance and degrading performance. Better conductors, like oxygen-free copper, reduce electron loss and preserve detail. This means you hear more of what’s in the recording, not what your wires add or remove.
| Feature | Factory Wiring | Upgraded Wiring |
|---|---|---|
| Conductor Purity | 95% Copper | 99.99% OFC |
| Insulation Thickness | 0.3 mm | 0.8 mm |
| Resistance (per 10 ft) | 0.15 Ω | 0.05 Ω |
| Shielding | None | Braided Copper |
| Lifespan | 3–5 years | 15+ years |
You get cleaner signal clarity and long-term reliability. Higher purity and better materials resist oxidation, maintaining audio fidelity. Upgraded wiring isn’t just louder-it’s more accurate, with less distortion and improved dynamic response over time.
Choose the Right Gauge and Type of Speaker Cable
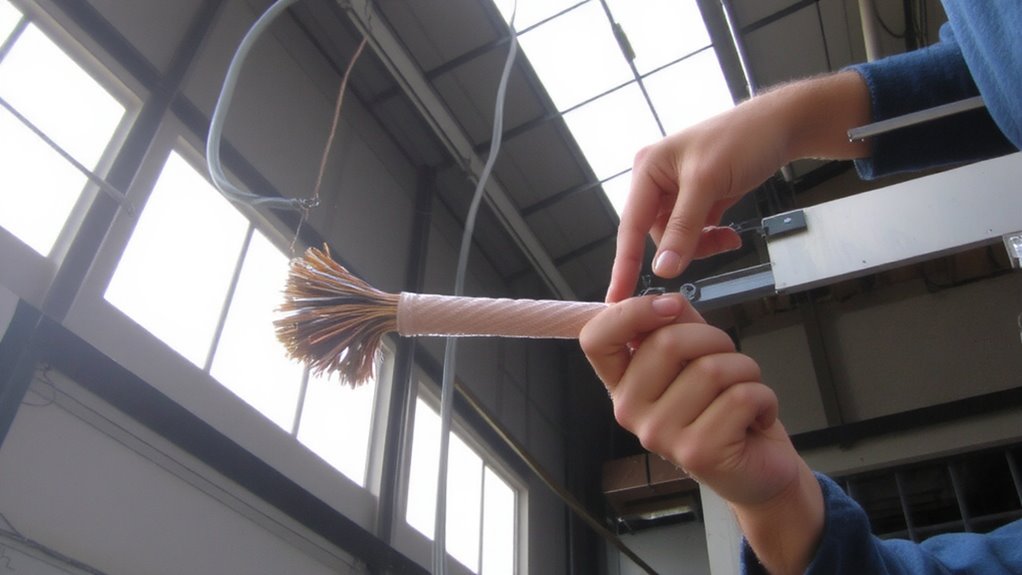
You’ve seen how better materials improve sound and durability-now it’s time to match that performance with the right size and type of speaker cable. Choose a gauge based on distance and speaker impedance. For runs under 50 feet, 16-gauge wire works for 8-ohm speakers, but use 14-gauge for 4-ohm loads to guarantee proper impedance matching. Longer runs demand 12-gauge to prevent signal loss. Solid-core copper offers lower resistance than stranded, improving clarity. Jacket material should resist abrasion and UV exposure. Always include cable shielding to block electromagnetic interference, especially near power lines or electronics. Shielded cables reduce noise and preserve signal integrity. Oxygen-free copper (OFC) minimizes oxidation, maintaining long-term conductivity. Avoid cheap insulation that cracks over time. Proper gauge and shielding aren’t just upgrades-they’re essential for accurate sound and lasting reliability.
Gather the Tools for Wiring Replacement
Start with a complete set of tools to guarantee a smooth and efficient wiring upgrade. You’ll need wire strippers, crimping tools, a digital multimeter, and heat-shrink tubing for secure cable insulation. Use strippers calibrated for 12–16 AWG wire to avoid damaging conductors. Proper cable insulation prevents shorts and maintains signal integrity. Choose tools compatible with your selected connector types-banana plugs, spades, or pin connectors-depending on your speaker and amplifier terminals. Crimp connectors require precise compression to assure low-resistance connections. Include a label maker to identify speaker pairs and prevent phase errors. A flashlight and flexible inspection mirror help navigate tight spaces behind walls or cabinets. Quality tools improve accuracy and durability. Investing in professional-grade equipment reduces rework and assures clean, reliable terminations that support long-term speaker performance. For accurate diagnostics during installation, consider using one of the best car multimeters available, as reliable car multimeter picks can greatly enhance electrical testing precision.
Remove Old Wiring and Install Upgraded Cables
How do you guarantee a smooth shift from old to new speaker wiring without damaging surrounding structures or compromising performance? Begin by disconnecting the battery to prevent electrical shorts. Carefully remove factory panels using trim tools to access wiring routes. Extract old cables gently to avoid disturbing insulation in tight cavities. Inspect for brittle cable insulation and visible connector corrosion-common causes of signal loss. Replace any corroded connectors entirely. Route upgraded 14-gauge OFC copper cables parallel to factory paths, avoiding sharp edges. Use nylon conduit where abrasion occurs. Secure with non-conductive zip ties spaced every 12 inches. Proper cable insulation reduces resistance and prevents grounding. New cables should have oxygen-free copper and 95%+ braided shielding to minimize interference. Terminate ends with gold-plated connectors to resist future corrosion. This assures signal integrity and long-term reliability.
Avoid These 5 Common Speaker Wiring Mistakes
A single wiring error can undermine even the highest-quality speaker system. Avoid these common mistakes to guarantee reliability and performance. Impedance mismatch can damage amplifiers or reduce sound clarity-always match speaker impedance (typically 4Ω, 6Ω, or 8Ω) with your amplifier’s rating. Signal interference arises from routing speaker wires near power cables or electronic devices. Use shielded cables and keep wire runs separated. Never use undersized wire; for runs over 25 feet, use 14-gauge or lower gauge wire to prevent resistance buildup. Secure connections tightly to avoid arcing or corrosion.
| Mistake | Solution |
|---|---|
| Impedance mismatch | Match speaker & amp ohms |
| Poor wire gauge | Use 14–16 AWG for long runs |
| Loose connections | Crimp or solder terminals |
| Signal interference | Separate from power cables |
| Mixed polarity | Align +/- on all devices |
Test Your System After Upgrade
Now that your wiring is secure and properly matched to your system’s specifications, it’s time to verify everything functions as designed. Begin by powering on your amplifier and sending a test tone to each speaker. Check for clear sound output and absence of distortion. System calibration guarantees peak performance-use a multimeter to confirm continuity and verify there are no shorts. Impedence matching is critical; measure total speaker impedance and guarantee it aligns with your amplifier’s output rating, typically 4 to 8 ohms. Mismatched impedance can cause overheating or failure. Use a real-time analyzer if available to fine-tune frequency response. Test each channel individually to isolate issues. Confirm phase alignment so drivers move in sync. Proper testing validates your upgrade’s integrity, prevents long-term damage, and maximizes speaker reliability. Skip this step, and you risk undoing all your careful work.
On a final note
You’ve upgraded to durable, oxygen-free copper cables with lower resistance. 16-gauge wire suffices for runs under 50 feet; use 14-gauge for longer distances. Proper insulation prevents shorts and signal loss. Secure connections with crimped spade or pin connectors, ensuring full metal contact. Your system now delivers consistent signal transfer, minimizing distortion and amplifier strain. This upgrade extends speaker life and maintains audio integrity under sustained loads, like a reliable foundation supporting a well-built structure.