DIY Guide: Replacing a Clutch Master Cylinder on a Front-Wheel-Drive SUV
You’ll need a 10mm and 13mm wrench, torque wrench (15–25 ft-lbs), and DOT 3 or DOT 4 fluid. Start by disconnecting the battery and draining the reservoir. Remove the master cylinder from the firewall, noting pushrod alignment. Install the new unit, torque mounting bolts to 18–22 ft-lbs, and bleed the system until fluid flows bubble-free through a clear tube. Maintain 1/8 inch free play. Details on precise bleeding steps and torque specs follow.
Notable Insights
- Disconnect the battery and drain the fluid before removing the old clutch master cylinder from the firewall.
- Use a 10mm wrench to disconnect the hydraulic line and 13mm for mounting bolts during removal.
- Align the new master cylinder’s pushrod with the clutch pedal lever to ensure proper engagement.
- Torque mounting bolts to 18–22 ft-lbs and hydraulic fittings to 8–10 ft-lbs for secure, leak-free installation.
- Bleed the system with fresh DOT 3 or DOT 4 fluid until bubble-free flow is achieved in the clear tube.
Diagnose a Failing Clutch Master Cylinder
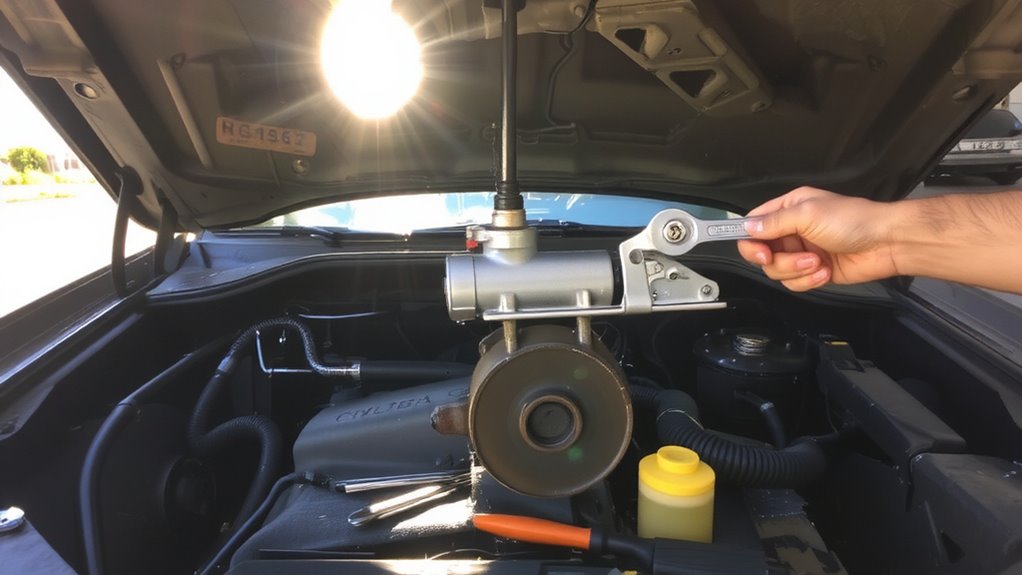
What if your clutch pedal feels spongy or sinks to the floor with little resistance? You likely have a failing clutch master cylinder. A spongy feel often indicates air in the hydraulic system, usually due to fluid leakage. Check the fluid level in the reservoir; a consistent drop signals a leak. Inspect under the dashboard near the pedal and under the hood for wet spots-these commonly point to master cylinder seal failure. Pedal stiffness can also develop if the internal piston seizes or if contamination restricts fluid flow. A properly functioning master cylinder maintains firm hydraulic pressure, with pedal resistance within 15–25 pounds of force. Uneven resistance, delayed disengagement, or total loss of pressure means the cylinder isn’t maintaining displacement volume, typically 5–7 ml per stroke. Confirm diagnosis before moving on.
Gather Tools for the Replacement Job
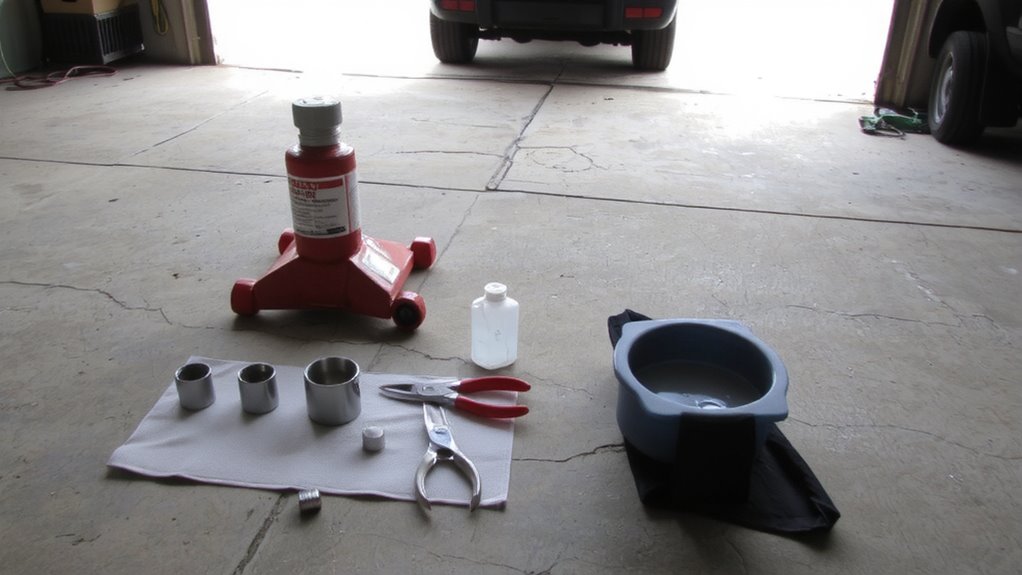
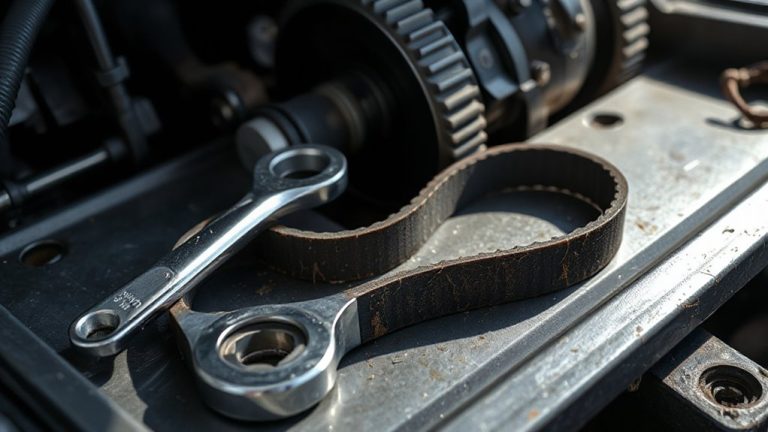
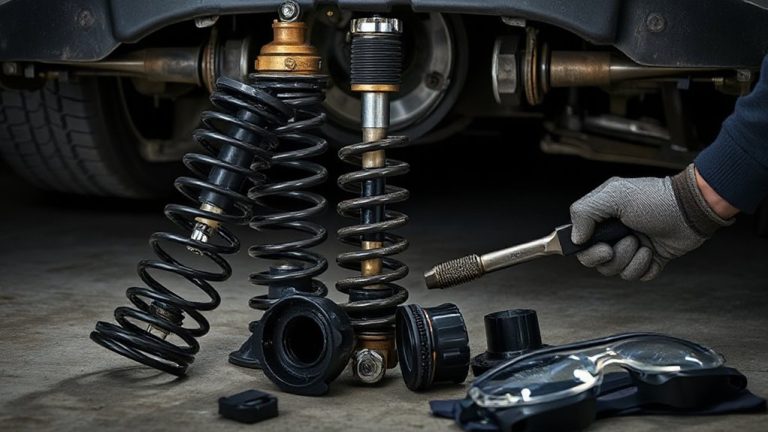
Before beginning the replacement, make certain you have the right tools on hand to complete the job efficiently and safely. You’ll need a 10mm and 13mm box wrench, a socket set, and a torque wrench rated for 15–25 ft-lbs. A fluid evacuation pump helps prevent spills during fluid top off. Use a clear plastic tube and container for controlled bleeding. A shop manual specific to your SUV model guarantees correct torque specs and routing diagrams. Include safety gear: nitrile gloves, goggles, and drip cloths. A bench vise is useful for pre-bleeding the new master cylinder. Always perform a clutch inspection before reassembly-check the slave cylinder and hydraulic line for leaks or wear. You’ll also need DOT 3 or DOT 4 brake fluid as specified by the manufacturer. Proper tools guarantee precision, reduce error, and save time during installation.
Remove the Old Clutch Master Cylinder
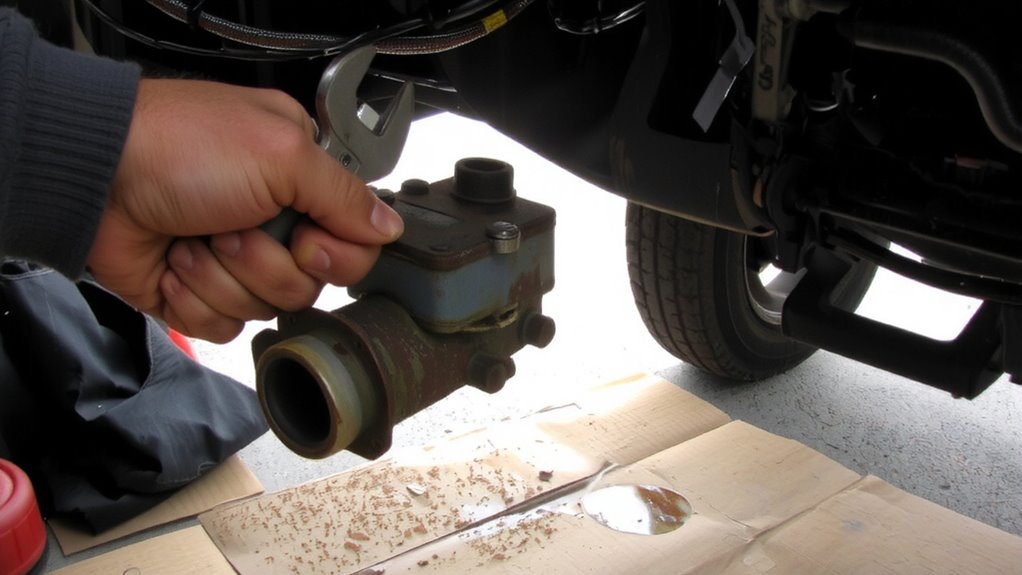
Once you’ve gathered all necessary tools and confirmed the system is ready, begin by disconnecting the negative battery terminal to prevent any electrical issues during the procedure. Locate the clutch master cylinder near the firewall, attached to the clutch pedal lever. Perform a pedal inspection to confirm no mechanical binding exists before removal. Drain residual fluid to minimize spillage and check for fluid contamination-dark or gritty fluid indicates system flush needs. Disconnect the hydraulic line using a wrench, then unbolt the cylinder from the firewall.
| Component | Tool Required | Torque Spec (ft-lbs) |
|---|---|---|
| Master Cylinder | 10mm Socket | 14–18 |
| Hydraulic Fitting | Line Wrench | 8–10 |
| Mounting Bolts | 12mm Wrench | 16–20 |
| Lock Nut (Pedal Pin) | Needle-Nose Pliers | Hand Tight Only |
Remove the unit carefully to avoid damaging the pushrod.
Install and Bleed the New Master Cylinder
While aligning the new clutch master cylinder with the firewall mounting bracket, guarantee the pushrod engages smoothly with the clutch pedal lever to prevent misalignment. Secure the unit with the provided bolts and tighten to 18–22 ft-lbs using a torque wrench. Connect the hydraulic line snugly to avoid leaks. Confirm fluid compatibility-use DOT 3 or DOT 4 brake fluid as specified by the manufacturer-since improper fluid damages seals and reduces performance. Fill the reservoir to the “MAX” line, avoiding overfilling. Employ proper bleeding techniques: attach a clear tube to the bleeder valve, submerge the other end in a fluid-filled container, and open the valve. Depress the clutch pedal fully, then close the valve before releasing. Repeat until fluid flows without bubbles. This guarantees consistent pressure and peak clutch engagement.
Avoid These Common Installation Mistakes
Skipping steps during installation leads to poor clutch performance and premature failure. Improper alignment of the master cylinder pushary and clutch pedal arm causes incomplete disengagement. Maintain a free play of 1/8 inch to guarantee proper actuation. Misalignment stresses components and accelerates wear. Always verify pushrod length against manufacturer specs-typically 1.0 to 1.2 inches, depending on model. Fluid contamination is another critical issue. Use DOT 3 or DOT 4 fluid from a sealed container; never reuse old fluid. Even small amounts of moisture lower boiling points, risking vapor lock under hard use. Introduce fluid slowly to prevent air bubbles. Cap the reservoir immediately when not in use. Guarantee all fittings are torqued to 8–10 ft-lbs to avoid leaks. Double-check connections before bleeding. A careful, step-by-step approach secures reliable operation and extends system life.
On a final note
You’ve successfully replaced the clutch master cylinder. This repair restores precise clutch engagement and proper hydraulic pressure, typically 80–120 psi, essential for smooth shifting. Always use DOT 3 or DOT 4 fluid, and confirm the fluid reservoir cap seals correctly. A properly bled system eliminates air pockets, preventing spongy pedal feel. Final inspection should include checking for leaks at the 10mm banjo bolt and ensuring pedal free play measures 10–15mm.