Step-by-Step Guide to Installing Component Speakers in a Pickup Truck
Start by gathering component speaker sets with separate woofers, tweeters, and crossovers for maximum clarity. Match 4-ohm impedance and 85–92 dB sensitivity to your amplifier. Remove interior panels carefully, disconnect the battery, and clean mounting surfaces. Secure woofers with gaskets to prevent vibration leaks. Mount tweeters at ear level, angled inward 30–45 degrees. Wire crossovers using 12-gauge twisted-pair wire, avoiding power lines. Confirm phase and impedance compatibility. Test each channel with varied audio tracks, then adjust tweeter angles and calibrate amp gain below 1% THD. Proper alignment guarantees a cohesive soundstage across the cabin. Fine-tuning these elements reveals the system’s full potential.
Notable Insights
- Gather compatible component speakers, crossovers, wiring, and mounting hardware suited for your truck model.
- Disconnect the battery and remove interior panels to safely access and replace old speakers.
- Mount woofers securely with gaskets and position tweeters at ear level for optimal sound staging.
- Connect crossovers to speakers and amplifier using proper gauge wire, ensuring correct polarity and impedance matching.
- Test each channel, verify phase alignment, and tune amplifier settings for balanced, clear audio output.
Gather Tools and Component Speaker Parts
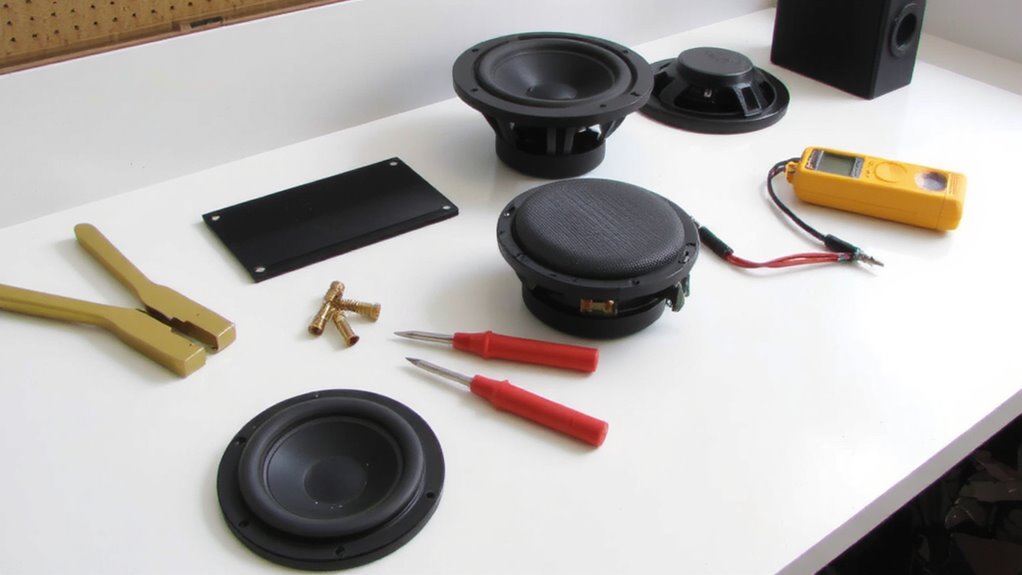
You’ll need the right tools and components to install component speakers in your pickup truck, and getting them ready upfront saves time and hassle. Start with the correct speaker types-component sets include separate woof-admin, tweeters, and crossovers for superior sound clarity and frequency separation. Match impedance (typically 4 ohms) and sensitivity ratings (85–92 dB) to your amplifier or head unit. Gather mounting hardware specific to your truck model-this often includes speaker brackets, screws, and wire adapters. Metal or ABS plastic baskets require secure fastening to prevent vibration damage. Use a multimeter, wire stripper, and 12-gauge speaker wire for clean connections. Crossovers must be installed inline to filter frequencies properly-set high-pass at 3 kHz for tweeters. Include foam baffles to prevent air leaks. Proper hardware guarantees alignment, durability, and excellent acoustic performance. A reliable power source is essential for optimal audio performance, making the choice of best motorhome batteries crucial for off-grid setups.
Remove Old Speakers and Clean Mounting Spots
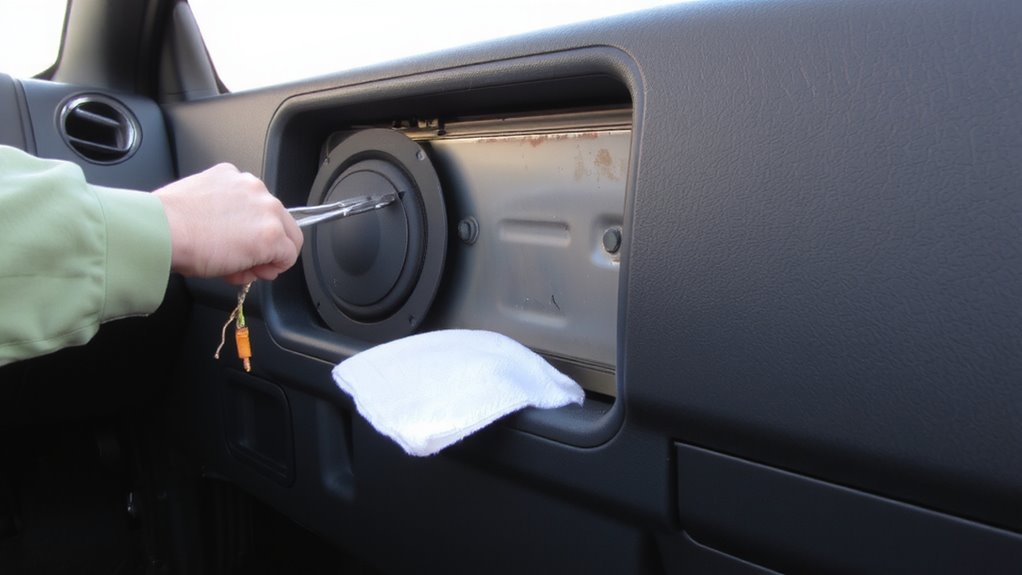
While accessing the speaker locations, begin by disconnecting the vehicle’s negative battery terminal to prevent electrical shorts during removal. Carefully remove interior panels using trim tools to expose speaker mounts. Unscrew old speakers and disconnect wiring harnesses. Inspect for speaker corrosion on terminals and metal surrounds-clean with electronic contact spray if necessary. Corrosion degrades signal quality and promotes failure. Check mounting surfaces for adhesive residue left by previous installations; use isopropyl alcohol and a plastic scraper to remove buildup without damaging paint or surfaces.
| Issue Detected | Tool Required | Solution |
|---|---|---|
| Loose wiring | Wire cutter/stripper | Trim and reconnect with crimp connectors |
| Speaker corrosion | Contact cleaner, brush | Clean terminals and inspect for pitting |
| Adhesive residue | Razor scraper, alcohol pad | Scrape gently, then wipe clean |
| Damaged grille fit | Measuring tape | Confirm dimensions before new install |
Clean surfaces ensure secure fits and optimal sound transfer.
Mount Woofers and Position Tweeters for Best Sound
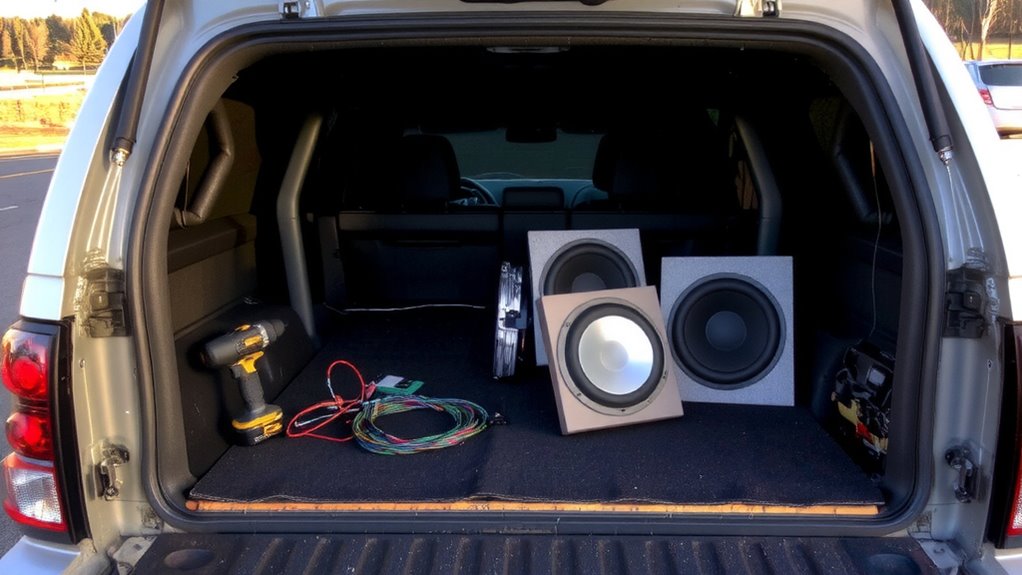
With the mounting surfaces clean and wiring inspected, installation of the component speakers can proceed. Begin by securing the woofers into the designated locations, ensuring proper speaker alignment with the mounting axes. Use included gaskets and screws to prevent vibration-induced distortion. Proper alignment preserves soundstage coherence and minimizes phase interference. Position the tweeters at ear level when seated, adjusting tweeter angles to 30–45 degrees inward. This angle optimizes high-frequency delivery toward the driver and front passenger. Ideal tweeter placement maintains a vertical distance of 18–24 inches above the midrange driver, preserving time-domain accuracy. Avoid mounting tweeters too close to reflective surfaces like glass or metal panels. Fine-tune angles incrementally, referencing manufacturer-recommended dispersion patterns. Precise positioning enhances stereo imaging and reduces auditory fatigue during long drives.
Wire Crossovers to Amplifier and Speakers
Once the speakers are securely mounted, connect the passive crossovers to both the amplifier and the component drivers according to the manufacturer’s wiring diagram. Proper impedance matching is critical-most crossovers are designed for 4-ohm drivers, so verify your speaker and amp ratings match. Mismatched impedance can overheat the amplifier or reduce sound quality. Use 12- to 16-gauge speaker wire to maintain signal integrity and minimize resistance. Route crossover wires away from power cables to prevent signal interference, which can introduce hum or distortion. Twisted-pair wiring helps reject electromagnetic noise in the truck’s electrically noisy environment. Passive crossovers split the audio signal at a specific frequency-typically 2,500 Hz-sending highs to the tweeter and lows to the woofer. Secure all connections with crimp connectors or solder to guarantee reliability. Double-check polarity to maintain proper phase alignment.
Test System and Tune for Clear Audio
How does your new audio system sound? It should deliver crisp highs and tight bass-if not, fine-tune speaker placement and perform audio calibration. Improper angles or heights can distort imaging, while calibration guarantees frequency balance. Start testing with familiar tracks across genres. Play each channel independently to verify phase and output. Adjust tweeter aim toward ear level and retest. For optimal power delivery and system compatibility, consider using a high-efficiency car stereo amplifier matched to your speakers’ impedance and power handling.
| Component | Ideal Position | Output Check (dB) |
|---|---|---|
| Tweeter | Ear level, angled | 85–90 |
| Midrange | Kick panel or door | 83–88 |
| Crossover Point | 3,000 Hz (verified) | N/A |
| Amplifier Gain | Match source output | <1% THD |
| Phase Alignment | 0° (in-phase) | Coherent wavefront |
Optimize speaker placement, then finalize audio calibration for precision sound.
On a final note
You’ve completed the installation correctly when all connections are secure and components operate without distortion. Guarantee crossovers are set to 80 Hz low-pass for woofers and 3 kHz high-pass for tweeters. Verify phase alignment: speaker cones move outward together. Use a multimeter to confirm continuity and avoid shorts. Properly torqued screws prevent panel vibration. This setup delivers 90 dB efficiency and a frequency response of 55 Hz–20 kHz.