How to Replace a Faulty Ignition Coil in a Coil-on-Plug System
Disconnect the battery to prevent electrical shock. Unplug the COP coil’s electrical connector and remove the T20 torx bolt with a 10mm socket. Pull the coil straight out. Check for carbon tracking or oil in the well. Install the new coil firmly over the spark plug, reconnect the wiring, and torque the bolt to 8–12 lb-ft. Start the engine and confirm smooth operation. Further details on diagnostics and tool selection follow.
Notable Insights
- Disconnect the battery and remove the electrical connector and mounting bolt to safely access the faulty ignition coil.
- Extract the old coil vertically to avoid damaging the spark plug or coil boot during removal.
- Inspect the spark plug well for debris, oil, or damage before installing the new ignition coil.
- Install the new coil by aligning it properly over the spark plug and securing it with the mounting bolt to 8–12 lb-ft torque.
- Reconnect the electrical connector, apply dielectric grease, and verify proper operation with an OBD-II scanner after startup.
Signs of a Failing Ignition Coil
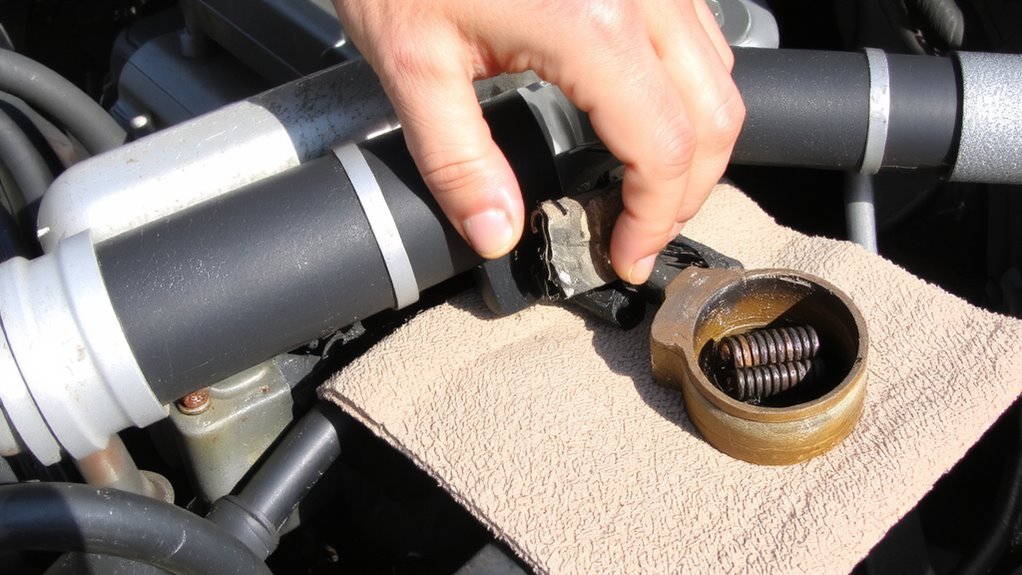
A failing ignition coil can quietly sabotage your engine’s performance before leaving you stranded. You may notice misfiring cylinders, especially under load or at high RPMs, caused by insufficient voltage delivery-typically below the required 30,000 volts. Each misfire disrupts combustion, reducing power and increasing emissions. Rough idling often accompanies this, presenting as vibrations or fluctuating RPMs between 600 and 900. This instability stems from inconsistent spark generation. You might also see a check engine light with diagnostic trouble codes such as P0300 (random misfires) or P0301–P0308 (specific cylinder misfires). Fuel economy drops by 10–15% due to incomplete combustion. Acceleration feels sluggish. In severe cases, the engine stalls at idle or refuses to start. These symptoms indicate degraded coil insulation or internal winding failure. Early detection prevents damage to catalytic converters or other ignition components. Upgrading to a high-quality ignition coil brand can significantly improve reliability and engine performance.
How Coil-On-Plug Ignition Works
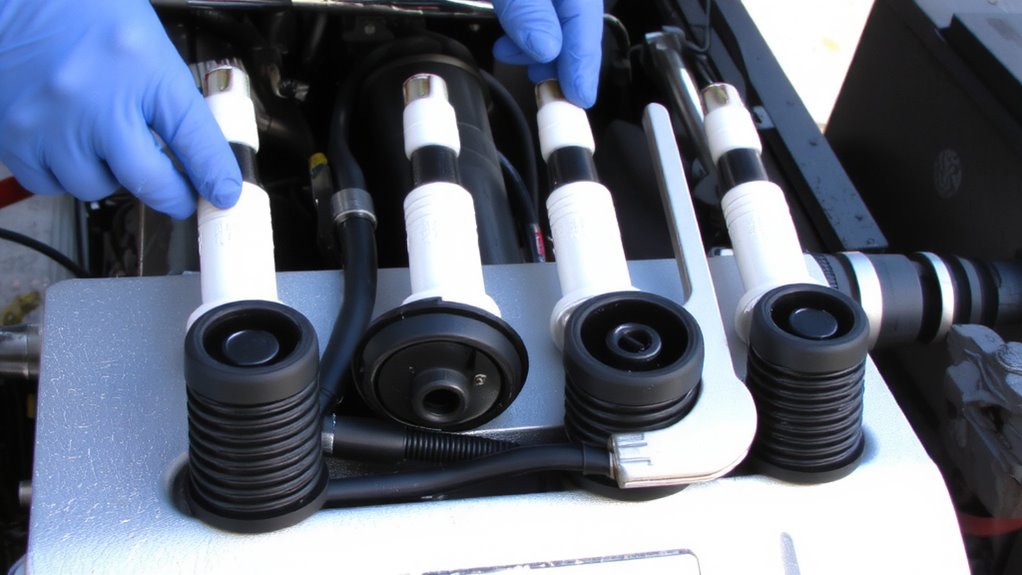
Think of the spark plug as the heart of each cylinder’s combustion cycle-now envision giving it a dedicated power source right on top. That’s exactly how a coil-on-plug (COP) ignition system works. Each ignition coil sits directly atop its spark plug, eliminating spark plug wires and reducing energy loss. This direct connection improves spark timing accuracy, ensuring the spark fires precisely when needed. Modern engine control modules (ECMs) manage this timing down to the millisecond, optimizing performance. Without long cables, voltage loss drops markedly-typically from 5–10 kV in older systems to under 1 kV here. The result? Sharper sparks and better combustion efficiency. Efficient combustion means more power, lower emissions, and improved fuel economy. COP systems also allow individual coil monitoring, helping diagnose misfires quickly. This setup is standard in most modern engines due to its reliability and precision. For optimal results, consider upgrading to one of the best ignition coils for reliable performance.
Tools Needed for Ignition Coil Replacement
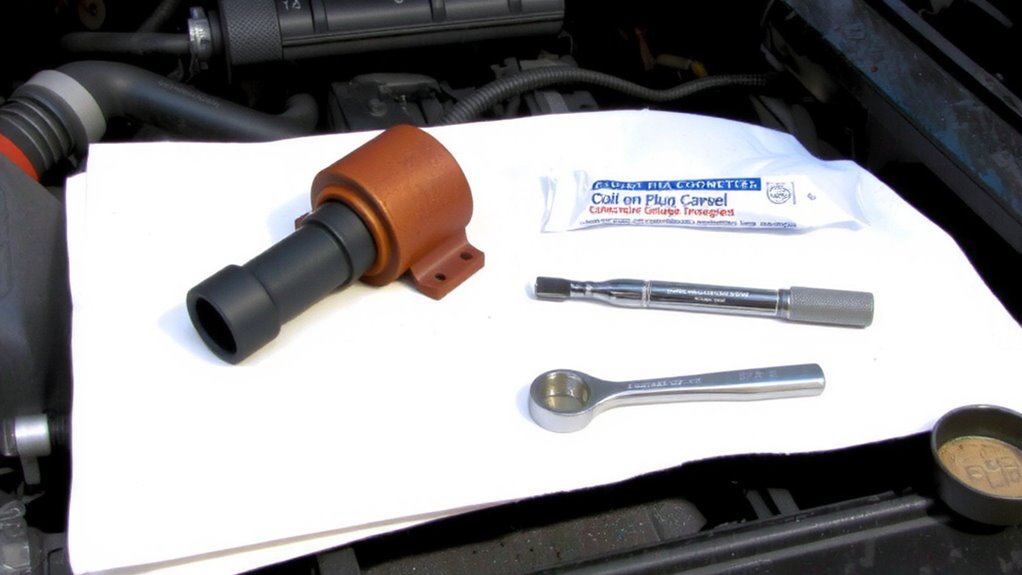
While you won’t need a full mechanic’s toolbox, having the right tools on hand guarantees a smooth and safe ignition coil replacement. Start with a set of ¼-inch drive metric sockets, typically sizes 7mm to 10mm, and a 3- to 6-inch extension for coil removal. Most modern vehicles use torx-head or standard hex bolts securing the coil pack; include a T20 or T25 torx bit if needed. Use a high-quality spark plug socket (typically 5/8-inch or 13/16-inch with rubber insert) if accessing plugs. A digital multimeter allows preliminary spark testing to confirm coil failure. Insulated gloves and safety glasses are essential. Include a non-conductive trim tool for releasing wiring harness clips. Labeling tape helps track coil positions if working on multiple cylinders. Keep a torque wrench set to 8–12 lb-ft for accurate reassembly. All tools must be clean and dry to prevent electrical faults or contamination. Choosing best ignition coils can significantly improve engine performance and reliability.
Removing the Old Ignition Coil
Now that your tools are gathered and organized, you’re ready to begin removing the old ignition coil. Use a systematic coil removal technique to avoid damaging surrounding components. Disconnect the vehicle’s battery to prevent electrical shock. Locate the ignition coil on top of the spark plug. Unplug the electrical connector by pressing the release tab and gently pulling it free. Remove the mounting bolt with a 10mm socket or wrench. Carefully lift the coil straight off the spark plug to avoid breaking it.
| Step | Action |
|---|---|
| 1 | Disconnect battery |
| 2 | Unplug electrical connector |
| 3 | Remove mounting bolt |
| 4 | Extract coil vertically |
| 5 | Perform spark plug inspection |
Inspect the boot for burns or cracks. Check for carbon tracking or oil contamination. Conducting a spark plug inspection guarantees you identify secondary issues early. Replacing damaged parts prevents misfires.
Installing the New Ignition Coil
If you’ve confirmed the new ignition coil matches your engine’s specifications, installation can proceed without delay. Begin by inspecting the spark plug well for debris-any contamination could compromise electrical insulation. Align the replacement coil carefully, guaranteeing proper coil positioning over the spark plug. Most coils click into place, but consult your service manual for torque specs on mounting brackets. Reconnect the electrical connector firmly; a loose fit risks arcing and reduced ignition efficiency. Use dielectric grease on rubber boots to enhance electrical insulation and ease future removal. Coil positioning is critical-misalignment causes boot damage or poor spark transfer. Verify all fasteners are secure and wiring is free from stress. Most OEM coils require no additional programming. Keep the work area clean to avoid introducing dirt into the combustion chamber. Your attention to detail guarantees peak ignition performance.
Test Engine Performance After Coil Replacement
With the new ignition coil securely mounted and all connections fastened, it’s time to verify the repair’s success by starting the engine. Turn the key or press the start button and let the engine run for several minutes. Listen for smooth operation-any hesitation or rough idling could signal unresolved engine misfires. A properly functioning coil delivers a 30–40 kV spark, ensuring complete combustion. With the faulty coil replaced, you should notice improved fuel efficiency, potentially restoring up to 4–7% in city driving conditions. Use an OBD-II scanner to confirm no misfire codes (e.g., P0300–P0308) return. Hold idle at 750–850 RPM, then gently accelerate. The throttle response should be immediate, without stumbling. Consistent spark eliminates cylinder misfires, reducing unburned fuel and emissions. If performance matches factory specs-steady RPM, clean exhaust, and responsive throttle-the repair is complete.
When to Call a Mechanic
While most ignition coil replacements go smoothly, you should call a mechanic if the check engine light returns with misfire codes like P0302 or P0304 after replacing the coil. These codes suggest ongoing cylinder misfires, which may stem from issues beyond the coil, such as faulty spark plugs, damaged wiring, or valve train problems. Diagnosing these requires professional diagnostics, including live data streaming and cylinder balance tests, to isolate the root cause accurately. Ignoring persistent codes can lead to poor fuel economy, increased emissions, or catalytic converter damage. You should also call a mechanic if you encounter electrical hazards, such as frayed ignition wires, corroded connectors, or shorts in the 12-volt system, which pose risks of fire or ECU damage. Technicians use insulated tools and multimeters to safely troubleshoot high-tension circuits. DIY repairs are effective within limits-knowing when to seek expert help protects both you and your vehicle.
On a final note
You’ve now replaced the faulty ignition coil correctly. Guarantee the new coil meets OEM specifications, typically operating at 30–40 kV output. Reconnect the wiring securely and reset any stored engine codes. Most modern engines will detect the fix within one drive cycle. If misfires persist, inspect spark plugs or fuel injectors. Proper installation prevents coil overheating and ensures peak combustion efficiency.