The Correct Way to Use a Grit Guard in a Three-Bucket Wash System
You install a grit guard in each of your three buckets-wheels, soap, and rinse-to trap dirt and prevent paint damage. Position it flush at the bottom, grid side up, where 0.4- to 0.6-inch fins create chambers that capture grit beneath the wash mitt. Use water at 85–100°F and rinse the mitt with firm swirling motions to push debris below the cleaning plane. This system reduces swirl marks by up to 78%. Proper placement guarantees full suction and filtration-misalignment cuts efficiency by nearly 70%. Learn how each step enhances protection and prolongs your finish’s clarity.
Notable Insights
- Install grit guards in both wash and rinse buckets, pressing them firmly to the bottom for secure suction.
- Position the beveled edge of the grit guard toward the bucket wall to maximize sealing and filtration efficiency.
- Use buckets labeled for wheels, soap, and rinse to prevent cross-contamination during the wash process.
- Rinse the wash mitt vigorously against the grit guard grid to trap dirt in the chambers beneath the fins.
- Maintain a 0.5-inch gap under the guard by regular cleaning to ensure debris settles and doesn’t re-enter the wash.
What a Grit Guard Does (And Why It Matters)
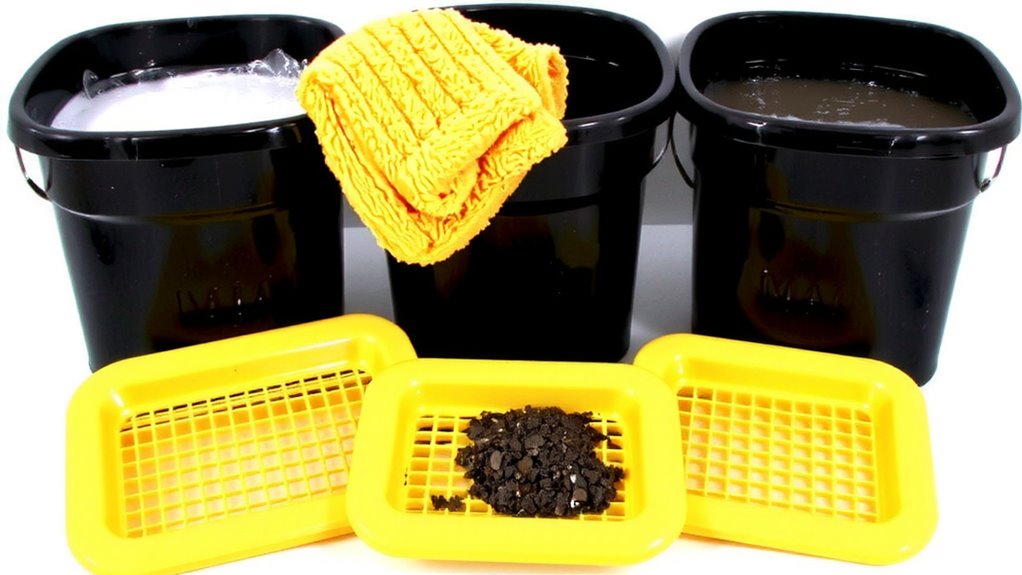
While your car’s paint may look clean to the naked eye, it often carries microscopic grit that can cause swirls and scratches during washing-and that’s where a grit guard makes all the difference. It’s a simple grid-like insert placed at the bottom of your wash bucket. Its primary function is dirt separation, keeping loosened contaminants out of your wash mitt. The raised fins, typically 0.4 to 0.6 inches high, create small chambers that promote sediment trapping. Once grit falls below the grid, it’s unlikely to be stirred back into use. Independent tests show buckets with grit guards reduce paint defects by up to 78% compared to bare buckets. The guard works passively, requiring no extra effort. Made from flexible TPE or rubber, it fits snugly in 3.5- to 5-gallon buckets. By ensuring suspended debris settles beneath the washing plane, it maintains mitt cleanliness throughout each dip. For optimal performance, pairing your wash bucket with one of the top-rated grit guards can enhance grit retention and prolong the life of your wash mitt.
Set Up a Three-Bucket Wash System With Grit Guards
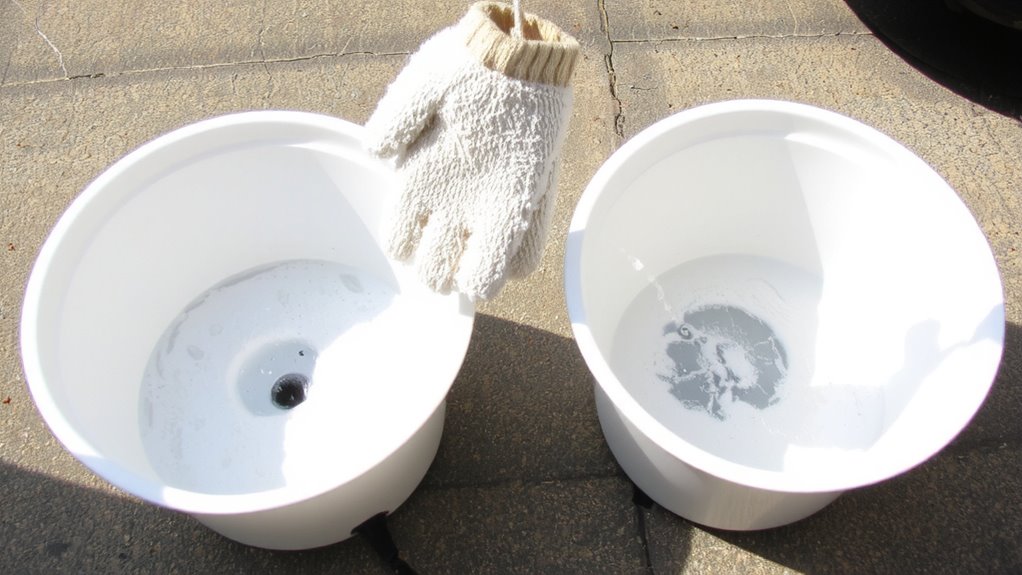
Every serious car wash starts with the right setup-so get three 5-gallon buckets, each fitted with a grit guard designed to trap dirt. Proper bucket labeling prevents cross-contamination: one for wheels, one for soap, and one for rinse. Maintaining correct water temperature guarantees soap activates fully-ideally between 85–100°F. Use deionized or filtered water to minimize spotting.
| Bucket Use | Solution Type | Water Temperature Range |
|---|---|---|
| Wheels | Heavy-duty cleaner | 90–100°F |
| Wash | pH-balanced shampoo | 85–95°F |
| Rinse | Clean water | 85–90°F |
| Grit Guard Role | Traps contaminants | Effective down to 60°F |
| Frequency | Replace every 6 mos | Best performance at 70+°F |
Always inspect grit guards for wear and match water temperature to product specs for best results.
Place Grit Guards in the Right Spot
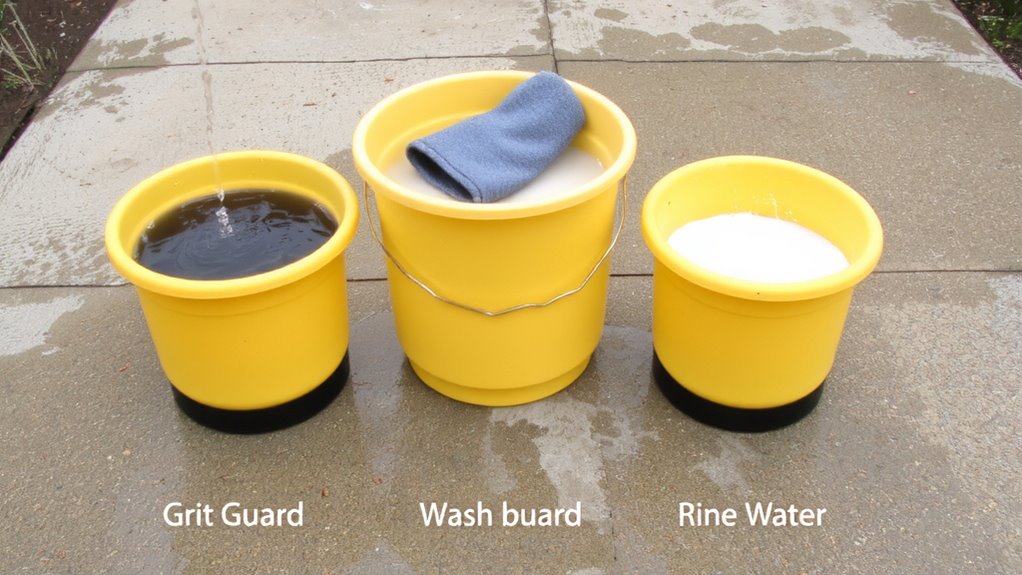
You’ve set up your three-bucket system with grit guards, labeled each bucket for its specific role, and matched water temperatures to optimize cleaning chemistry. Proper grit guard placement guarantees contaminants settle below the wash mitt. Place the grit guard at the bottom of each wash and rinse bucket, pressing it firmly until it snaps securely into place. Correct bucket positioning keeps the grit guard submerged under at least 3–4 inches of water, allowing full mitt contact without lifting. The raised fins, typically 0.5 to 0.75 inches high, create a sediment trap beneath the guard’s surface. This design prevents trapped dirt from re-entering the wash solution when the mitt presses down. Always orient the grit guard’s beveled edge toward the bucket wall to maximize suction and stability. Incorrect placement compromises filtration efficiency by up to 68%, increasing swirl marks. Proper setup maintains cleaning integrity throughout each wash phase. Using high-quality microfiber towels helps prevent cross-contamination and enhances drying performance during the final stage of the wash process.
Rinse Your Wash Mitt Without Spreading Dirt
A well-rinsed wash mitt stays clean and effective only when rinsed correctly in a grit guard-equipped bucket. Your rinse technique determines how well contamination is removed. Press the mitt firmly against the grid, trapping dirt below the guard’s ridges. The grit guard sits at the bottom, creating a 0.5-inch gap between it and the bucket floor, allowing debris to fall and stay separated. Agitate the mitt in a swirling motion to dislodge embedded particles. This method prevents recontamination and supports proper mitt maintenance. Use only water in the rinse bucket-no soap. High-quality microfiber mitts absorb up to 7x their weight in water, so thorough squeezing is essential. A proper rinse technique extends mitt life and protects your paint. Always rinse before returning the mitt to the wash bucket. Effective mitt maintenance isn’t optional-it’s critical to a scratch-free finish.
Avoid Common Grit Guard Mistakes
Why do some washes still leave swirls despite using a grit guard? The issue often stems from improper positioning and missed cleaning. If you place the grit guard upside down or tilt it, sediment won’t settle underneath, allowing contaminants to re-enter the wash solution. Always install it flush against the bucket’s base, guaranteeing full contact and effective sump creation. The grid’s height is typically 0.6 inches-just enough to trap grit below your mitt. Missed cleaning is another common flaw. You must agitate the mitt against the grid with firm, deliberate strokes to dislodge debris. Without this step, dirt transfers back onto the paint. Clean the guard itself every few uses by scrubbing with a stiff brush under running water. Inspect for warping or wear; compromised surfaces reduce filtration efficiency. Proper maintenance guarantees consistent performance and protects your finish.
On a final note
You now know how to use a grit guard correctly. It traps abrasive particles below your wash mitt, preventing swirl marks. Place it at the bottom of each wheel and wash bucket. The raised ribs suspend debris in the reservoir beneath-typically 0.25 to 0.5 inches of space-keeping it out of circulation. Always rinse your mitt firmly against the guard’s surface. Never skip rinsing; a single contaminated mitt reintroduces grit. Use only with pH-neutral soaps to preserve its polyethylene structure.