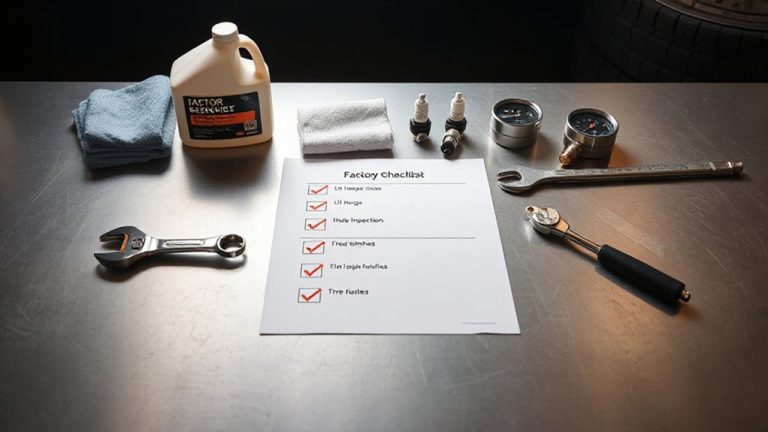
Using a Spark Tester to Verify Ignition Coil Output
Use a 40,000-volt-rated spark tester to verify your ignition coil’s output accurately. Connect it to the coil’s terminal with the rubber boot, then ground the body securely to bare engine metal. Set the gap between 0.025 and 0.125 inches, or as specified. You should see a bright blue-white spark that snaps crisply-indicating 20,000–30,000 volts. A weak, orange spark means low output. Make certain full battery voltage reaches the coil. More diagnostic insights follow.
Notable Insights
- Choose a spark tester rated for 40,000 volts and compatible with your coil’s connector type.
- Connect the tester to the coil output and ground it securely to the engine block.
- Ensure proper battery voltage reaches the coil to avoid false test results.
- Observe a bright blue snapping spark, indicating strong coil output.
- Check for no spark by testing fuses, wiring, sensors, and ECU signals.
Choose the Right Spark Tester for Your Ignition Coil
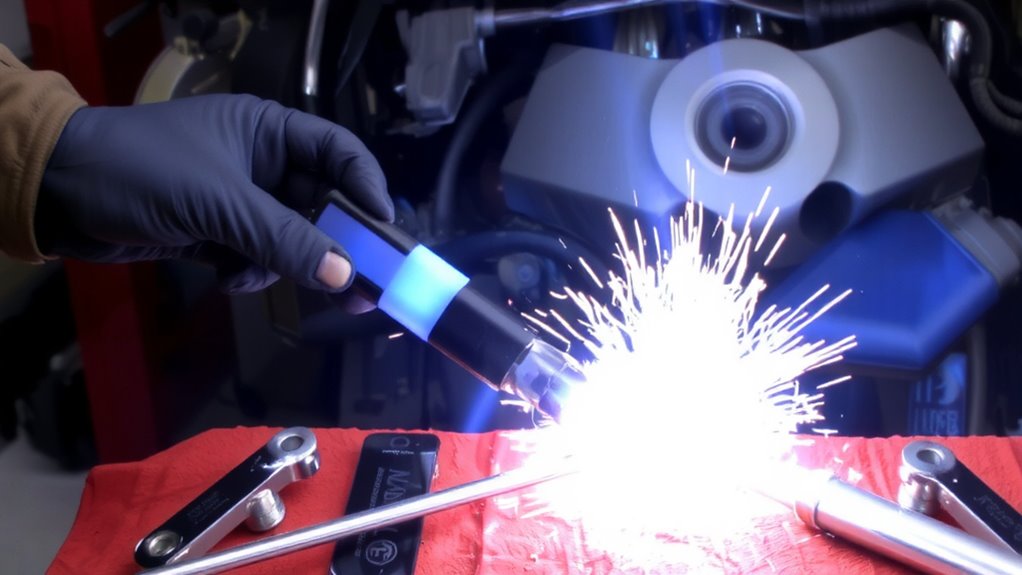
A single spark tester won’t fit every ignition system, so choosing the correct type matters. You need a tester that matches your coil’s output capacity and connector style. For high-energy ignition (HEI) systems, use a tester rated to 40,000 volts to accurately simulate load. Low-impedance coils demand a tester with adjustable gap settings from 0.025 to 0.125 inches. Spark intensity varies with gap width-wider gaps reveal weak coils by reducing spark strength or failing to fire. Voltage drop occurs under load, and a poor tester won’t reflect real-world performance. Look for a built-in resistor (10k ohm) to mimic plug wire resistance. Some testers include neon indicators to show voltage trends. Always verify compatibility with coil-on-plug (COP), distributor, or wasted-spark setups. Using the wrong tester gives false readings-your diagnostics depend on precision.
Connect the Spark Tester to the Coil in 3 Steps
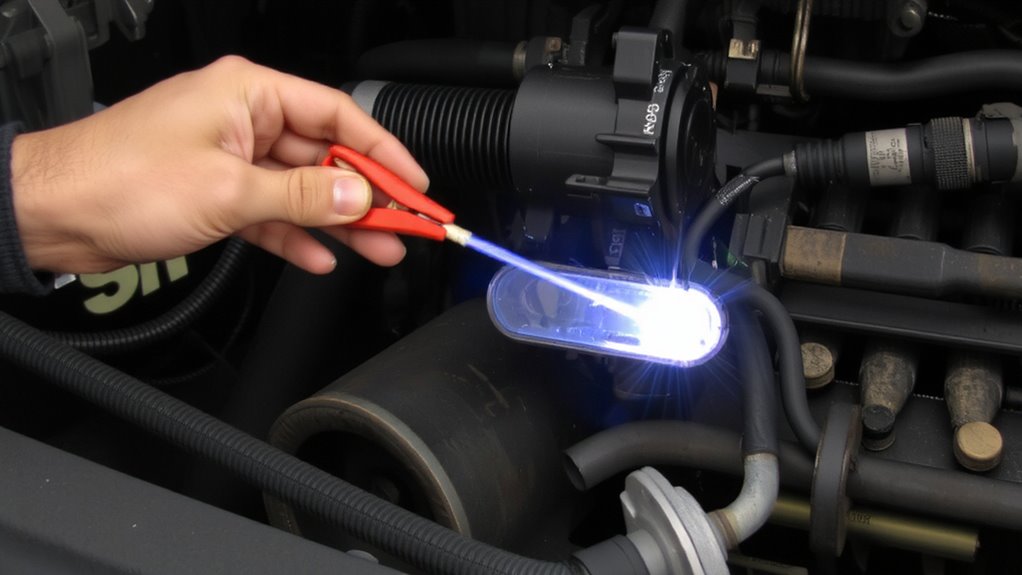
Proper connection guarantees accurate ignition coil testing-skip steps and you’ll risk false results. First, disconnect the spark plug wire or coil-on-plug boot from the spark plug. This isolates the ignition system and prepares it for testing. Second, attach the spark tester to the coil output terminal. For most coils, use a rubber boot connector rated up to 40,000 volts to guarantee safety and signal integrity. Make sure coil polarity is correct-reverse polarity weakens spark intensity or prevents arcing. Third, ground the spark tester’s metal body securely to the engine block using the built-in alligator clip. A poor ground leads to inaccurate readings. The tester must withstand high dielectric stress. Observe spark intensity through the transparent housing: a bright, snapping blue arc indicates strong coil output. A weak orange spark suggests ignition problems.
Avoid These Common Spark Tester Mistakes
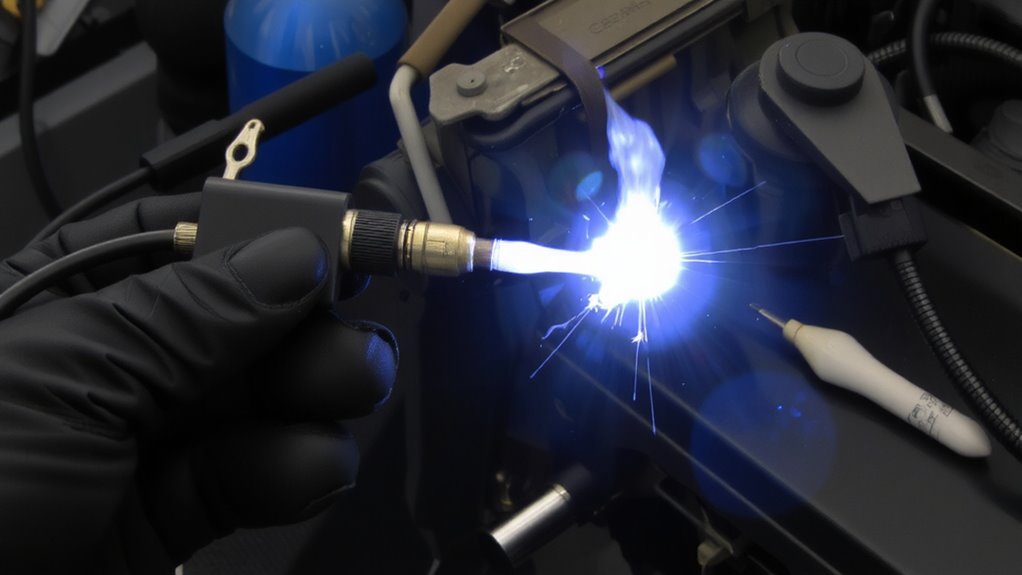
Why do some ignition tests yield misleading results? You’re likely making preventable mistakes. Improper grounding is a top culprit. If your spark tester isn’t securely grounded to bare metal on the engine block, you might see a weak or nonexistent spark-even with a healthy coil. Always clean the grounding point and use a dedicated grounding strap if needed. Another issue is incorrect voltage. Your coil requires full battery voltage (typically 12.6V) to operate correctly. Testing with a weak battery or poor connections leads to false failures. Never rely on a low-output power source. Also, using the wrong spark gap setting skews results. Most testers need 12–20 mm gaps to simulate real conditions. Verify your tester’s specs match your vehicle’s requirements. Mistakes here waste time and lead to misdiagnoses. Accuracy depends on correct setup every time.
What a Strong vs. Weak Spark Looks Like
You’ll see a bright, snapping spark when the ignition coil is working right-think of it like a miniature lightning bolt jumping across the gap. A strong spark shows high spark intensity, appearing blue-white and snapping crisply at 20,000 to 30,000 volts. It indicates proper coil output and reliable ignition timing. Weak sparks are dim, orange or yellow, and sputter instead of snap. They often measure below 15,000 volts, pointing to coil wear or circuit issues. Spark intensity directly affects combustion efficiency. A robust spark guarantees the air-fuel mixture ignites quickly and completely. Inconsistent spark strength can disrupt ignition timing, leading to misfires or poor performance. Use a calibrated spark tester set to a 0.25-inch gap to make accurate comparisons. Always observe the spark in low light for best visibility. Visual evaluation helps diagnose coil health before engine problems arise.
No Spark? What to Check Next
What if nothing happens when you test for spark-not even a flicker? Start by confirming power reaches the ignition coil. Check the fuse, wiring, and battery voltage-most coils need 10.5–14 volts to operate. A faulty crankshaft position sensor often kills spark; it directly affects ignition timing and coil triggering. Inspect the sensor’s resistance and air gap per manufacturer specs. Verify the ignition module receives the signal from the ECU; no signal means no spark. While spark is the focus, don’t ignore fuel pressure. A car won’t start without fuel, even if timing is perfect. Use a gauge to confirm fuel pressure meets the required PSI-typically 35–65 psi for port-injected engines. If both spark and fuel pressure are absent, suspect the ECU or a shared power/ground fault.
Test Your Ignition Coil Like a Pro
Ever wonder how to confirm whether your ignition coil is truly failing or if the issue lies elsewhere? Use a spark tester to verify output under simulated engine conditions. Connect the tester to the coil’s high-tension lead and ground it to bare metal. Crank the engine and observe for a consistent blue spark. A weak yellow spark indicates low output, often due to internal coil resistance beyond the 8–15 kΩ range. Proper ignition timing depends on this spark occurring at the precise millisecond. Without it, combustion suffers, even if fuel injection delivers the correct air-fuel mixture. Misfires disrupt both timing and fuel delivery synchronization. Modern coils often operate at 30,000–40,000 volts; your tester must withstand at least 40 kV. Consistent spark confirms coil function, isolating faults to sensors, timing, or fuel injection instead.
On a final note
You’ve tested the coil properly using the correct spark tester. A healthy ignition coil delivers a consistent blue spark across the 5/16-inch gap. Weak sparks appear orange or intermittent, indicating low output below 20,000 volts. No spark means check power, ground, and trigger signal. Confirm 12V at the coil’s positive terminal and proper resistance in the primary and secondary windings. This method isolates faults quickly and accurately.