Step-by-Step Guide to Installing Component Speakers in a Sedan
Disconnect the battery’s negative terminal to prevent shorts. Remove door panels by unscrewing armrest and trim screws, then gently prying with a plastic tool. Install 5.25” or 6.5” midrange speakers using even screw tension and butyl tape for an airtight seal. Mount tweeters at ear level or higher, angled 30°–45° toward the driver. Connect crossovers at 3–5 kHz using 16-gauge wire, matching a stable 4-ohm load. You’ll find further details critical for ideal setup and performance.
Notable Insights
- Disconnect the battery and remove door panels using a trim tool to access internal speaker locations safely.
- Apply acoustic insulation inside the door to minimize vibrations and improve sound quality.
- Mount midrange speakers securely using appropriate screws and seal edges with butyl tape for an airtight fit.
- Install tweeters at or above ear level, angled 30°–45° toward the driver for optimal sound staging.
- Connect crossovers with proper gauge wiring, set crossover points to 3–5 kHz, and test system performance with familiar audio tracks.
Remove Door Panels Safely

Start by disconnecting the negative terminal of your car’s battery to prevent electrical shorts during the process. This simple step protects both you and your vehicle’s electrical system. Next, locate the screws securing the door trim-usually found in the armrest, door pull, and lower corners. Remove them with a Phillips screwdriver. Once screws are out, gently pry the door trim away using a plastic trim tool to avoid damaging the surface. Most factory panels use plastic panel clips underneath; these snap into the metal door frame and secure the trim. You’ll hear a series of clicks as they release. Be patient-rushing can break the clips. Some clips may stay in the door; just pop them back into the trim before reassembly. Always inspect clips for damage. Reusing broken ones risks loose trim and rattling. The door panel now comes off, exposing speaker mounting points. Handle the wiring harness carefully if connected.
Gather Tools and Prepare Your Workspace
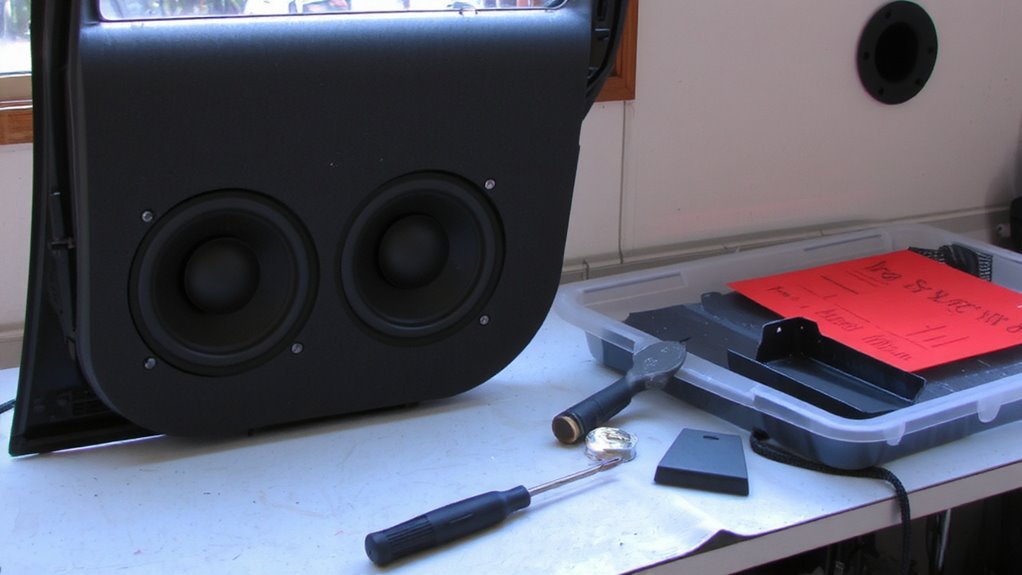
Once you’ve removed the door panels, setting up a proper workspace and assembling the necessary tools becomes critical to guarantee a smooth installation. Good workspace lighting assures visibility around tight connectors and wiring harness Coalition. Use a LED task light or under-hood lamp to illuminate shadowed door cavity areas. Poor lighting increases error risks and installation time. Tool selection directly affects precision and efficiency. You’ll need a Phillips screwdriver, flathead screwdriver, wire stripper/cutter, crimping tool, 8mm and 10mm sockets, and a torque wrench rated for 5–10 Nm. Include heat-shrink tubing and 16-gauge speaker wire for clean connections. A multimeter helps verify continuity and ground integrity. Lay out all tools within reach on a clean, static-free mat. Organize fasteners in a magnetic tray to prevent loss. Proper preparation reduces rework and component damage. For accurate electrical diagnostics, consider using one of the best car multimeters to ensure reliable readings during installation.
Install Component Midrange Speakers in Doors
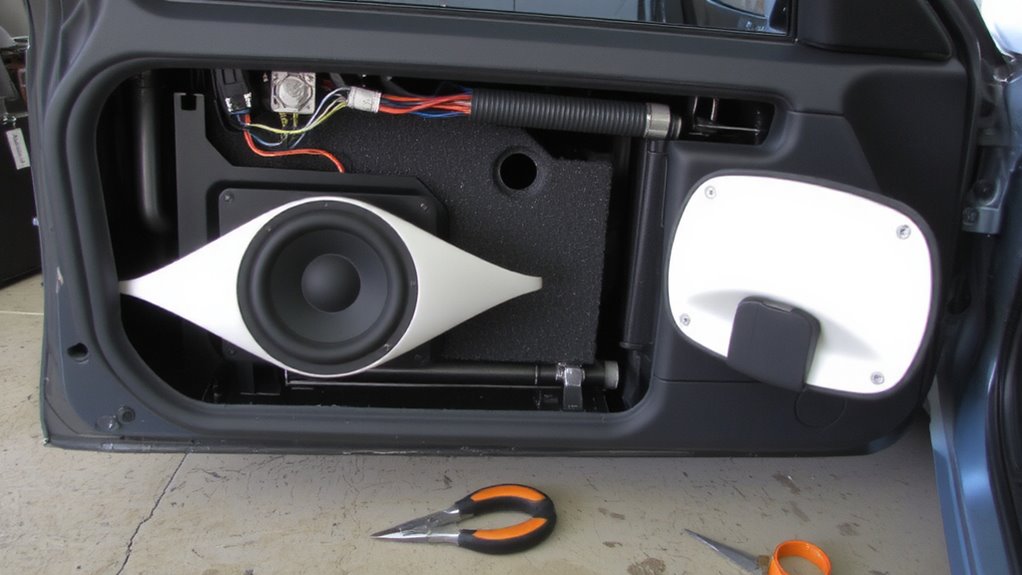
Precision matters when mounting component midrange speakers in your sedan’s doors. Use a template to mark speaker locations accurately-most 5.25” or 6.5” drivers require a tolerance within 1/16”. Remove the door panel carefully, preserving clips and fasteners. Apply acoustic insulation to the inner door skin to reduce panel vibration and road noise-this improves sound clarity by minimizing resonance. Secure the speaker frame with included screws, ensuring even pressure to prevent distortion. Employ proper wiring techniques: strip 3/8” of insulation from speaker wire, twist strands, and use crimp connectors or solder for reliability. Match polarity-positive to positive, negative to negative-using a multimeter if needed. Seal gaps around the speaker with butyl tape to create an airtight enclosure. This enhances bass response and efficiency by preventing sound wave cancellation.
Position and Mount Tweeters for Clear Highs
How do you guarantee crisp, detailed highs in your sedan’s audio system? You start by positioning tweeters where they’ll deliver peak sound staging. Mount them high on the doors, in the sail panels, or near the windshield base-ideally at or above ear level. Aim for a tweeter angle between 30° and 45° toward the driver for coherent imaging. Avoid firing tweeters directly at your ears; that causes harshness. Instead, angle them to reflect sound off the windshield, creating a wider, more natural soundstage. Use adjustable mounting brackets to fine-tune orientation. Secure mounts with adhesive or screws, guaranteeing no vibration. Proper placement ensures highs arrive in phase with mids, aligning timing for lifelike clarity. This precision elevates stereo imaging and improves off-axis response, making the cabin feel like a live sound environment. A stable mounting surface ensures consistent sound quality, similar to how a best floor jack for trucks supports heavy loads safely during maintenance.
Connect Crossovers to Factory or Aftermarket System
While your speakers are only as good as the signal they receive, a properly integrated crossover guarantees each driver operates within its ideal range. You’ll connect the crossover between your head unit and speakers, ensuring signal integrity by using shielded, 16-gauge wiring for input and output runs. Most component crossovers handle 50–120 watts RMS, with crossover points typically set at 3–5 kHz for tweeters. This protects high-frequency drivers from bass signals they can’t reproduce. Impedance matching is critical: verify your system maintains a stable 4-ohm load to prevent amplifier strain. Most aftermarket crossovers include input/output terminals designed for pin connectors or direct wire insertion. For factory systems, use speaker-level inputs on the crossover if line-level signals aren’t available. This preserves signal clarity while adapting to your existing harness. A miswired crossover distorts audio and risks damage-double-check polarity and connections before powering on.
Test Sound and Adjust Speaker Placement
Ever wonder why your new component speakers don’t sound as clear as expected? Poor speaker placement or incorrect phase alignment can severely impact sound quality. Start by playing familiar tracks with vocal and instrumental detail. Listen from the driver’s seat-the primary listening position. If the stereo image feels disjointed, adjust tweeter aim toward your ears. Misaligned tweeters cause weak highs and poor imaging. Next, check phase alignment: both drivers in each speaker set must move in sync. Reverse one speaker’s polarity and listen; if bass sounds thinner or weaker, restore the original connection. Proper polarity causes waveforms to reinforce, not cancel. Fine-tune midrange and tweeter locations using small repositioning increments-¼ inch can matter. Secure all components once ideal placement achieves balanced imaging and full frequency response.
Choose the Right Component Speakers for Your Sedan
Performance starts with selection. You need component speakers that match your sedan’s amplifier and acoustics. Speaker impedance, measured in ohms, must align with your amplifier’s output-most car amps work best with 4-ohm speakers. Mismatched impedance strains the system and reduces efficiency. Power handling, given in watts RMS, tells you how much power the speaker can manage continuously. Choose speakers with RMS ratings close to your amp’s per-channel output-this prevents distortion and damage. A 6.5-inch woofer with 50W RMS and a separate 1-inch silk dome tweeter offers balanced sound. Component sets include external crossovers that direct high and low frequencies correctly. These reduce signal interference and improve clarity. Make sure sensitivity ratings are 88 dB or higher for strong output with less power. Match size, impedance, and power handling to your setup. Good pairing guarantees durability and precision.
On a final note
You’ve completed the installation correctly when all connections are secure and speakers are aligned. Component systems deliver superior sound separation and clarity over coaxials. The crossover splits frequencies precisely-typically routing 100 Hz and below to midranges, 2,000 Hz and above to tweeters. Proper tweeter placement guarantees ideal stereo imaging at ear level. Test each channel thoroughly. Final adjustments optimize dispersion and tonal balance for your sedan’s acoustics.