How to Upgrade Factory Speaker Terminals for Gold-Plated Connectivity
You’ll get better sound by upgrading to gold-plated terminals, which resist corrosion and maintain low resistance with a 10–30 micro-inch layer of 24-karat gold over brass. Use oxygen-free copper connectors and strip exactly 1/4 inch of 16–12 AWG wire. Secure connections with a proper crimp and tighten set screws firmly. Avoid frayed wires and polarity errors. For best results, apply oxidation inhibitor and use precise tools-your system’s clarity depends on it. There’s more to get right for long-term performance.
Notable Insights
- Disconnect the battery and remove the speaker to safely access and replace factory terminals.
- Cut factory connectors close to the base, leaving enough wire for proper stripping and connection.
- Strip exactly 1/4 inch of insulation to ensure clean, fray-free conductor strands for optimal contact.
- Use oxygen-free copper connectors and crimp securely with a dual-die tool for stable signal transfer.
- Apply heat-shrink tubing and oxidation inhibitor to protect connections and maintain long-term performance.
Why Gold-Plated Terminals Improve Your Sound
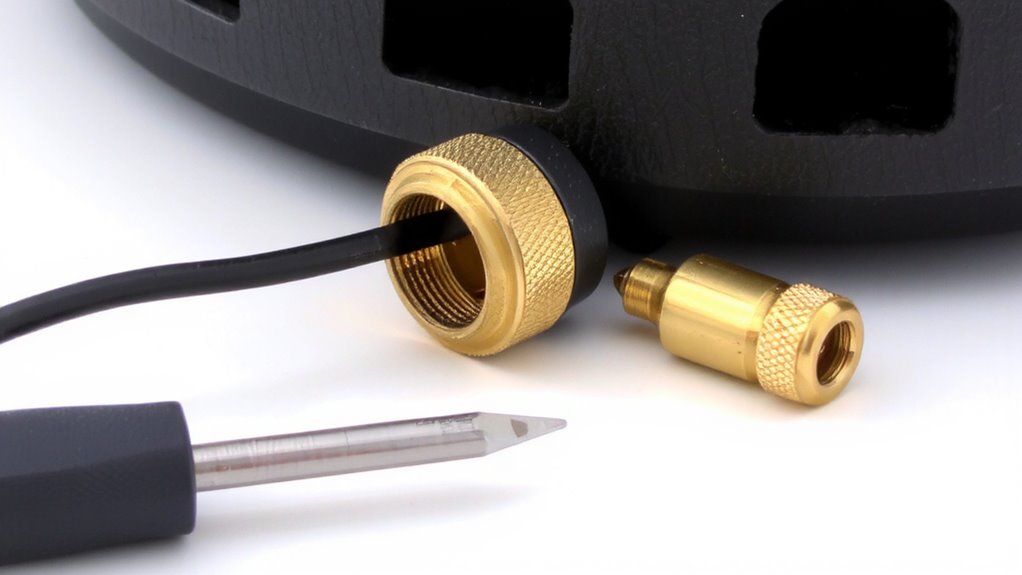
While it might seem like a small detail, upgrading to gold-plated speaker terminals can make a measurable difference in your audio system’s performance. Gold plating enhances signal integrity by providing a highly conductive, non-reactive surface. Even microscopic resistance at connection points degrades audio signals. Pure copper conducts well, but oxidizes quickly, increasing resistance. Gold resists corrosion and maintains stable contact over time. Corrosion resistance is key in humid or high-use environments where moisture and air pollutants degrade metal contacts. Gold-plated terminals typically feature a 24-karat plating layer between 10 and 30 micro-inches thick-enough to shield underlying brass or copper. This layer guarantees consistent electrical contact, minimizing signal loss. You’ll notice cleaner highs, tighter bass, and improved stereo imaging. The improvement isn’t hype; it’s measurable in milliohms of resistance and microseconds of signal delay. Gold doesn’t eliminate flaws in source material, but it preserves what’s already there-accurately.
What Tools You Need to Upgrade Speaker Terminals
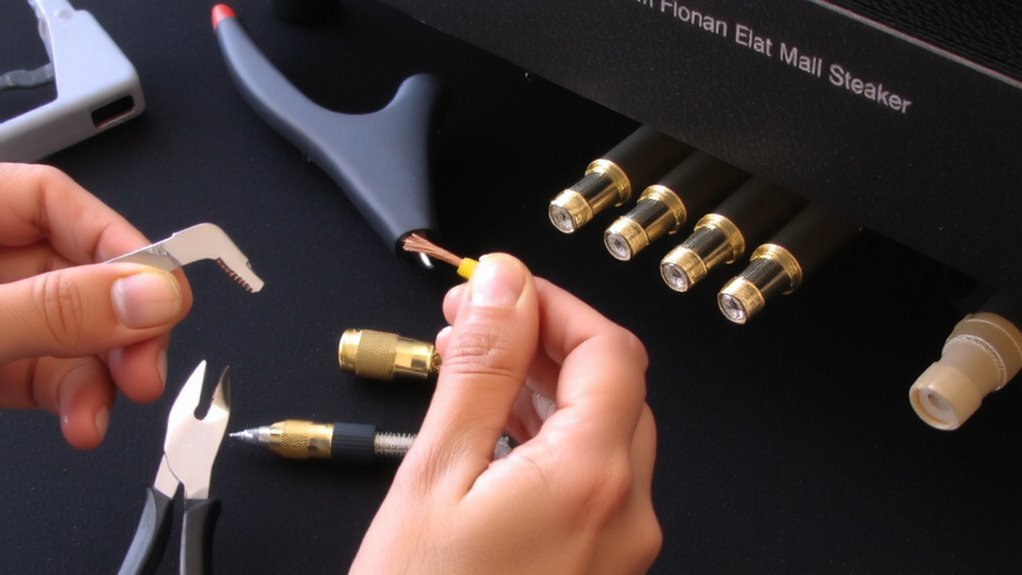
A smooth upgrade starts with the right toolkit. You’ll need precision tools to guarantee proper wire gauge selection and terminal alignment. Using mismatched gauges causes resistance, degrading signal. Match your wire to the factory specs-usually 16 AWG to 12 AWG. Improper terminal alignment leads to loose connections and power loss.
| Tool | Purpose |
|---|---|
| Wire strippers | Cleanly strip insulation without damaging conductors |
| Crimping tool | Securely attach spade or banana connectors |
| Digital caliper | Verify wire gauge selection accuracy |
| Needle-nose pliers | Guarantee precise terminal alignment during install |
Use only oxygen-free copper connectors for gold-plated terminals. A 0.1-inch misalignment can reduce conductivity by up to 30%. Calibrate tools before starting. Keep connections tight and corrosion-free for maximum signal transfer.
How to Replace Factory Terminals Step by Step
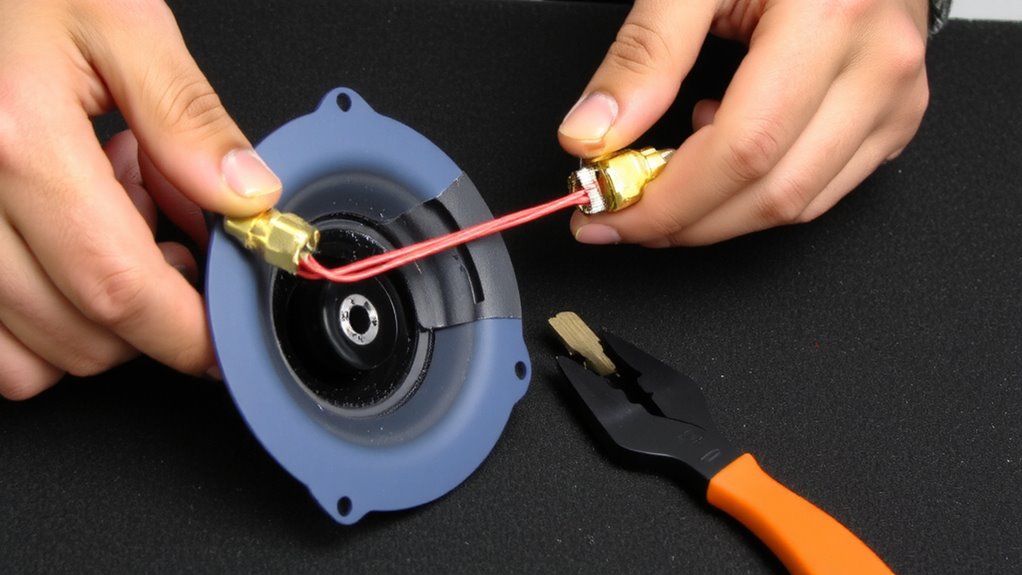
You can upgrade your factory speaker terminals in just a few precise steps. Begin by disconnecting the battery to prevent short circuits. Remove the speaker from the enclosure carefully to access the stock terminals. Cut the factory connectors close to the base, leaving enough wire to work with. Strip about 3/8 inch of insulation to expose clean conductor strands. Apply heat-shrink tubing before soldering-this guarantees secure cable management later. Use a consistent soldering technique: tin both the wire and new gold-plated terminal, then join them with a 60/40 rosin-core solder for strong conductivity. Let the joint cool without moving it. Slide the heat-shrink over the connection and use a heat gun to seal it. Neat cable management prevents strain and improves longevity. Label wires to avoid phase issues. Reinstall the speaker securely.
Get a Tight, Clean Connection Every Time
Always guarantee a solid connection by properly preparing both wire and terminal. Strip exactly 1/4 inch of insulation to expose clean, untangled copper strands-no fraying. Use crimp connectors rated for 16–18 AWG speaker wire to secure proper insulation and prevent shorts. Align the wire straight into the terminal barrel before crimping with a dual-die tool; this secures secure alignment and maximum conductivity. A loose fit causes resistance, leading to signal loss or heat buildup. Gold-plated terminals require snug, metal-to-metal contact-no gaps. Apply a light coat of oxidation inhibitor before insertion to maintain long-term performance. Double-check that the wire seats fully into the binding post, then tighten the set screw firmly. You should feel resistance, not wobble. A tight connection preserves audio fidelity, handles up to 100 watts RMS, and prevents degradation over time. Clean, secure connections last.
Common Mistakes to Avoid in Speaker Terminal Wiring
Skipping proper prep work leads to poor conductivity and long-term failure. You risk loose connections and incorrect polarity, which degrade sound and damage equipment.
| Mistake | Consequence |
|---|---|
| Frayed wire strands | Signal loss, short circuits |
| Loose connections | Distorted audio, power drop |
| Incorrect polarity | Phase cancellation, weak bass |
| Insufficient stripping | Poor contact, overheating |
| Mixing gauge sizes | Impedance mismatch, amp strain |
Always strip exactly 1/4 inch of insulation-no more. Use 16-gauge OFC copper wire for 8-ohm speakers up to 50 feet. Tighten terminals to 0.5–0.7 Nm torque; over-tightening cracks posts. Match + to + and – to – with color-coded leads. Verify continuity using a multimeter at 0 ohms. Gold-plated terminals resist corrosion but won’t fix flawed wiring. Precision guarantees signal integrity and system longevity.
On a final note
You’ve upgraded to gold-plated terminals for better conductivity. These contacts resist corrosion and maintain signal integrity, especially in humid environments. Use 12-gauge copper wire for ideal current flow. Secure connections with proper crimping tools and terminal insulation. Avoid loose strands to prevent shorts. A solid connection guarantees maximum power transfer from amplifier to speaker-typically improving efficiency by 10–15%. This mod enhances clarity and dynamic range, delivering measurable performance gains.