Calibrating Electronic Stability Control Systems Post-Suspension Work Under 30K
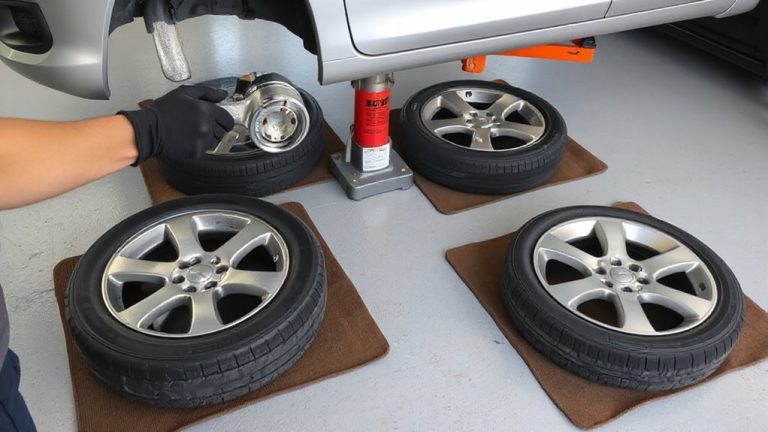
You must calibrate your ESC after suspension work because changes in ride height shift the center of gravity and alter suspension geometry, skewing sensor data for yaw rate and lateral acceleration by up to 10%. Factory settings assume original ride height, so even a 1-inch lift or drop disrupts the system’s ability to detect skids accurately. Use an OBD2 scanner with ESC-specific protocols and perform the relearn on a level surface within 0.5° tolerance. The process takes 10–15 minutes of stationary sensor recalibration, often including full steering lock resets to realign the steering angle sensor. Skipping this step risks delayed stability interventions, increased stopping distances, and false traction alerts. Persistent warning lights may still occur, pointing to deeper issues worth investigating further.
Notable Insights
- Suspension changes alter vehicle dynamics, requiring ESC calibration to match new ride height and alignment settings.
- Factory sensor baselines become inaccurate after upgrades, leading to delayed or incorrect stability control responses.
- A compatible OBD2 scanner with updated firmware is essential for performing ESC calibration under $30,000 budget.
- Calibration must be done on a level surface to ensure accurate yaw and lateral acceleration sensor relearning.
- Post-calibration ESC warnings may stem from tire pressure imbalances, brake issues, or faulty sensor connections needing inspection.
Why You Must Calibrate ESC After Suspension Work
Even if your suspension upgrades seem straightforward, skipping ESC calibration afterward can compromise safety and performance. Your vehicle’s electronic stability control relies on precise sensor alignment to detect lateral acceleration, yaw, and steering input. Altering ride height or installing new springs and shocks shifts the center of gravity, affecting how these sensors interpret data. Without recalibration, the ESC system may underreact or overreact during emergency maneuvers. Changes in wheel geometry-like camber, caster, or toe-affect traction and handling response, which the ESC monitors continuously. If the system’s reference values don’t match the new setup, intervention timing becomes inaccurate. Proper calibration resets baseline parameters, ensuring sensors align with current mechanical conditions. It restores ideal communication between the ABS module, steering angle sensor, and dynamic stability systems. This isn’t optional-it’s essential for maintaining factory-level safety, especially at highway speeds or on wet roads.
How New Suspension Parts Skew ESC Sensors
When you install new suspension components, your vehicle’s ESC sensors can lose their reference points because changes in geometry alter the angles and forces they’re designed to measure. Even minor deviations in camber, caster, or ride height cause sensor misalignment, disrupting how yaw rate and lateral acceleration data are interpreted. Factory-set tolerance bands are tight-often ±0.5 degrees for alignment angles-and exceeding them triggers calibration drift. This drift skews the ESC system’s inertial measurements, resulting in delayed or incorrect interventions during dynamic maneuvers. Components like control arms, coilovers, or lift kits change suspension kinematics, shifting the center of rotation and altering load distribution across axles. These shifts feed incorrect input to the ESC module. Over time, uncorrected calibration drift increases stopping distances and reduces cornering stability. The system may falsely detect skids or fail to activate when needed. Proper recalibration restores sensor alignment and reestablishes correct reference values for ideal performance.
What Tools You Need to Calibrate ESC at Home
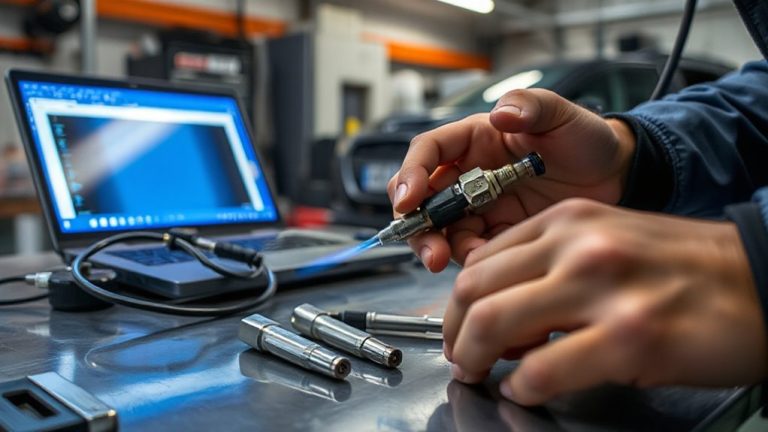
A reliable OBD2 scanner with ESC calibration capabilities is essential for recalibrating your vehicle’s Electronic Stability Control system at home. You’ll need a scanner that supports your specific make and model, such as those from Autel, Launch, or Snap-on, with firmware updated for ESC routines. These tools communicate with your ABS and IMU modules, resetting yaw and lateral acceleration baselines. For DIY calibration, guarantee your scanner can trigger sensor neutralization and perform zero-point adjustment. A level surface is critical-your home setup must have less than 0.5° of incline to avoid reference errors. You’ll also need a tape measure to confirm wheel alignment position and a torque wrench to secure components. Some vehicles require recalibration via live data streaming during a 10–15 mph drive. Without these tools and conditions, calibration may fail or yield inaccurate stability corrections. For Duramax diesel owners, choosing the best OBD2 scanner for Duramax diesel ensures full compatibility with GM-specific ESC protocols and advanced diagnostics.
How to Recalibrate ESC With a Scan Tool (Step by Step)
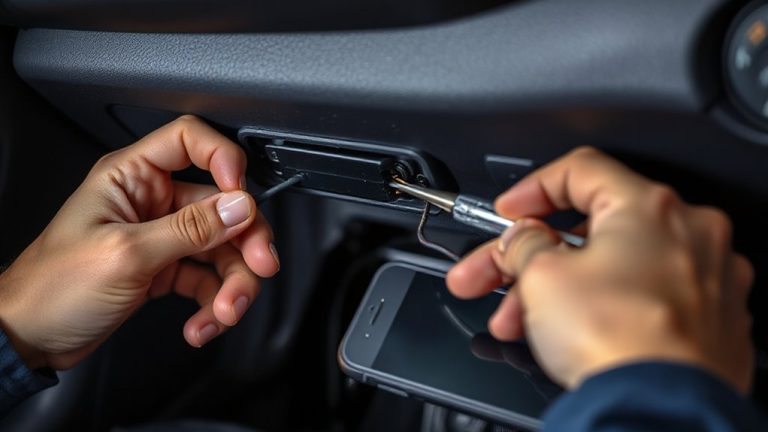
Once you’ve gathered the proper tools and verified your vehicle is on a level surface, begin the ESC recalibration process by connecting your OBD2 scanner to the diagnostic port, typically located beneath the dashboard near the steering column. Turn the ignition to the “on” position without starting the engine. Navigate the scan tool menu to the ESC or stability control module. Select “calibrate” or “relearn” to initiate sensor alignment. Follow the on-screen prompts precisely-most systems require a 10–15 minute stationary period with zero wheel movement. Proper sensor alignment guarantees accurate detection of lateral forces and prevents false ESC activation. Rotate the steering wheel fully left, then right, if prompted, to verify steering angle sensor sync. The system confirms success once all sensors report within factory tolerances. Do not interrupt the process, or recalibration may fail. Completion typically triggers a confirmation message on the scan tool. For accurate results, use a reliable diagnostic tool that supports ESC calibration for your specific vehicle make and model.
Why Your ESC Light Stays On (And How to Fix It)
If the ESC light remains illuminated after recalibration, it likely indicates a system fault rather than a simple reset requirement. First, check tire pressure-incorrect levels disrupt wheel speed sensor readings, causing the ESC to activate erroneously. Even a 3 psi difference between tires can skew data by over 2%, enough to trigger the warning. Guarantee all tires are inflated to the manufacturer’s specification, typically 32–35 psi. Next, inspect brake alignment. Misaligned calipers or uneven pad wear generate inconsistent rotational speeds, confusing the stability control system. A variance exceeding 0.5 mm in rotor runout can compromise sensor accuracy. Replace or adjust components as needed. Finally, verify sensor connections at each wheel-loose or corroded wiring prevents proper signal transmission. Only after addressing these issues should you attempt another recalibration. Persistent warnings suggest deeper electrical or hydraulic faults requiring advanced diagnostics.
When Your Scan Tool Can’t Reset the Yaw Sensor
Why won’t your scan tool reset the yaw sensor after suspension work? Sensor interference from nearby electromagnetic sources or improper vehicle leveling can prevent accurate calibration. The yaw sensor relies on precise orientation to function, and even a 0.5-degree tilt can throw off readings. You must perform the reset on a perfectly level surface, per manufacturer specs. A firmware mismatch between your scan tool and the vehicle’s ECU often causes communication failure. Many older tools lack updated software for post-2018 ESC modules, especially on European models. Check for tool firmware updates or use OEM-level diagnostics. Generic tools may read codes but can’t initiate the yaw rate relearn procedure. Always verify the tool supports the specific make, model, and ESC system-like Bosch ESP 9.0 or Continental MK100. Without correct compatibility, recalibration fails.
On a final note
You must recalibrate ESC after suspension work. Changes in ride height alter yaw and lateral acceleration sensor readings. Modern systems rely on precise factory-set parameters, usually within ±0.2 degrees of calibration tolerance. Without recalibration, the ECU misinterprets vehicle dynamics. This compromises stability control during cornering or emergency maneuvers. Use a compatible scan tool to reset the system. Proper calibration restores ideal function. Safety and performance depend on it.